PRE-RELEASE
Window lift, front door
| Window lift, front door |
| To remove |
| 1. |
Open the front door.
|
|
| 2. |
Remove the door trim, see Service Manual, 8:2 Interior Equipment.
|
|
| 3. |
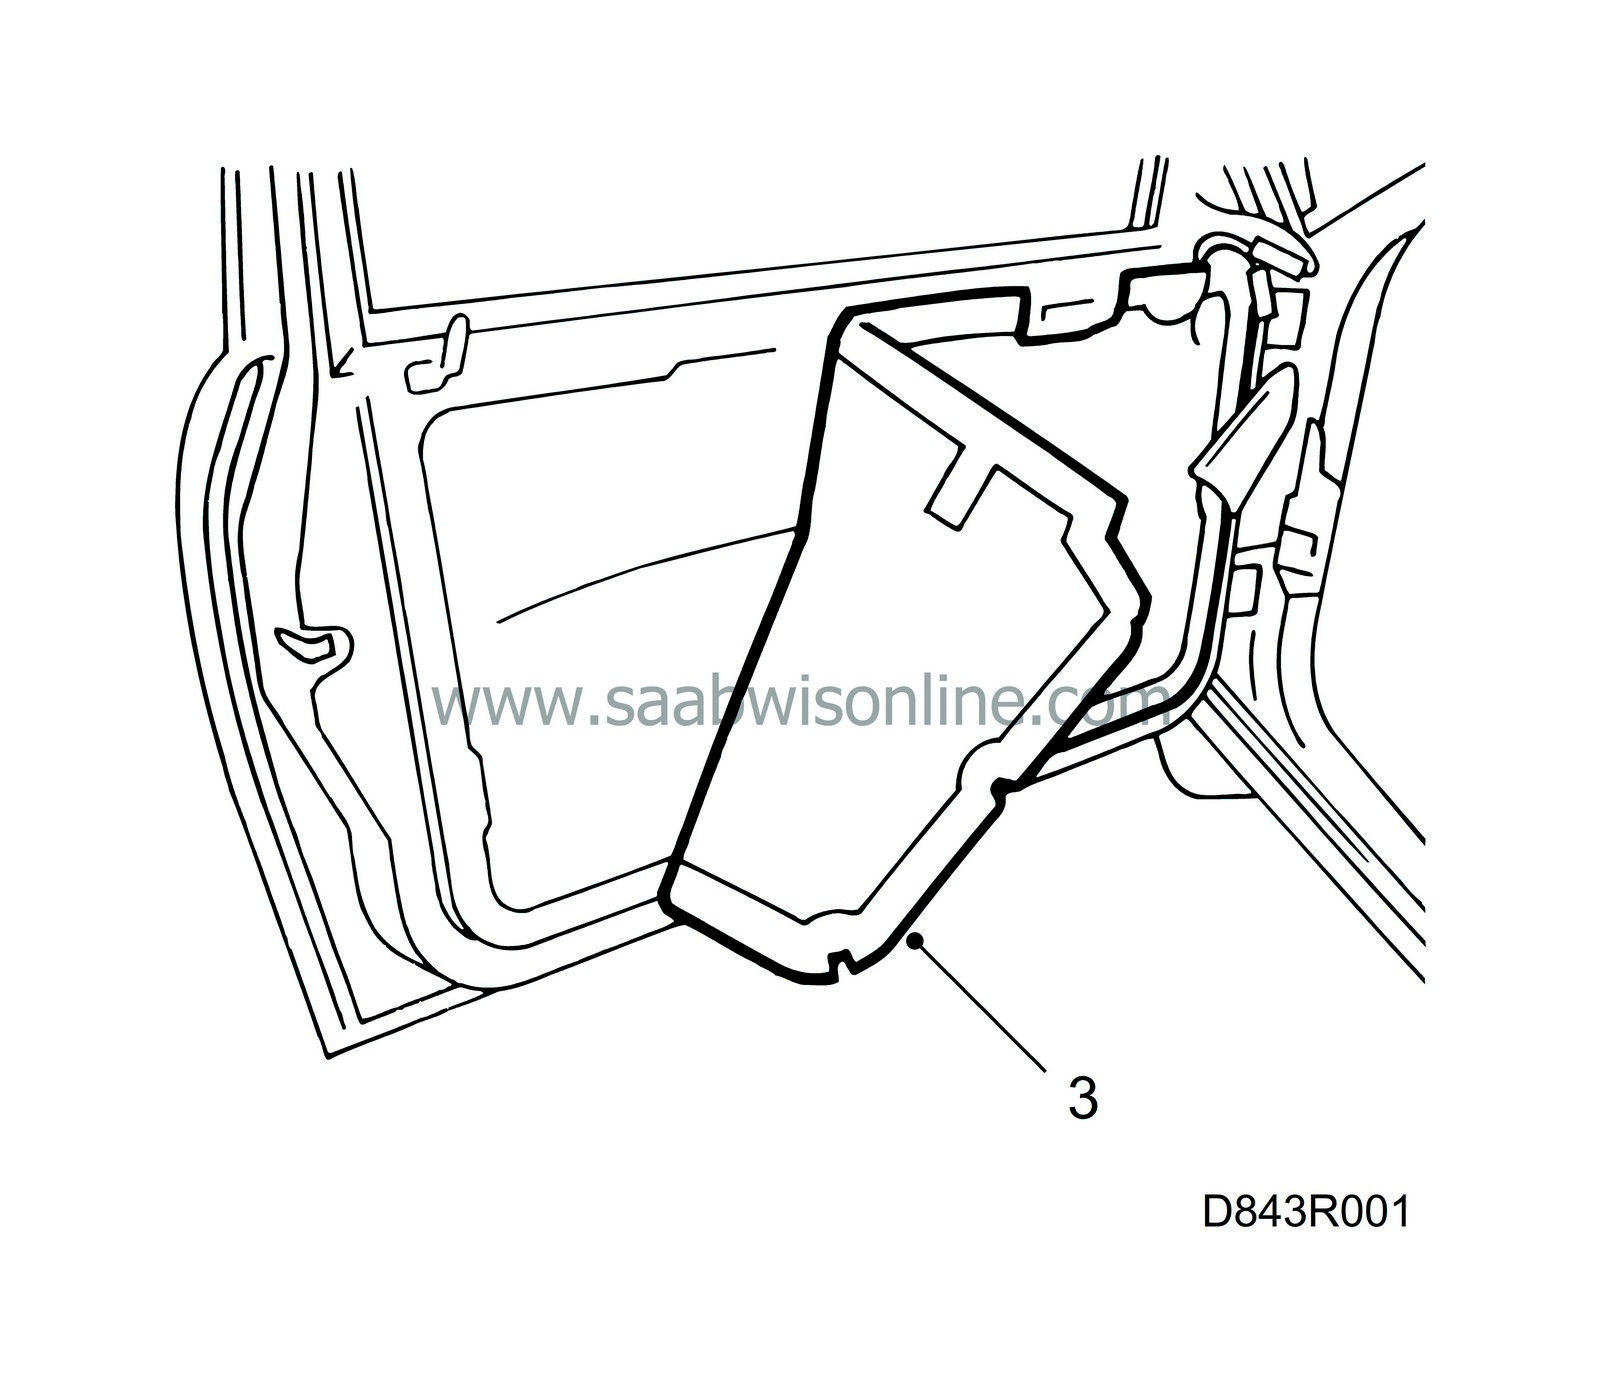
Remove the plastic water barrier.
|
|
| 4. |
Lower the window lift approximately 10 cm until the glass mounting is visible in the upper door holes.

|
|
| 5. |
Fasten the glass in the frame with 2 strips of tape.
|
|
| 7. |
Drill out the blind rivet heads (4 pcs) and knock them out of the door (8.5 mm drill bit, 4 mm drift).
|
|
| 8. |
Run the window lift motor so that the scissor-lift takes up as little space as possible.
|
|
| 9. |
Unplug the connector for the window lift motor.
|
|
| 10. |
Remove the scissor-lift guide channel, fastened with 2 nuts.
|
|
| 11. |
Lift out the window lift assembly.
Window lift motor
|
|||||||
| 12. |
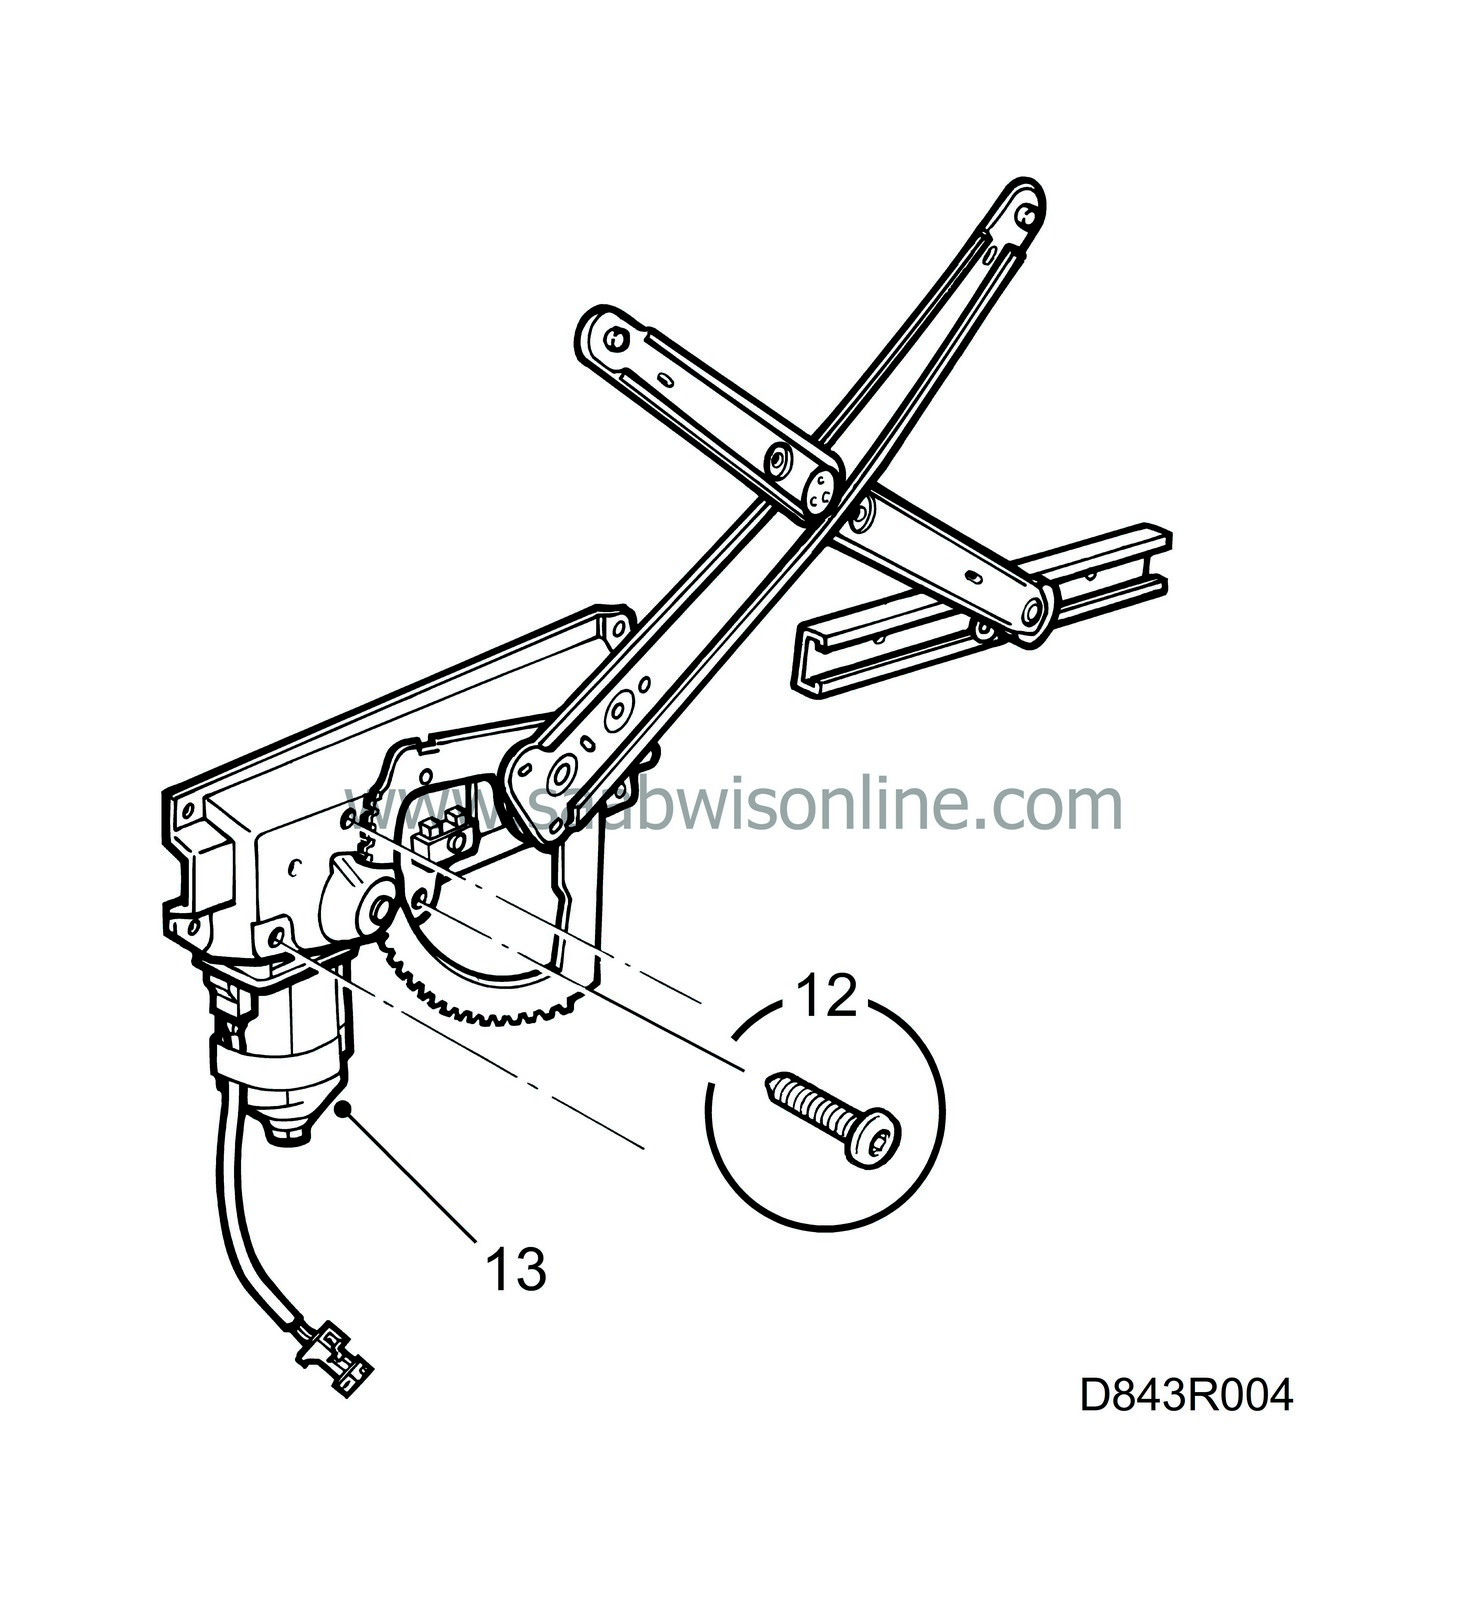
Remove the 3 retainer screws that secure the motor to the window lift.
First dismantle the stator, fastened with four screws, to access the rotor. Then turn the rotor while pressing on the gear wheel until the retainer screw is accessible. |
||||||||||
| 13. |
Remove and replace the motor.
|
|
| To fit |
Fit in reverse order.
| Note | ||
|
Work is facilitated if heavy pop-riveting pliers are used. Adjust the position of the window glass as follows: |
| • |
Raise the window to approximately 3 cm from the closed position.
|
|
| • |
Press the window glass rearwards in the frame.
|
|
| • |
Check that the top edge of the window is parallel with the frame.
|
|
| Important | ||
|
Make sure the water drainage plastic is tight against the inner panel of the door and that it is not damaged. |
||


