Changing the heated rear window connecting plate, CV
|
|
Changing the heated rear window connecting plate, CV
|
 Warning
|
|
The adhesive used is corrosive, emits hazardous fumes and can cause eye and skin irritation.
|
|
Take the necessary safety precautions:
|
|
•
|
Use protective gloves.
|
|
•
|
Provide sufficient ventilation.
|
|
|
|
|
|
|
Important
|
|
The temperature must be at least 20°C (68°F) when gluing the rear window heater connection lug due to the hardening time of the adhesive.
|
|
|
Use adhesive 82 93 235 when affixing the connecting plate.
|
1.
|
Operate the soft top so that the fifth bow rises.
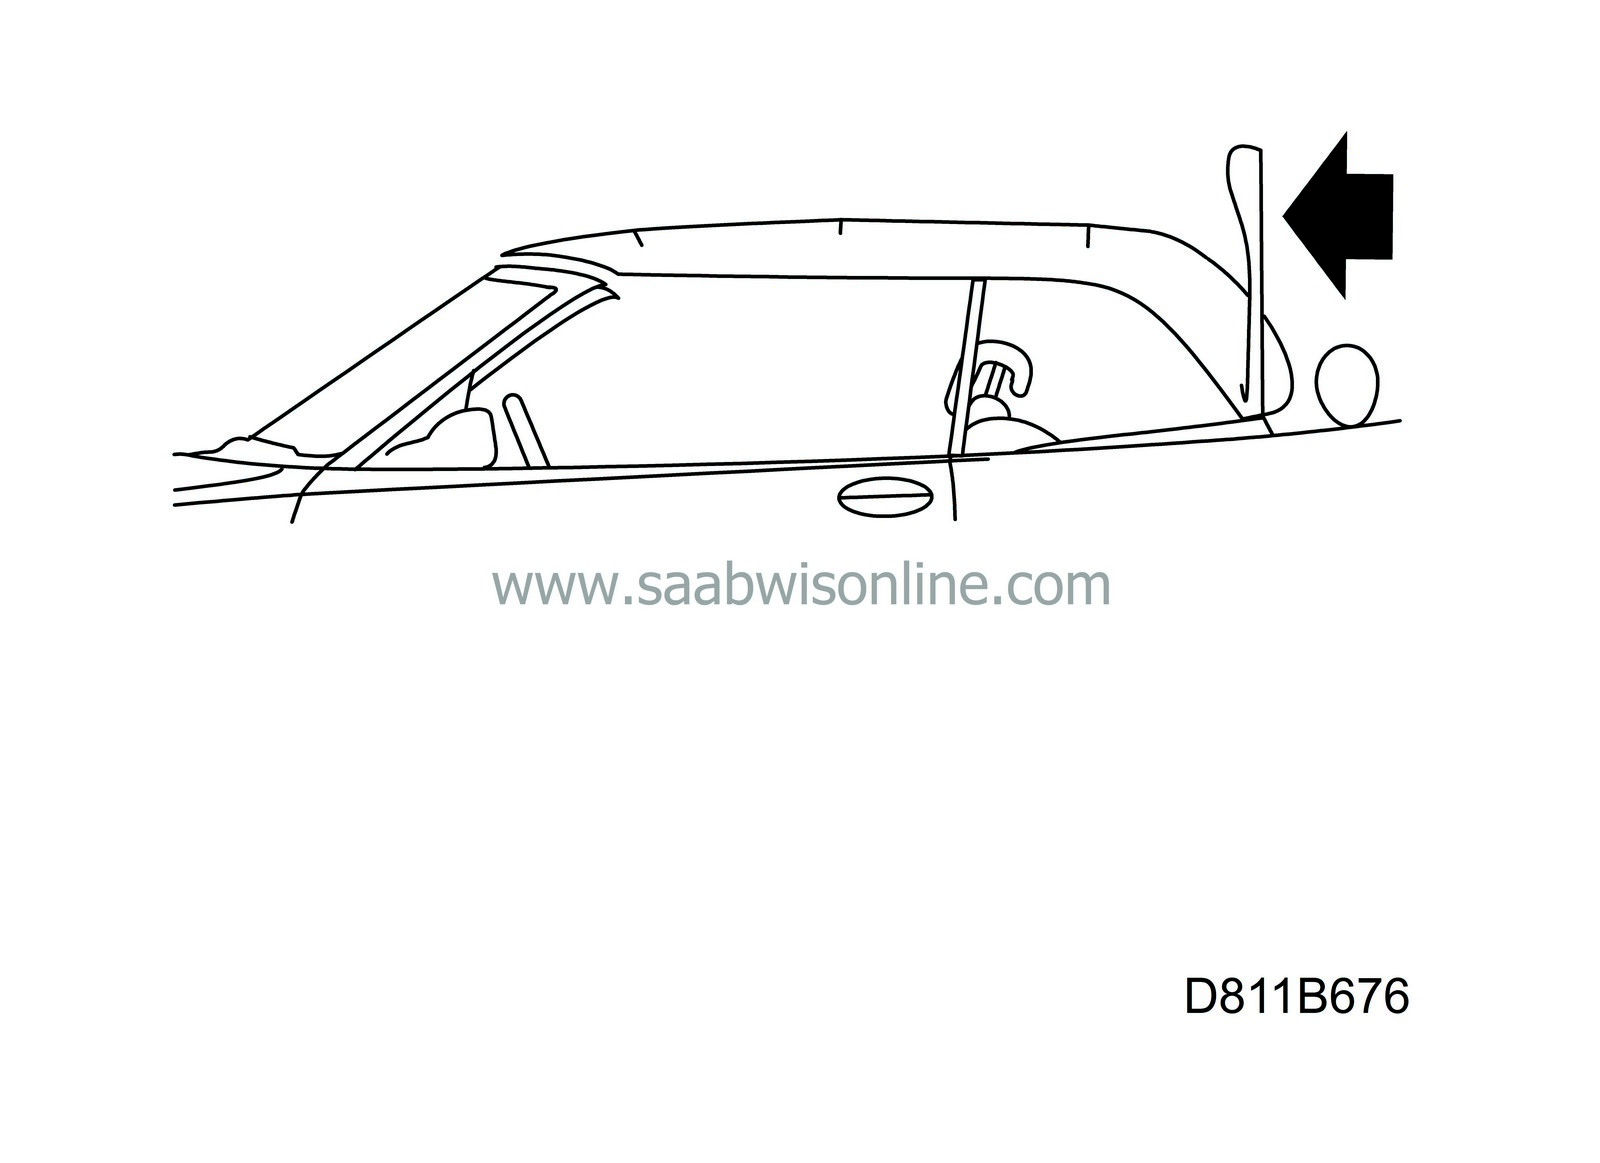
|
|
2.
|
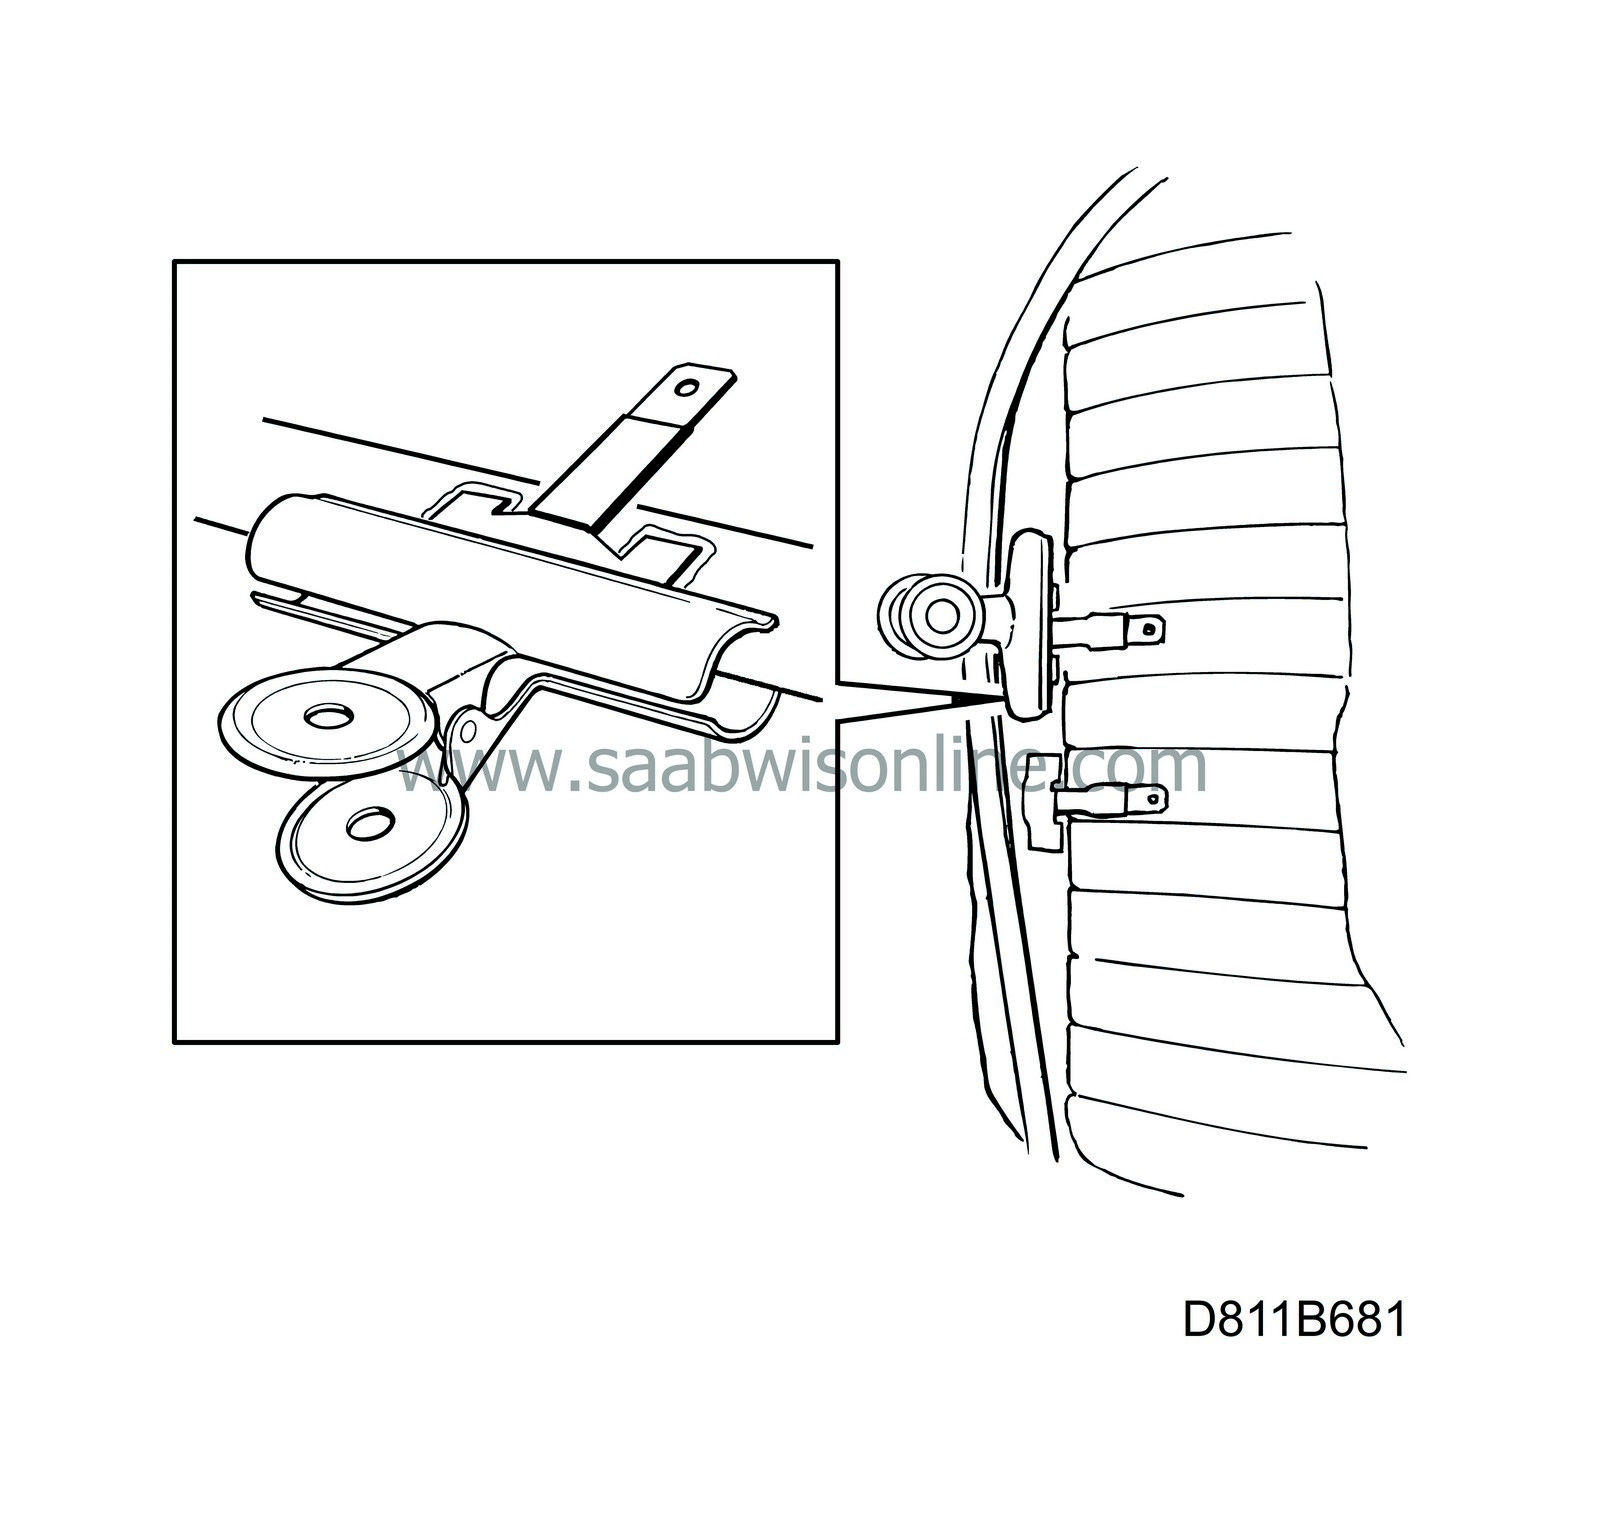
Cut and remove the cable ties. Unplug the connectors from the connecting plates.

|
|
3.
|
Loosen the window guide. Undo the straps on the fifth bow latch.
|
|
4.
|
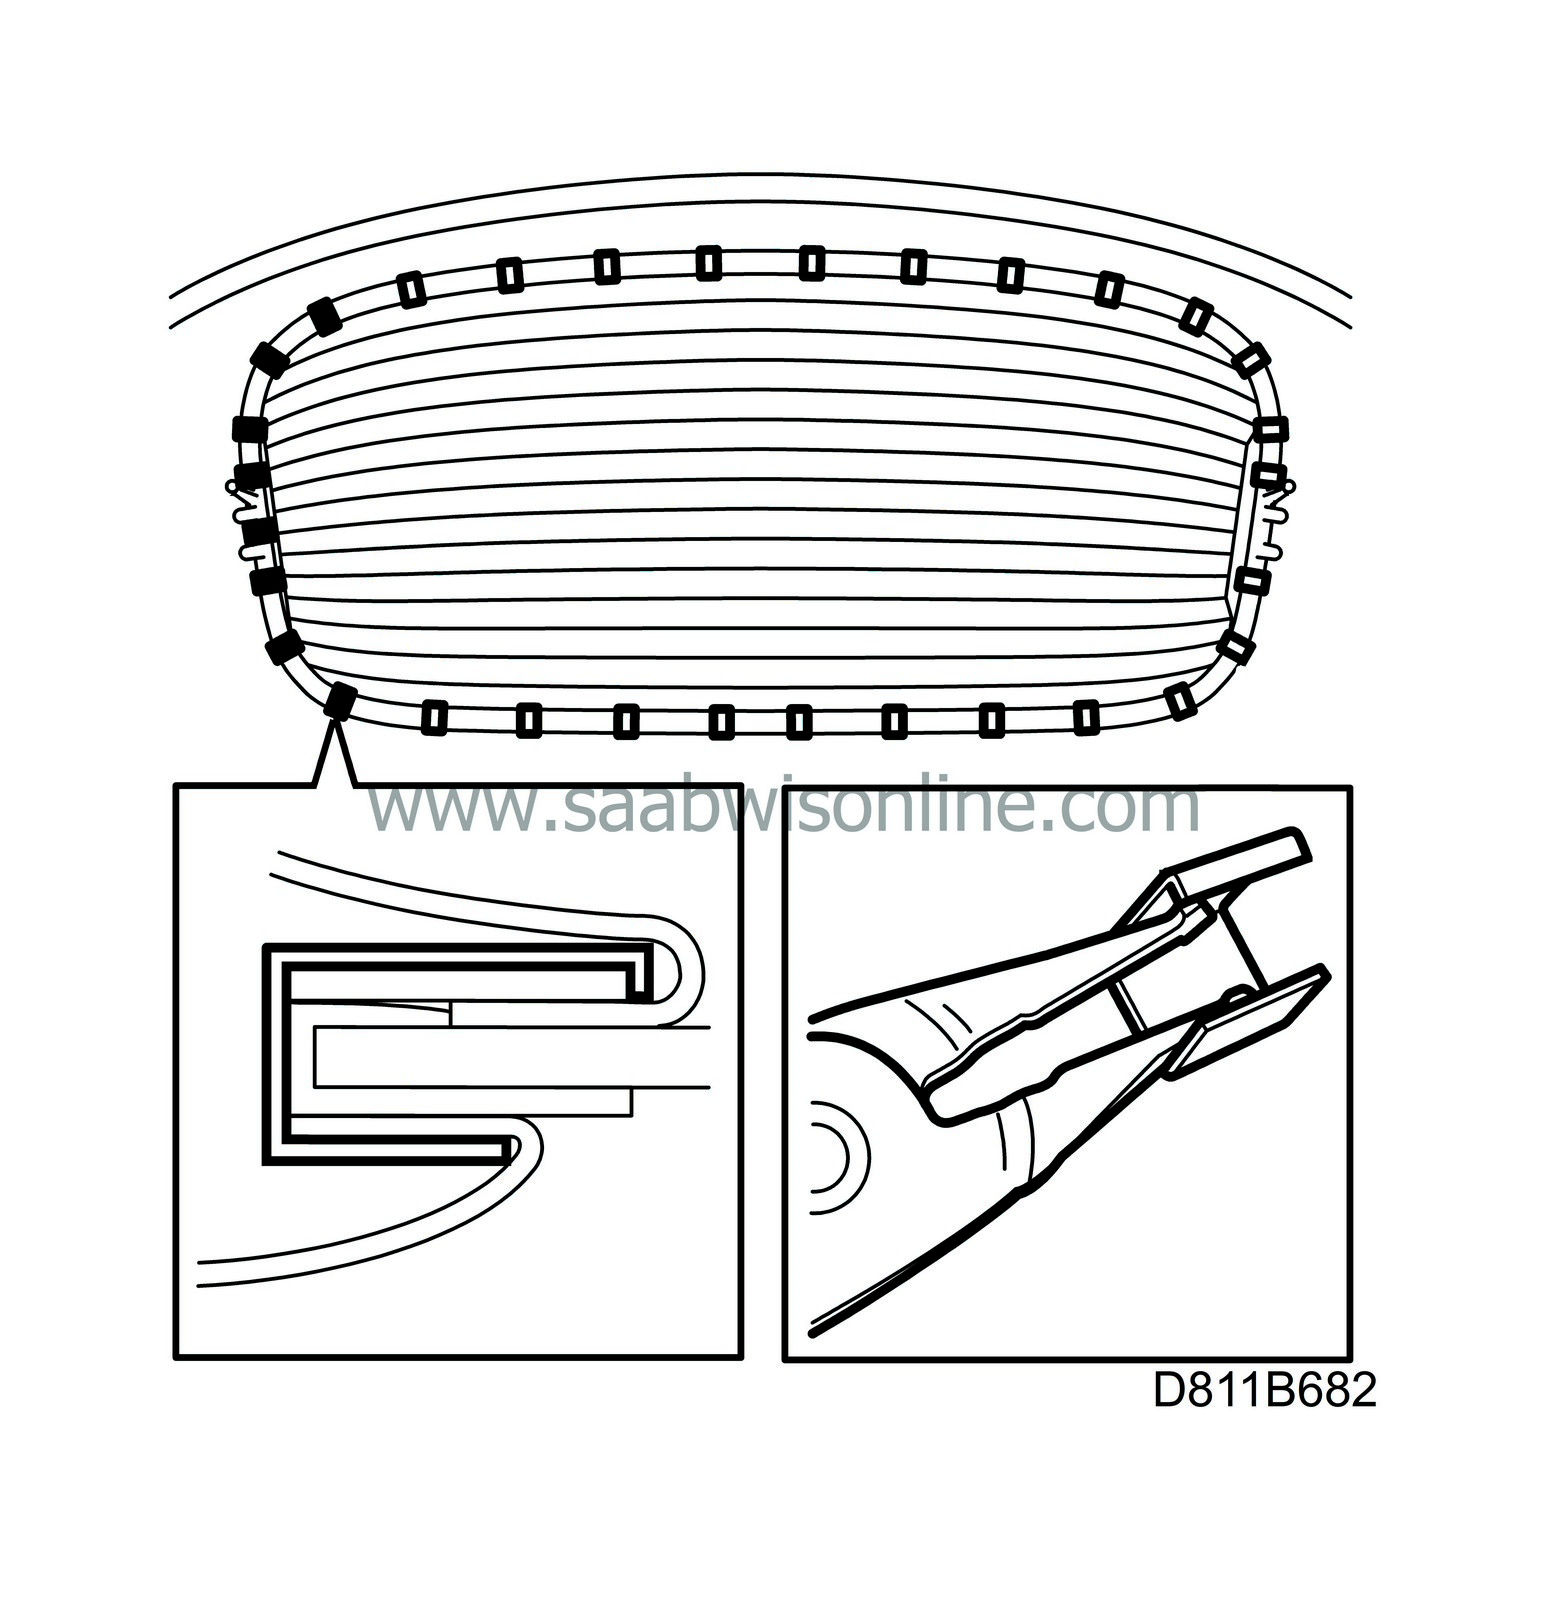
In order to reach the contact plates, some of the window clips must be loosened so that the window frame can be lifted. Make a tool as shown in the illustration and loosen the clips as follows:
|
|
|
•
|
Lift up the clip with the tool and position a knife underneath.
|
Important
|
|
Use the knife with care so that the headlining is not damaged.
|
|
|
|
|
|
•
|
Pull out the clip using the tool and follow up with the knife so that the window frame is not damaged.
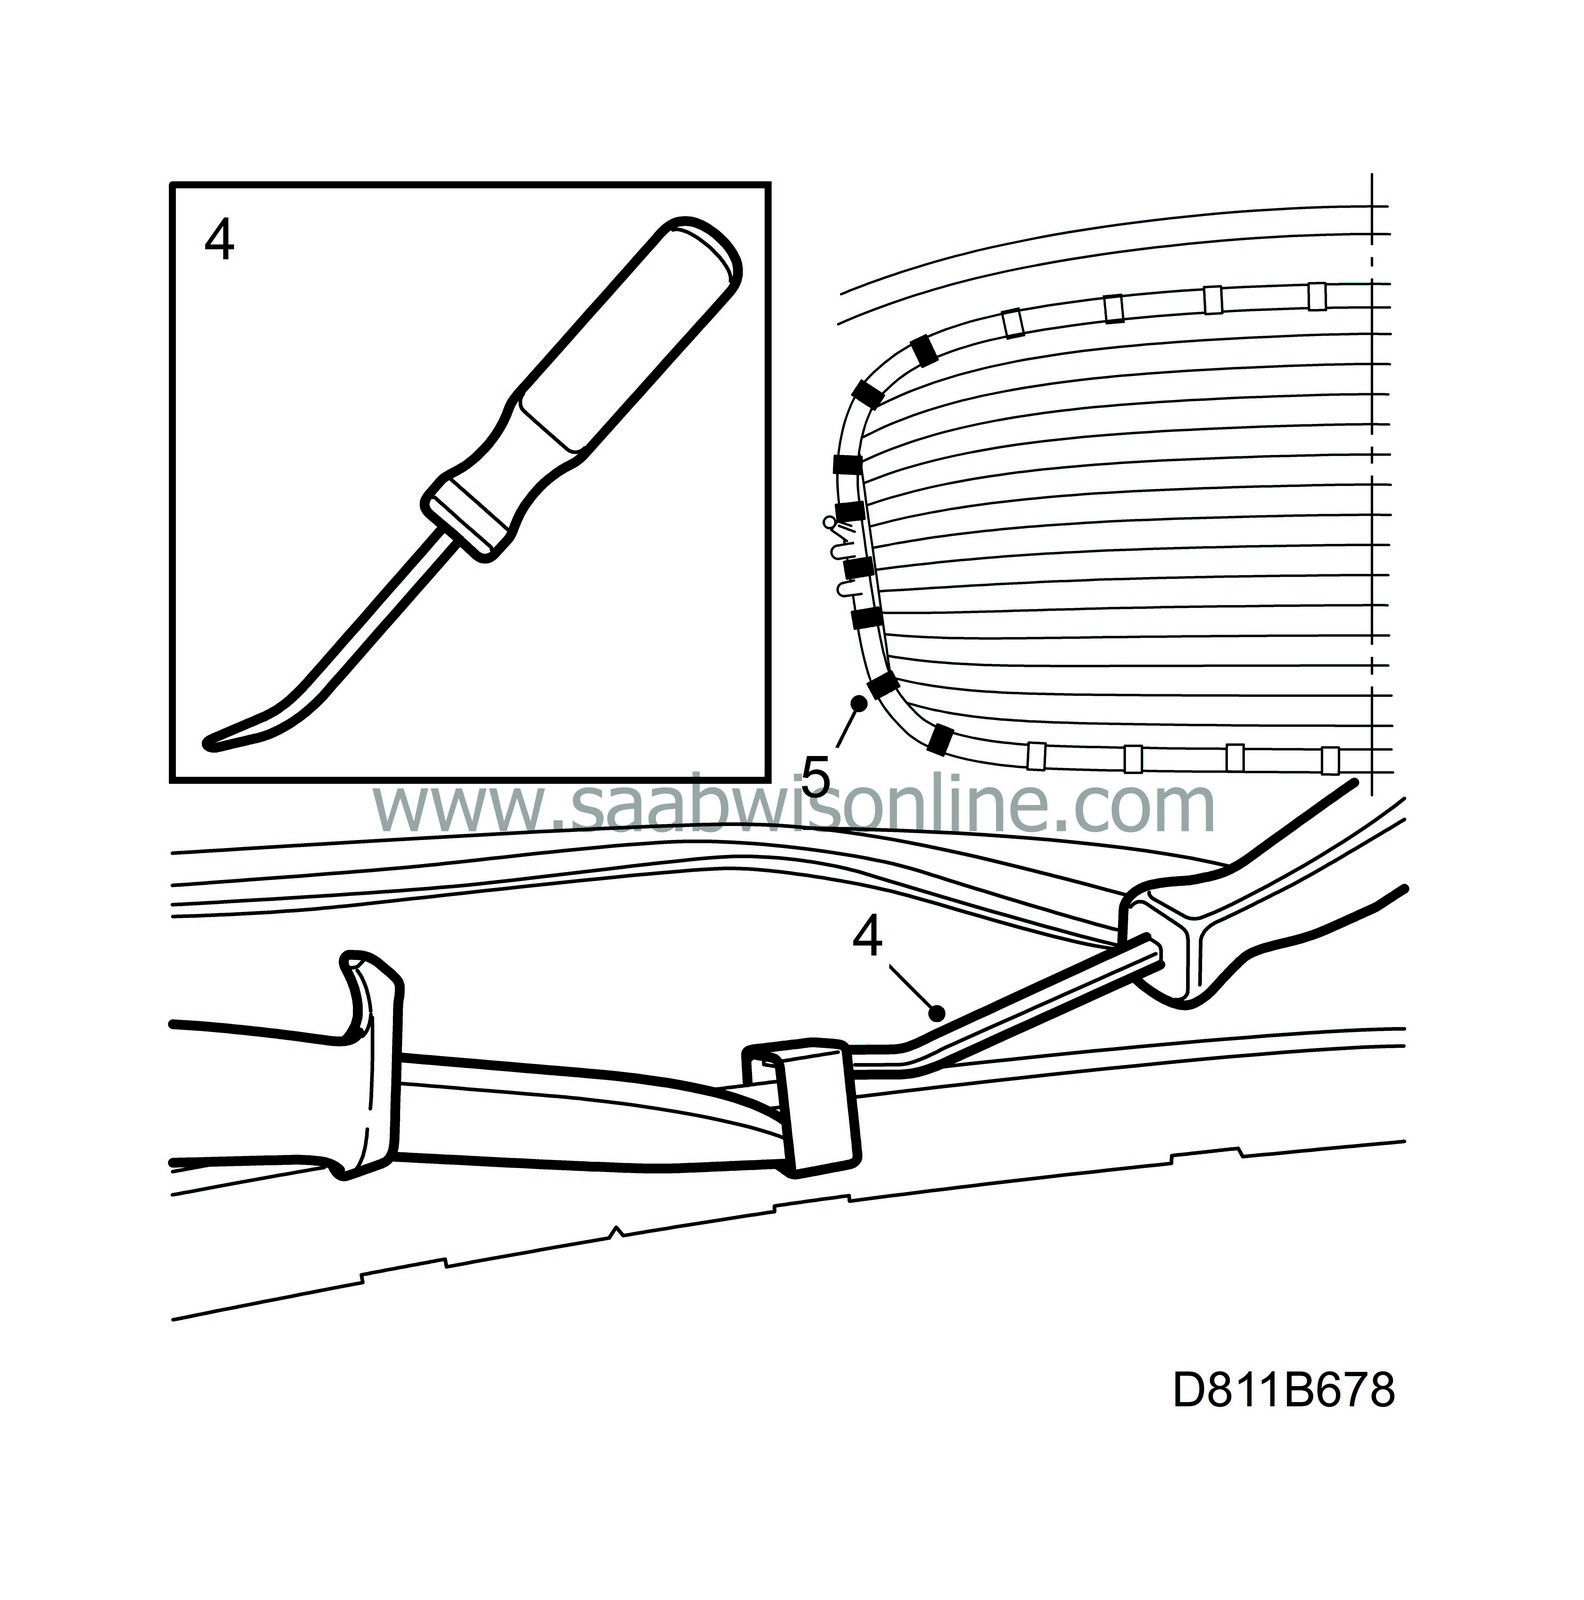
|
|
5.
|
Loosen 8 of the clips on the window frame using the method described in the previous step.
|
|
6.
|
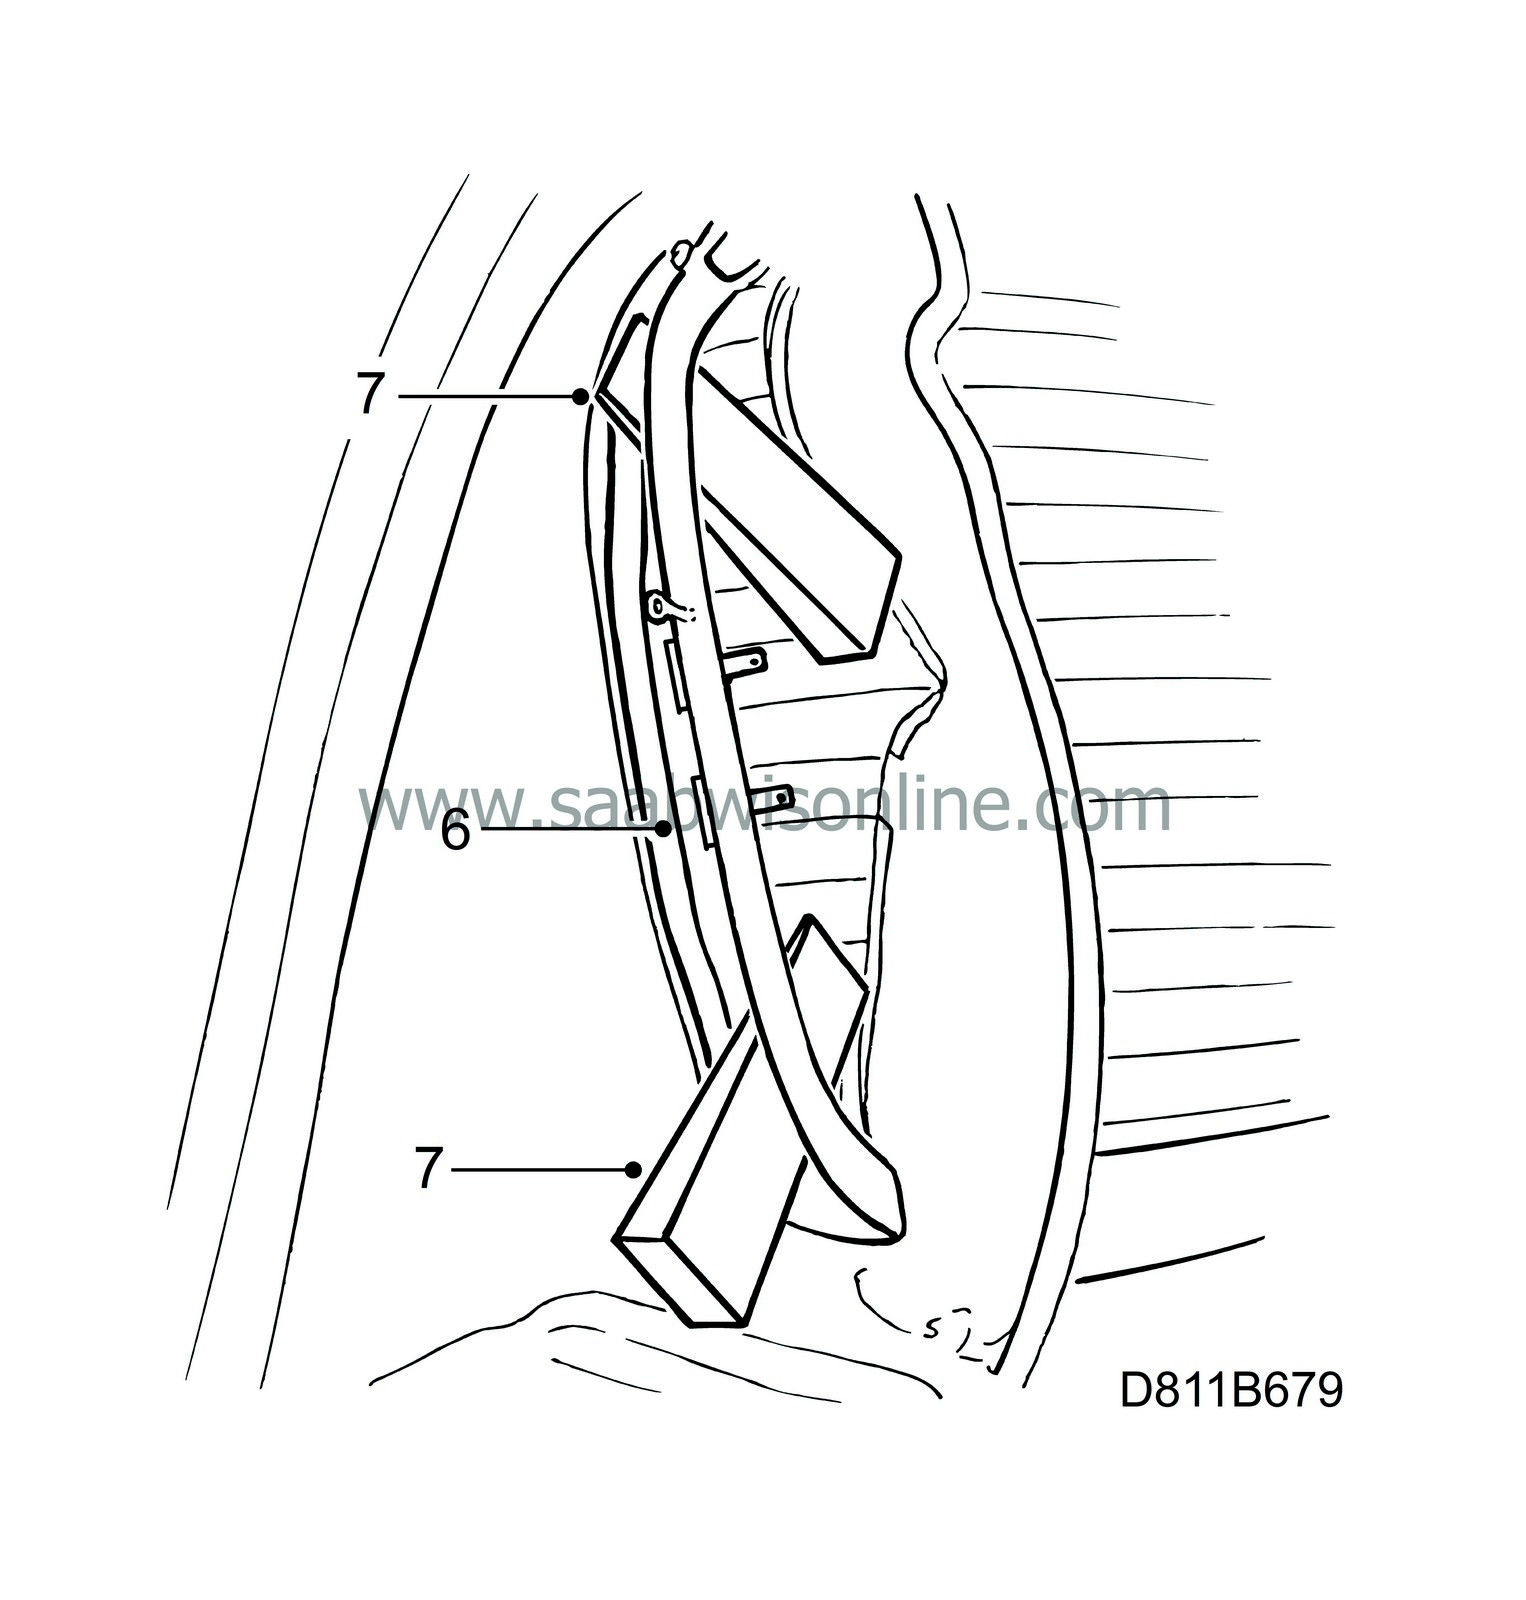
Lift up the window frame. Pull off the rubber moulding and fold it down so that the window contact points are accessible.
|
|
7.
|
Carefully place two wedges between the window and the frame.
|
|
8.
|
Carefully remove as much as possible of the old solder from the window without damaging the plating (the conductive material). Use a sharp knife. Then smooth down the surfaces on the window contact points so that they are flat.
|
|
9.
|
Sand the surface with a fine abrasive cloth where the new connecting plate is to be affixed.
|
|
10.
|
Clean the new connecting plate and the window with Teroson FL 875.
Clean also the surface on which the adhesive is to be mixed to prevent adhesive from being contaminated with foreign substances.
If the window frame has been scratched or damaged when removing the clips, these places must be rust-proofed.
|
|
11.
|
Squeeze about 1.5 centimetres (1/2") of each tube, "Part A" and "Part B". Mix thoroughly.
|
|
12.
|
Apply adhesive to the new connecting plate.
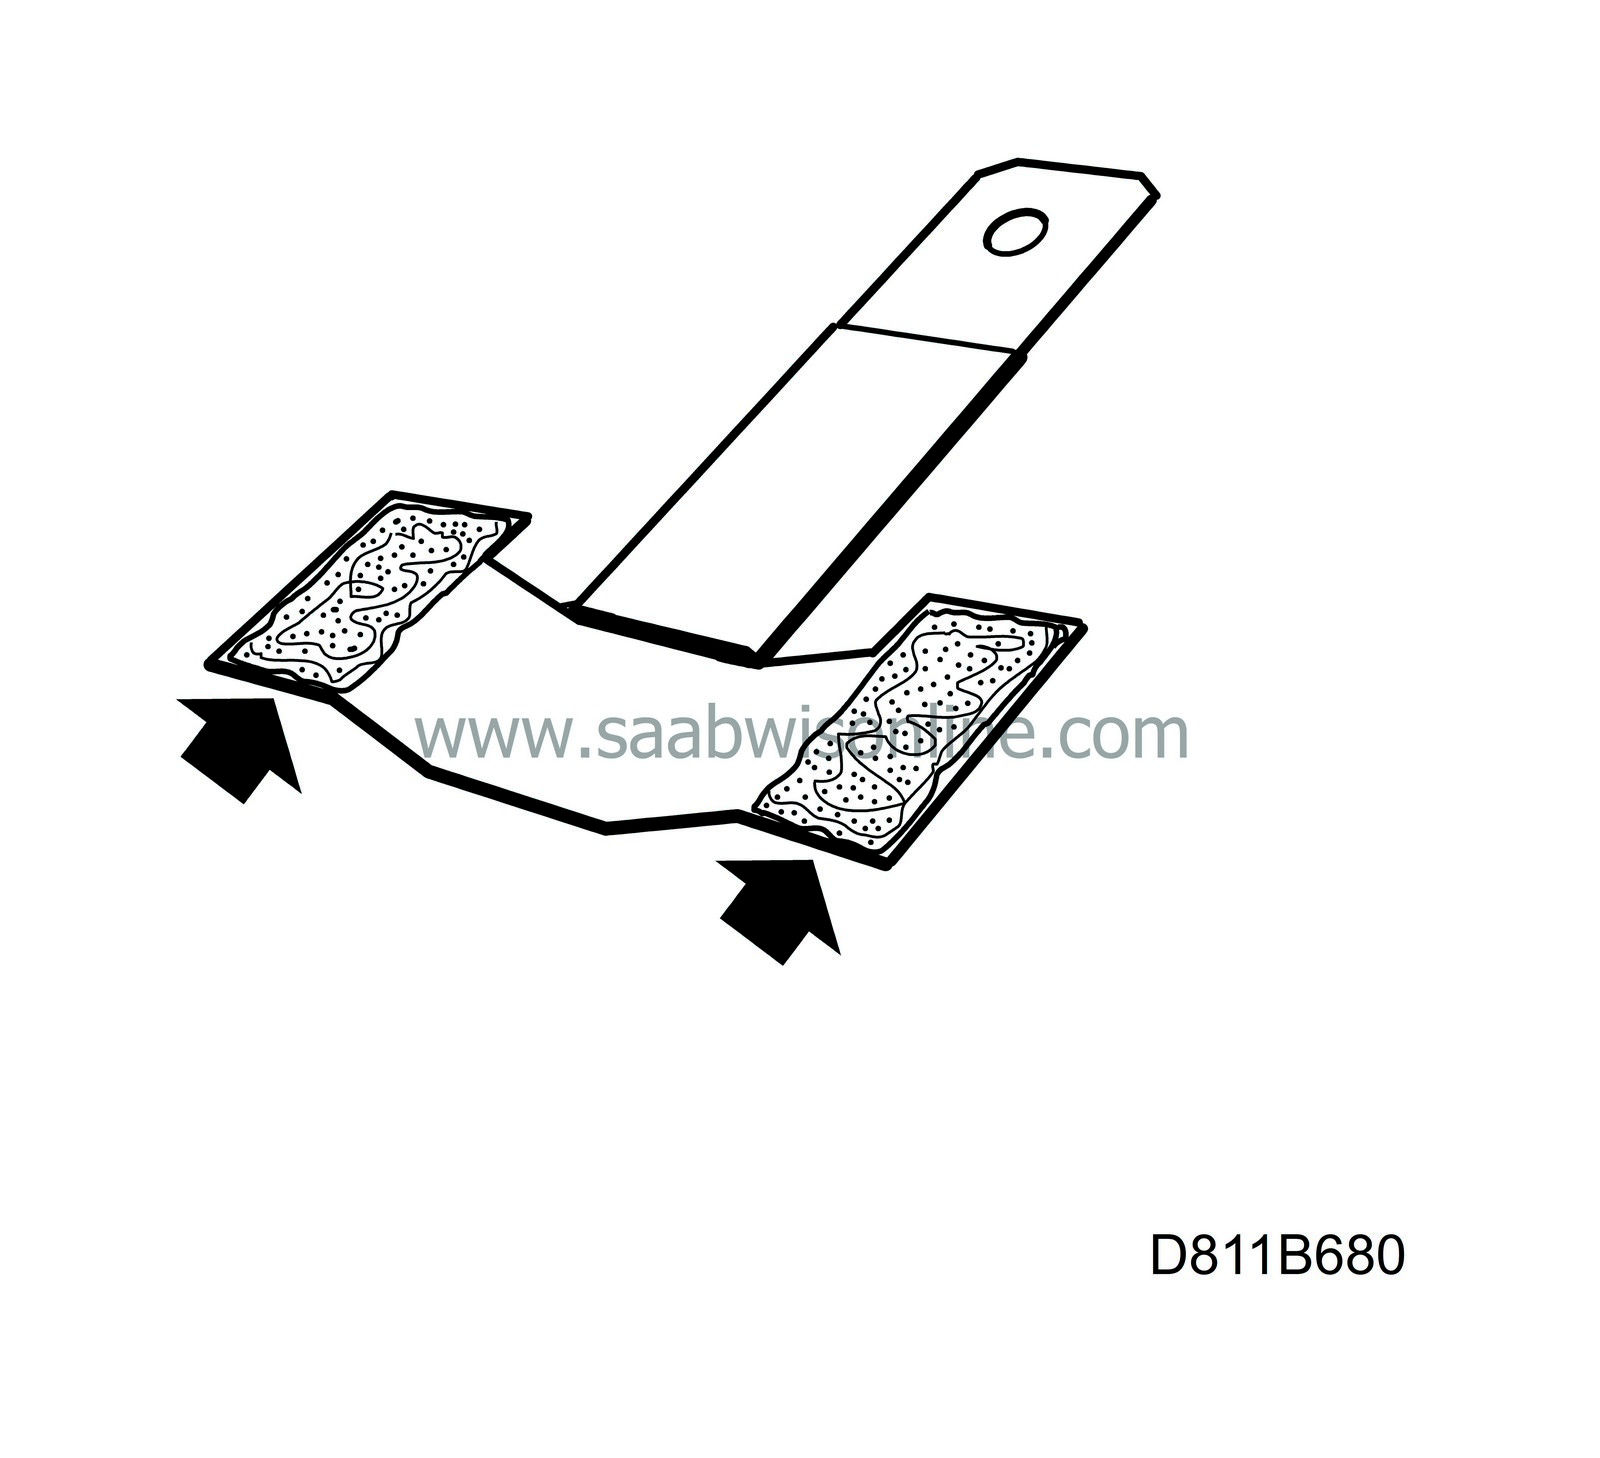
|
Important
|
|
It is essential the position of the connection lug is not changed during hardening.
|
|
The temperature of the connection lug must not exceed approx. 55°C (131°F) when using the hot-air gun.
|
|
|
|
|
13.
|
Place the new connecting plate in the same place as the damaged or loose one. Make sure the adhesive reaches the sides of the connecting plate.
Hold the connecting plate in place lightly with a clip. Carefully heat for 15 minutes with a hot-air gun. This time applies at an ambient temperature of at least 20°C (68°F).
|
|
14.
|
Wait until the window and connecting plate have cooled down before refitting parts and plugging in connectors.
|
|
15.
|
Remove the clip and the wedges.
|
|
16.
|
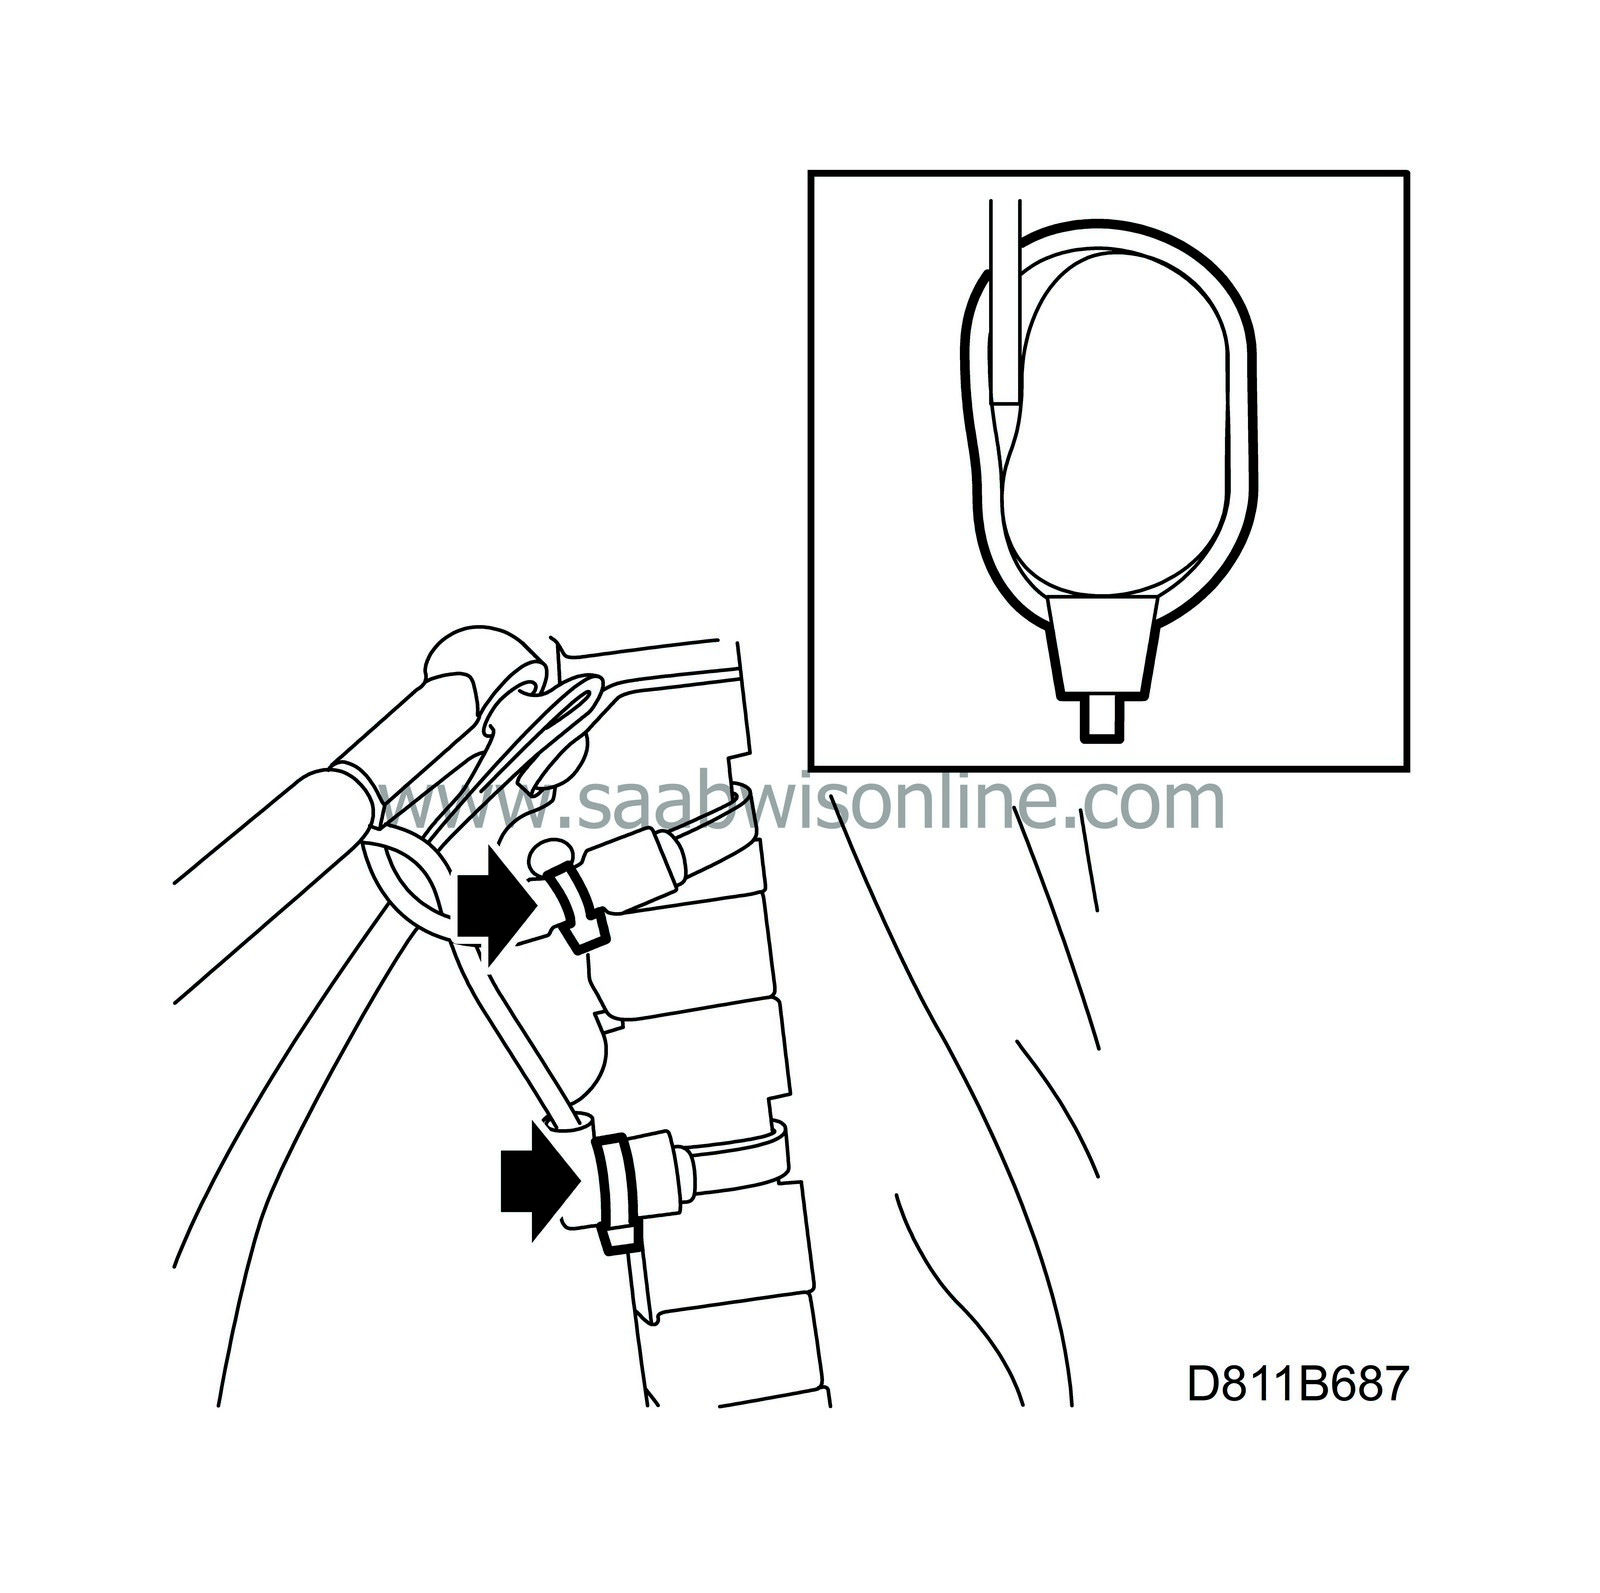
Fit the rubber window moulding.
|
|
17.
|
Fit the window frame using
30 12 598 Circlip pliers
to expand the clip. Then fit the clip onto the frame. Make sure the headlining does not crease.
|
Warning
|
|
Use protective goggles as the clips can come loose from the pliers.
|
|
|
|
|
|
|
|
18.
|
Bend up the insulated end of the connecting plate. The plate must not rest on the window frame.
|
|
19.
|
Plug in the connectors to the connecting plate.
|
|
20.
|
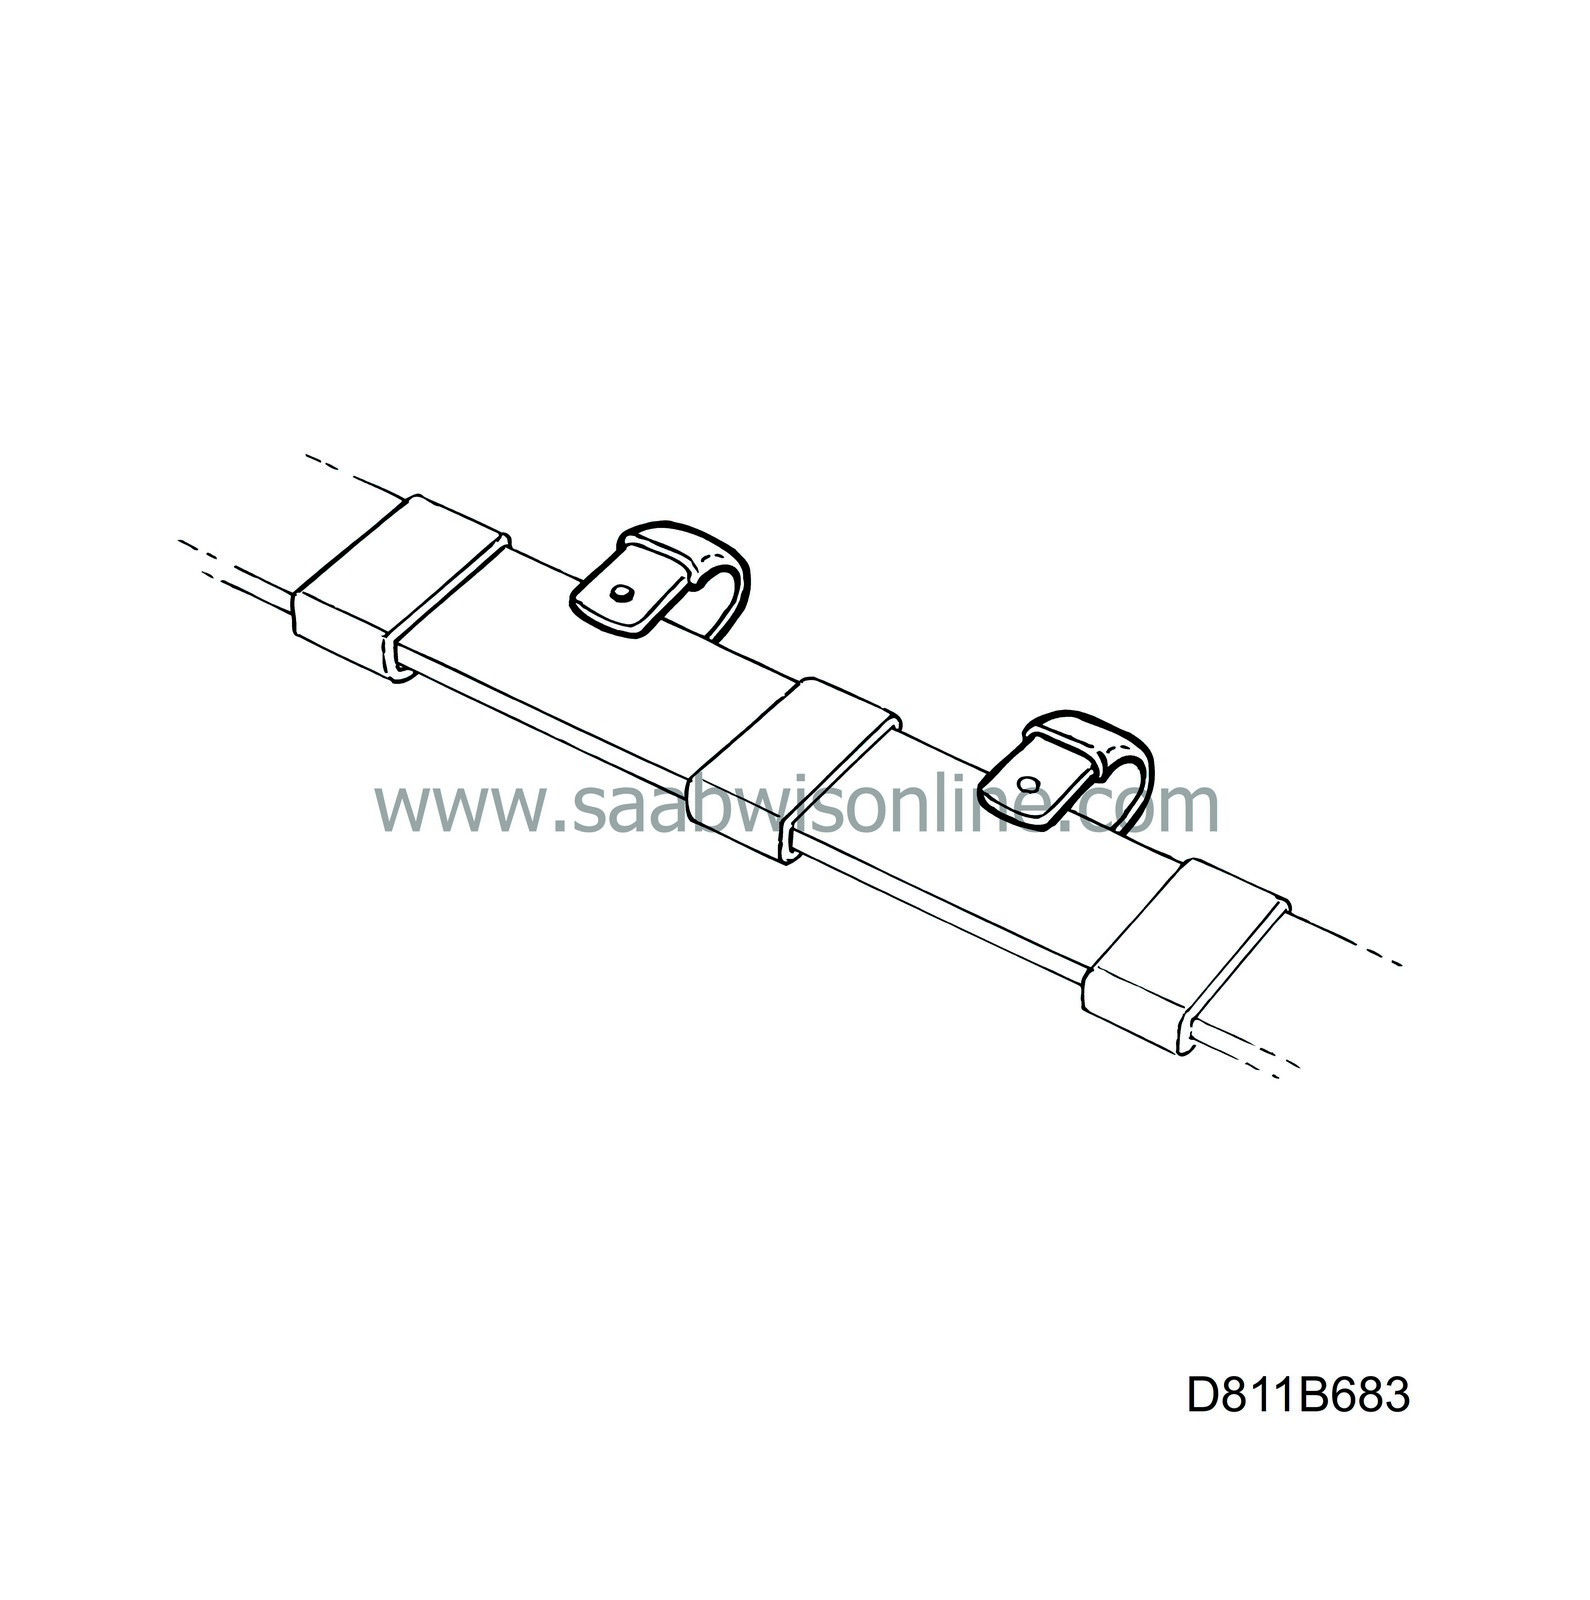
Fit the cable ties.
|
|
21.
|
Fit the straps to the window guide and the fifth bow lock braces.
|
|
22.
|
Fit the window guide.
|
|
23.
|
Fix the connector cables to the window frame with cable ties.
|
|
24.
|
Close the soft top and check that the electrically heated rear window is working.
|


