PRE-RELEASE
Sixth bow hydraulic cylinder
| Sixth bow hydraulic cylinder |
| Removing |
| 1. |
Open the boot lid. Remove
Luggage compartment side trim, CV
(right-hand side).
|
|
| 2. |
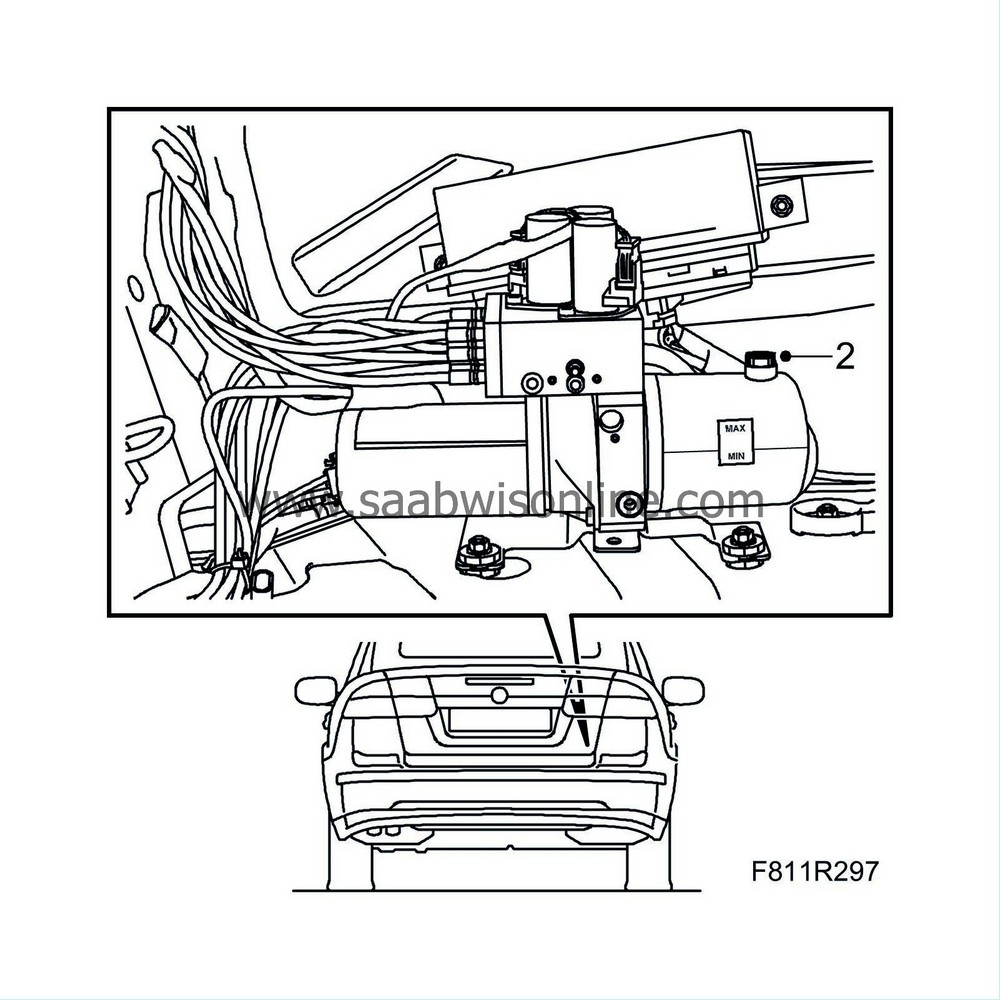
Remove the fluid filler plug from the hydraulic system reservoir (to equalise the pressure). Refit the plug.
|
|
| 3. |
Open the soft top completely.
|
|
| 4. |
Remove
Seat cushion, rear seat, CV
,
Backrest, rear seat, CV
and
Rear side trim, CV
.
|
|
| 5. |
Close the soft top and leave the soft top cover and sixth bow open. Secure with
82 93 847 Soft top support
.
|
|
| 6. |
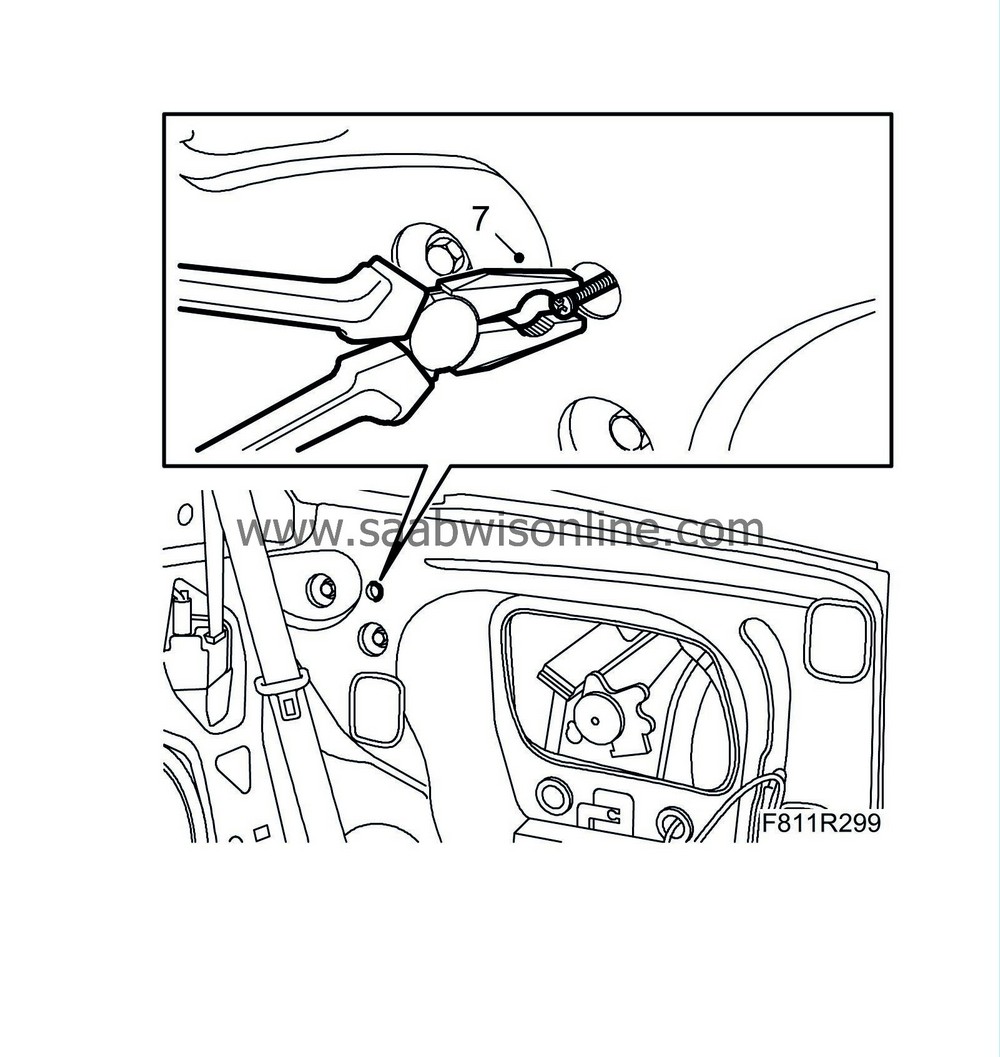
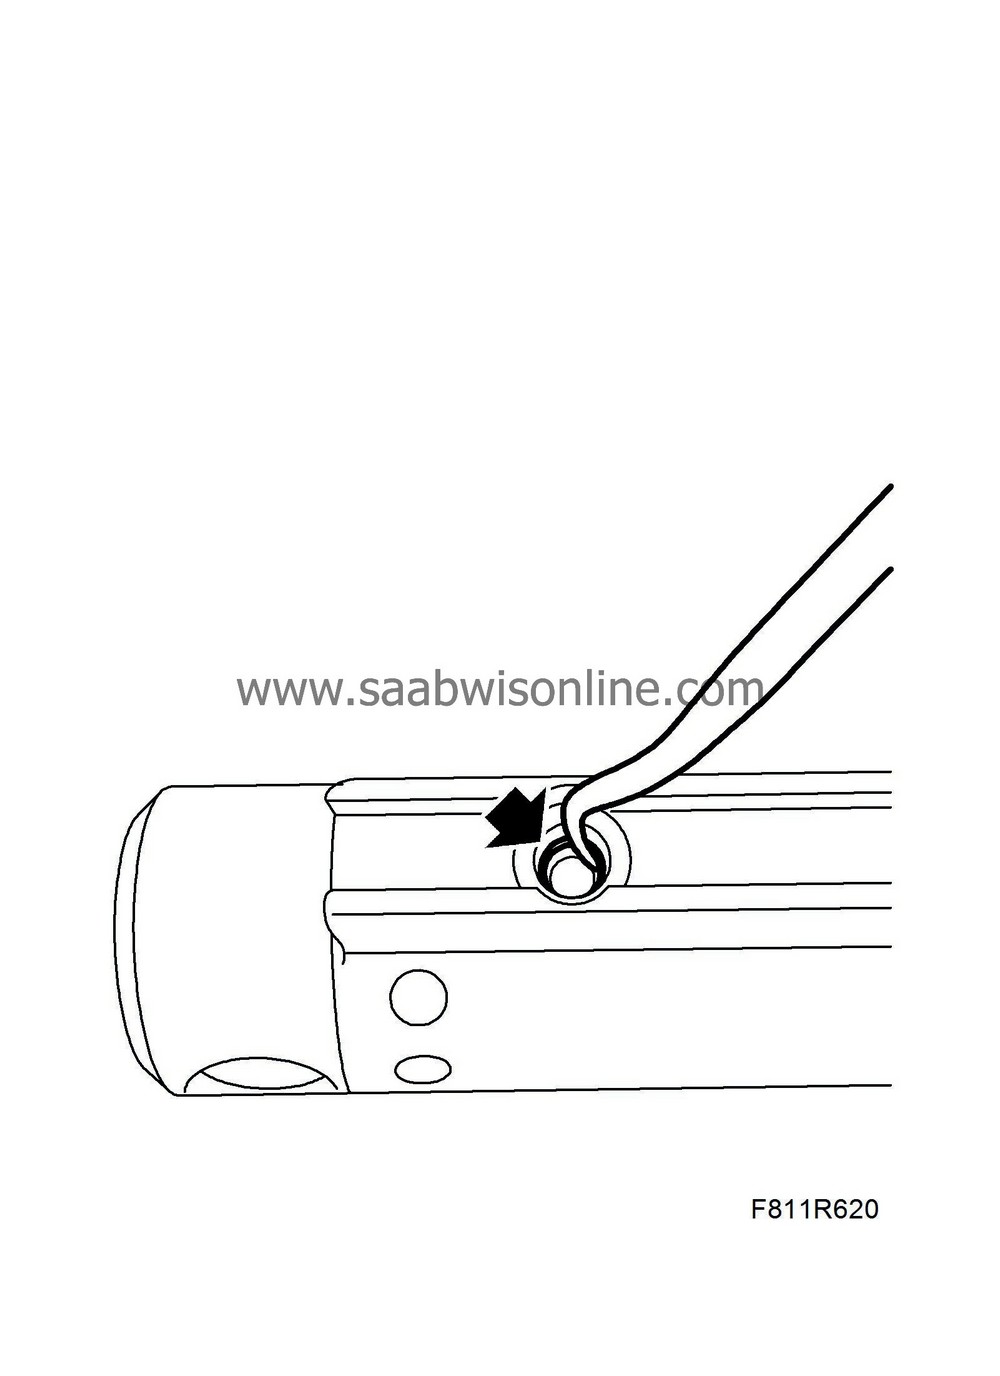
Remove the pin lock.
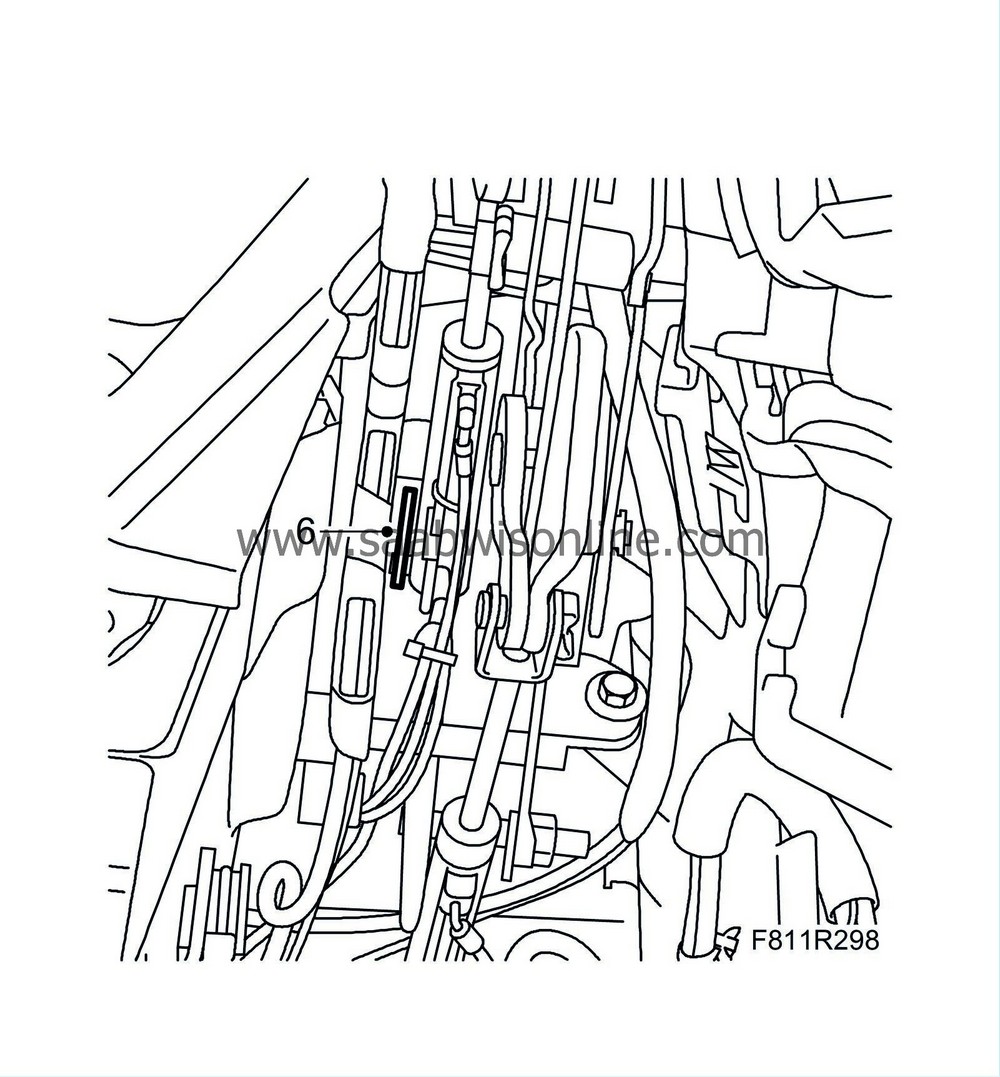
|
|
| 8. |
Remove the main cylinder piston rod from the fastening pin on the soft top mechanism and lift out the cylinder.
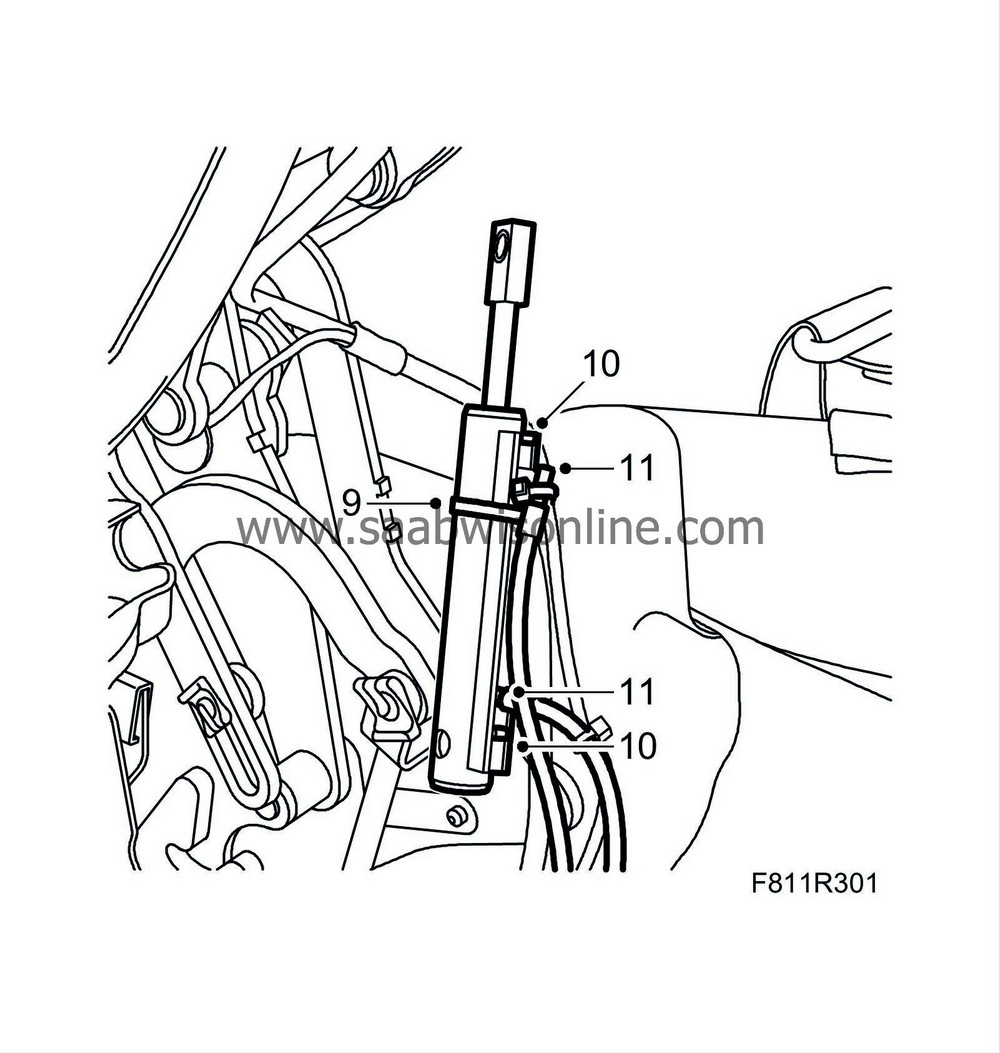
|
|
| 9. |
Right-hand side
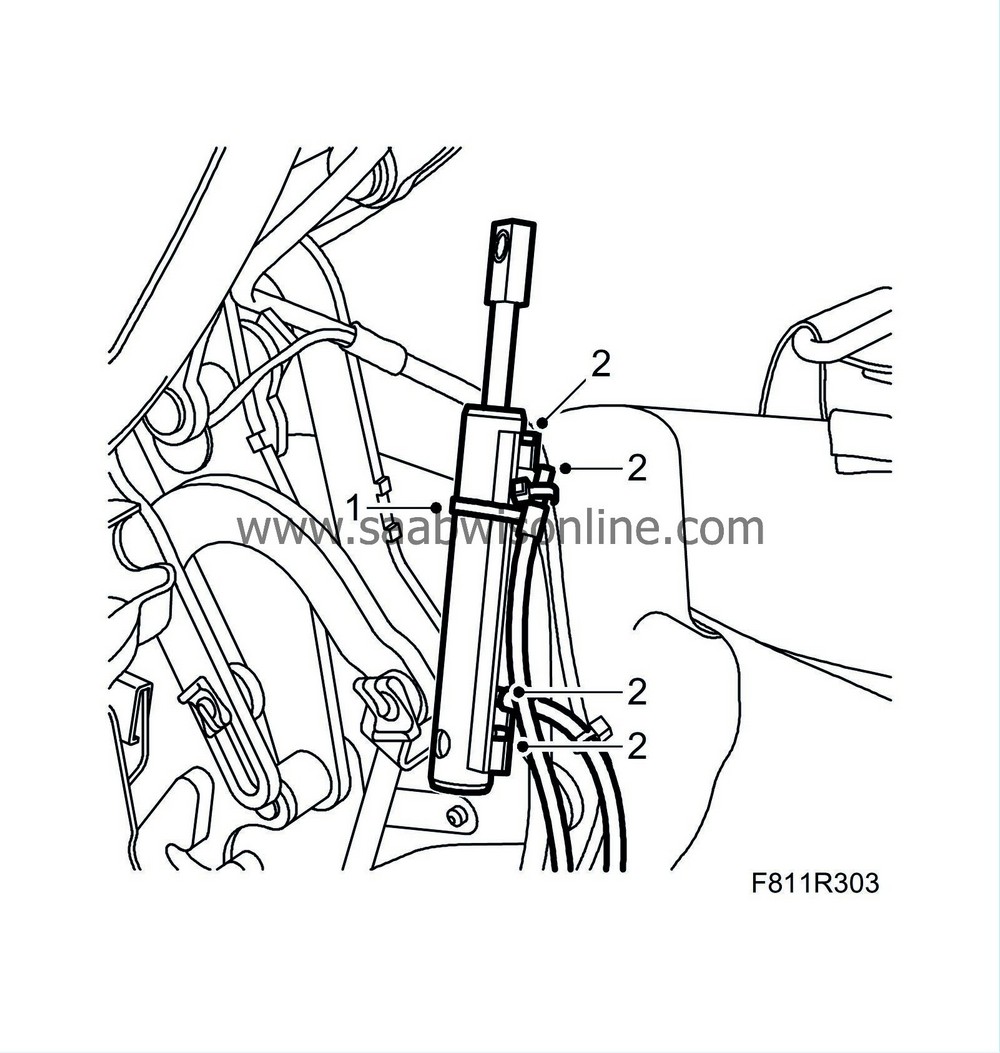
: Remove the position sensor cable tie.
Remove the position sensor cable connector (grey). |
|
| 10. |
Remove the hydraulic line retaining clips by pulling them out. Place some paper under the hydraulic cylinder to catch any hydraulic fluid that may run out.
|
|
| 11. |
Pull out the hydraulic lines from the hydraulic cylinder and remove the hydraulic cylinder.
|
||||||||||
| 12. |
Right-hand side
: Remove the position sensor from the hydraulic cylinder. Use a screwdriver to carefully lift off the sensor from the hydraulic cylinder.
|
|
| Fitting |
| 1. |
Right-hand side
: Fit the position sensor on the hydraulic cylinder. Plug in the position sensor cable connector (grey).
|
|
| 3. |
Put the hydraulic cylinder in mounting position. Fit the piston rod on the soft top mechanism fastening pin.
|
|
| 4. |
Put the cylinder in place and press in the lower fastening pin from inside. Press in the pin until the groove for the locking ring is visible.
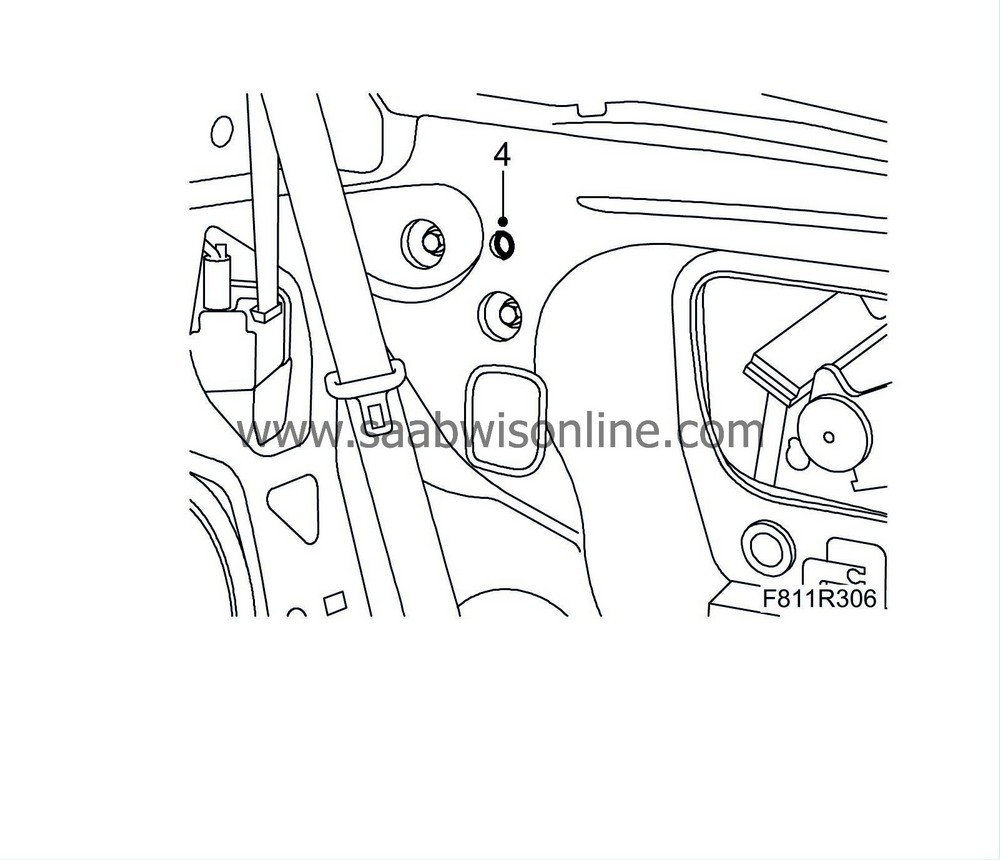
|
|
| 5. |
Fit the locking ring.
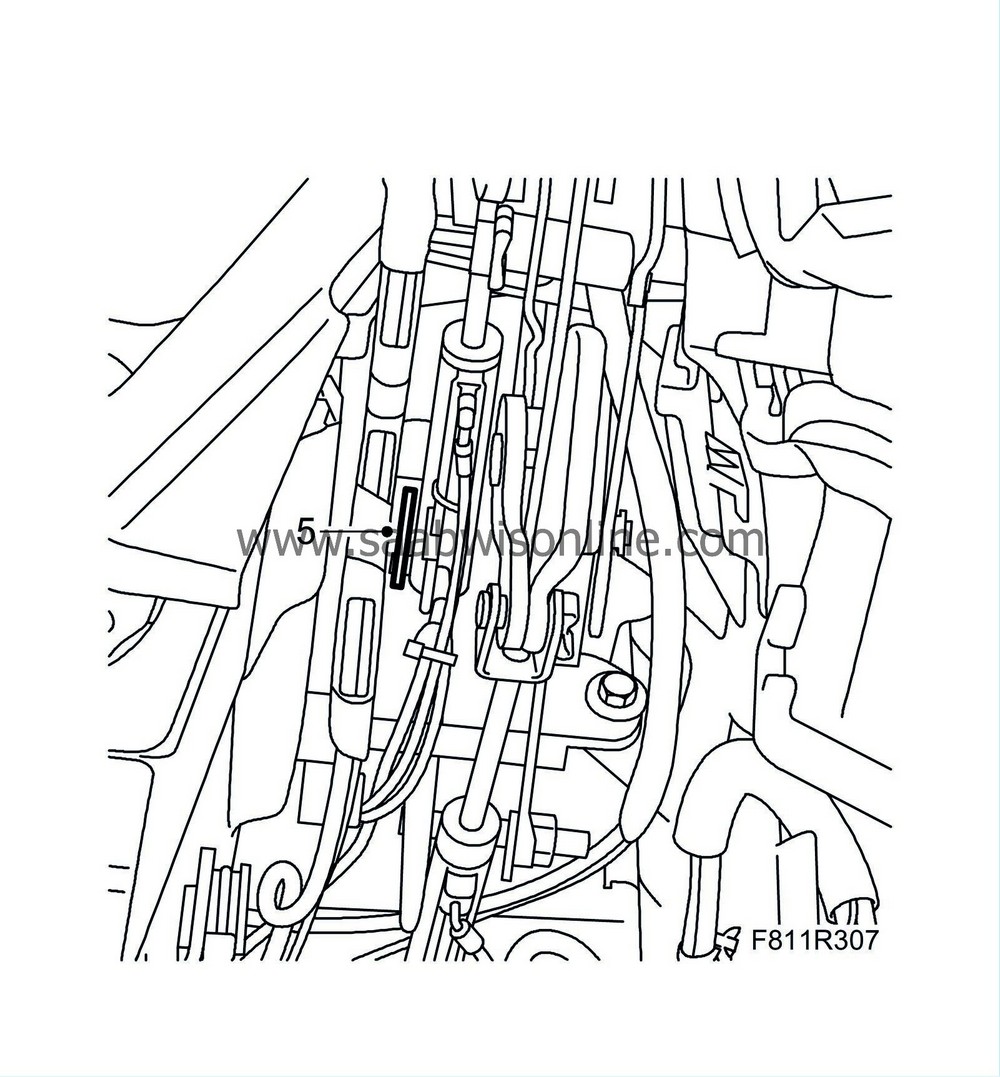
|
||||||||||
| 6. |
Fit the cable tie for the position sensor cables and for the hose package where appropriate.
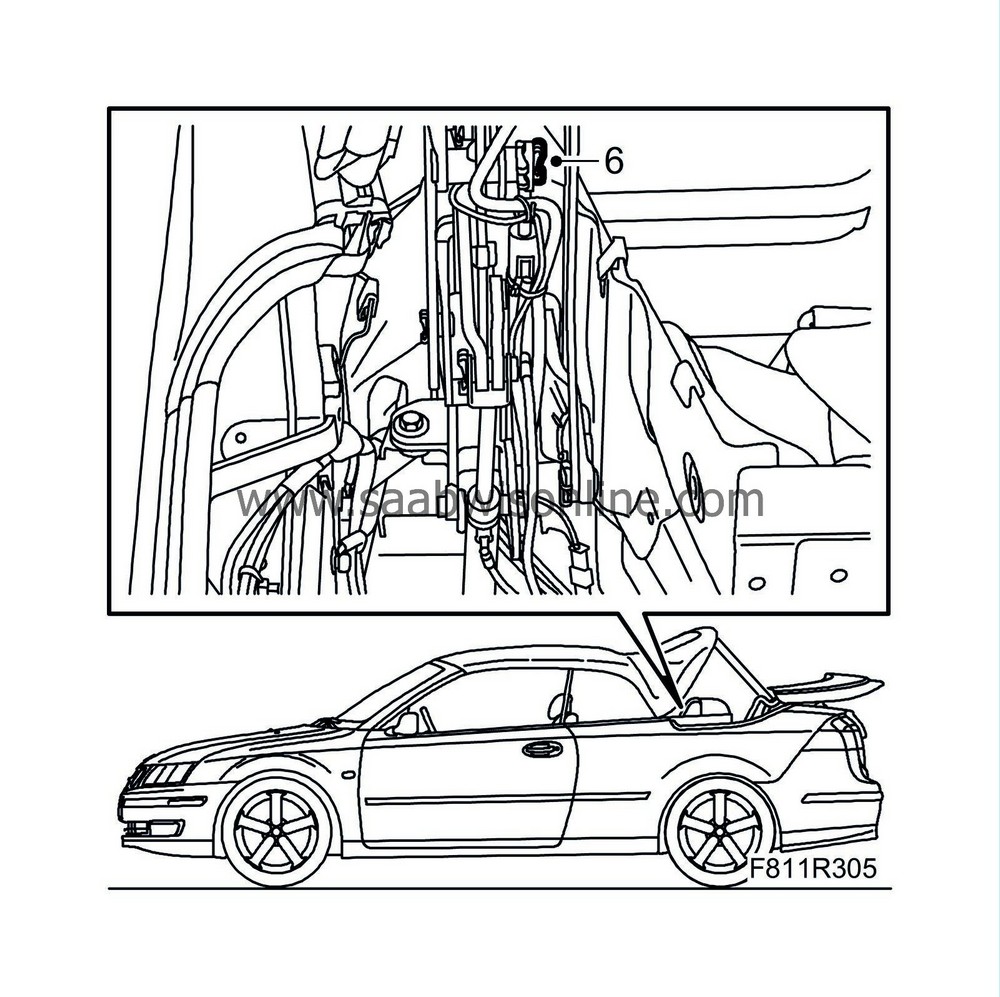
|
|
| 7. |
Remove the soft top support and open the soft top manually.
|
|
| 8. |
Open and close the soft top for 5 complete cycles to bleed the system and check the location of the cables and hose package.
|
|
| 9. |
Check for any fluid leaks.
|
|
| 10. |
Check the oil level and top up as necessary. See
Checking/filling oil
.
|
|
| 11. |
Fit
Luggage compartment side trim, CV
|
|
| 12. |
Fit the
Rear side trim, CV
,
Backrest, rear seat, CV
and
Rear seat cushion, CV
.
|
|
| 13. |
Cars with pinch protection
: Carry out
Programming the pinch protection
.
|
|
| 14. |
Connect the diagnostics tool and erase any diagnostic trouble code.
|
|

