Complete soft top (with hydraulic unit)
|
|
Complete soft top (with hydraulic unit)
|
When removing the entire soft top assembly, it is not necessary to empty the hydraulic system of fluid. The soft top assembly comprises: hydraulic unit, roof, hoses and the hydraulic cylinders of the soft top cover.
|
1.
|
Remove
Seat cushion, rear seat, CV
,
Backrest, rear seat, CV
,
Rear side trim, CV
,
Luggage compartment front trim, CV
and
Luggage compartment side trim, CV
from both sides.
|
|
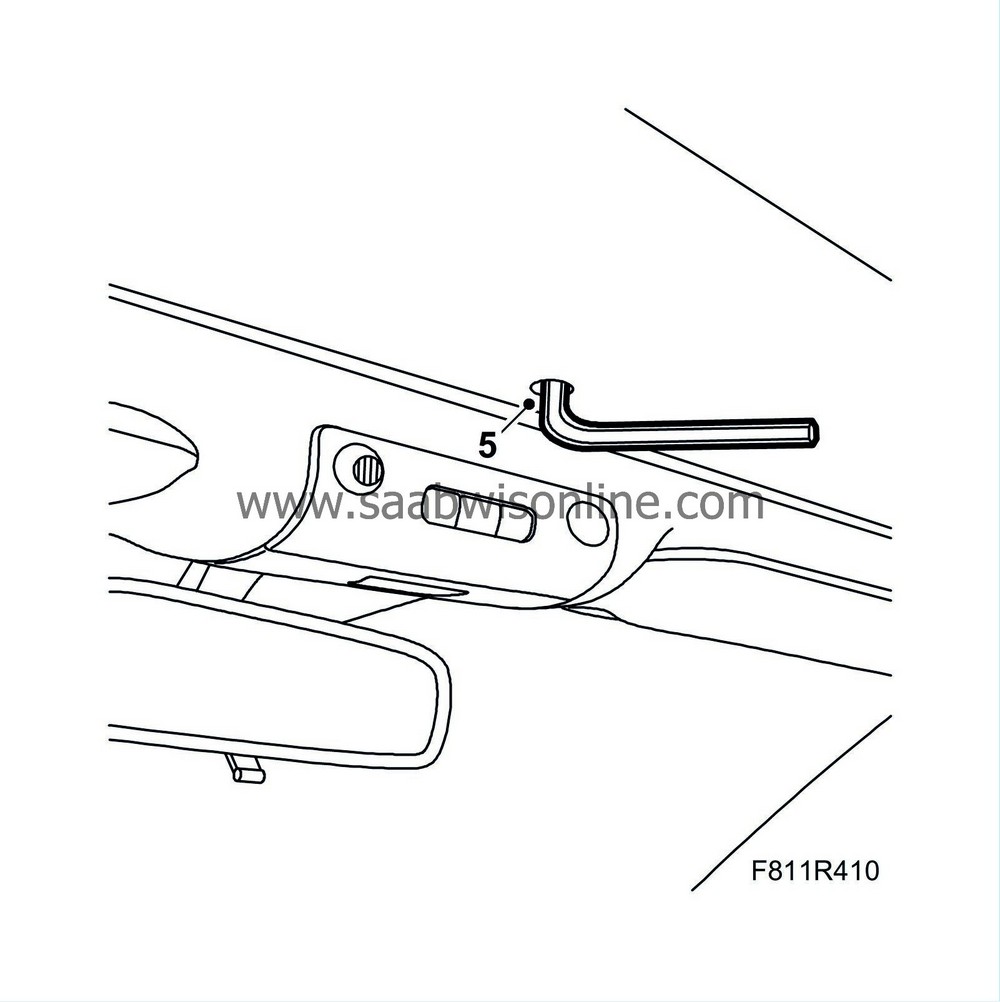
2.
|
Close the soft top completely and open the boot lid. Remove the emergency opening tool (included in the tool kit).
|
|
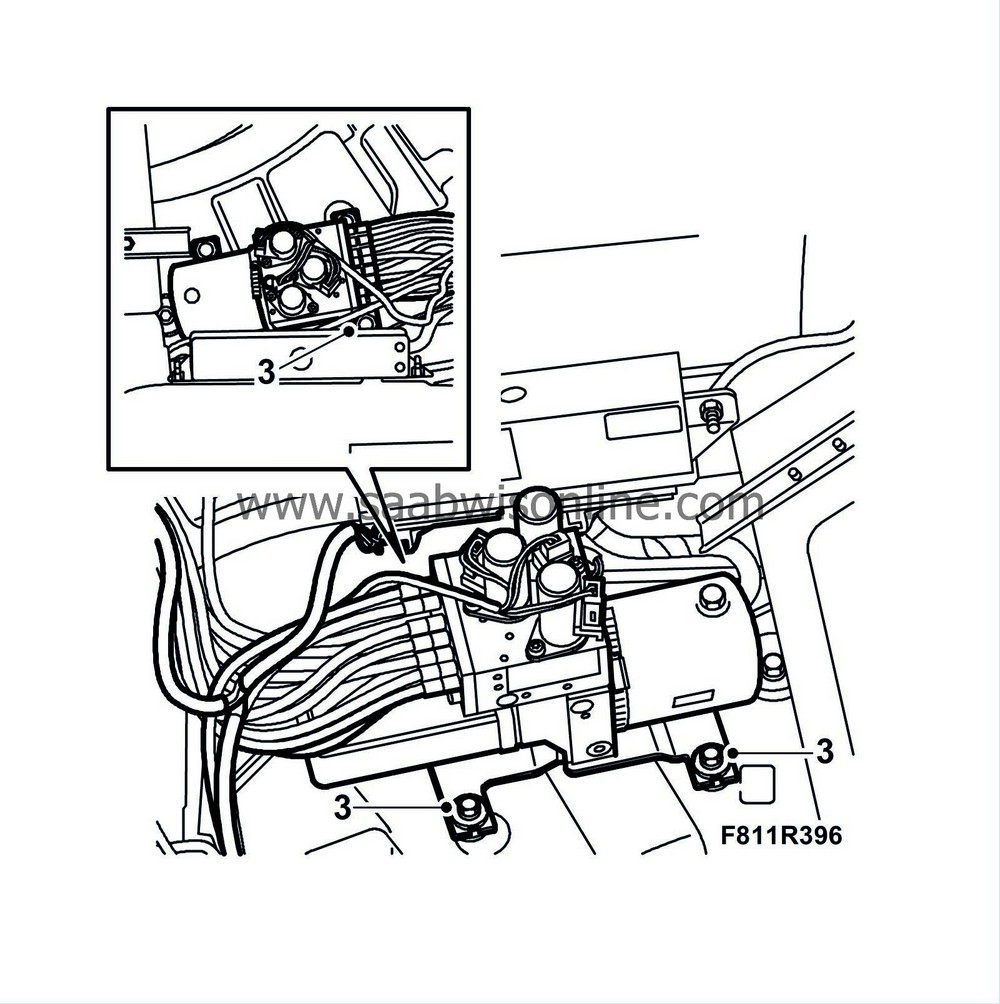
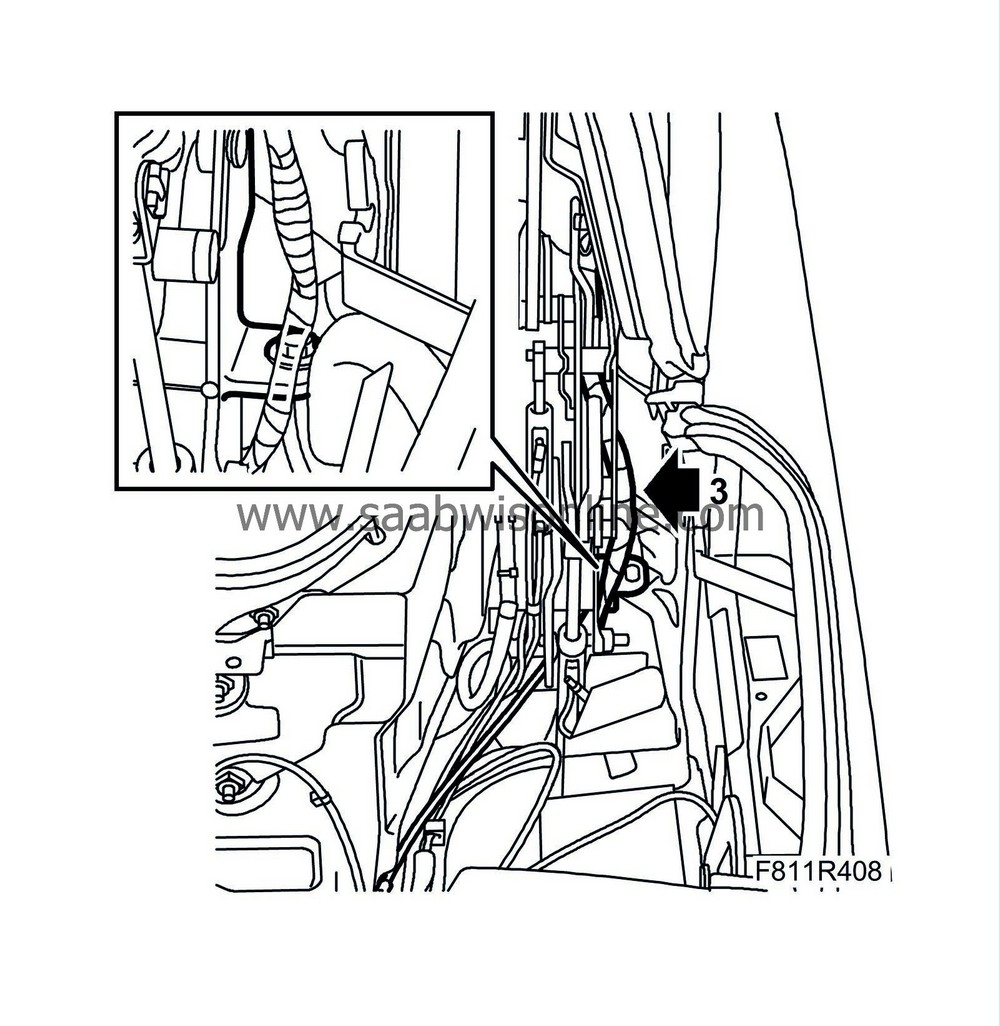
3.
|
Remove the 3 hydraulic unit nuts. Lift up the hydraulic unit.
|
|
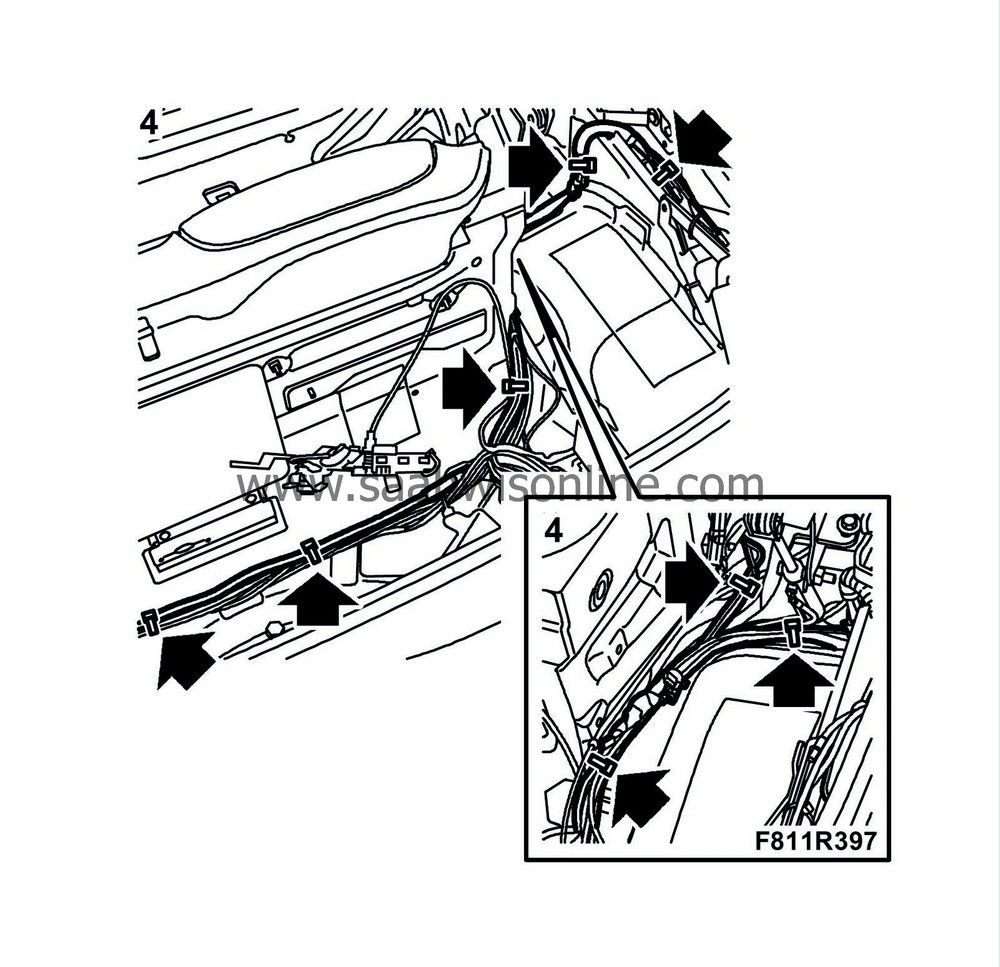
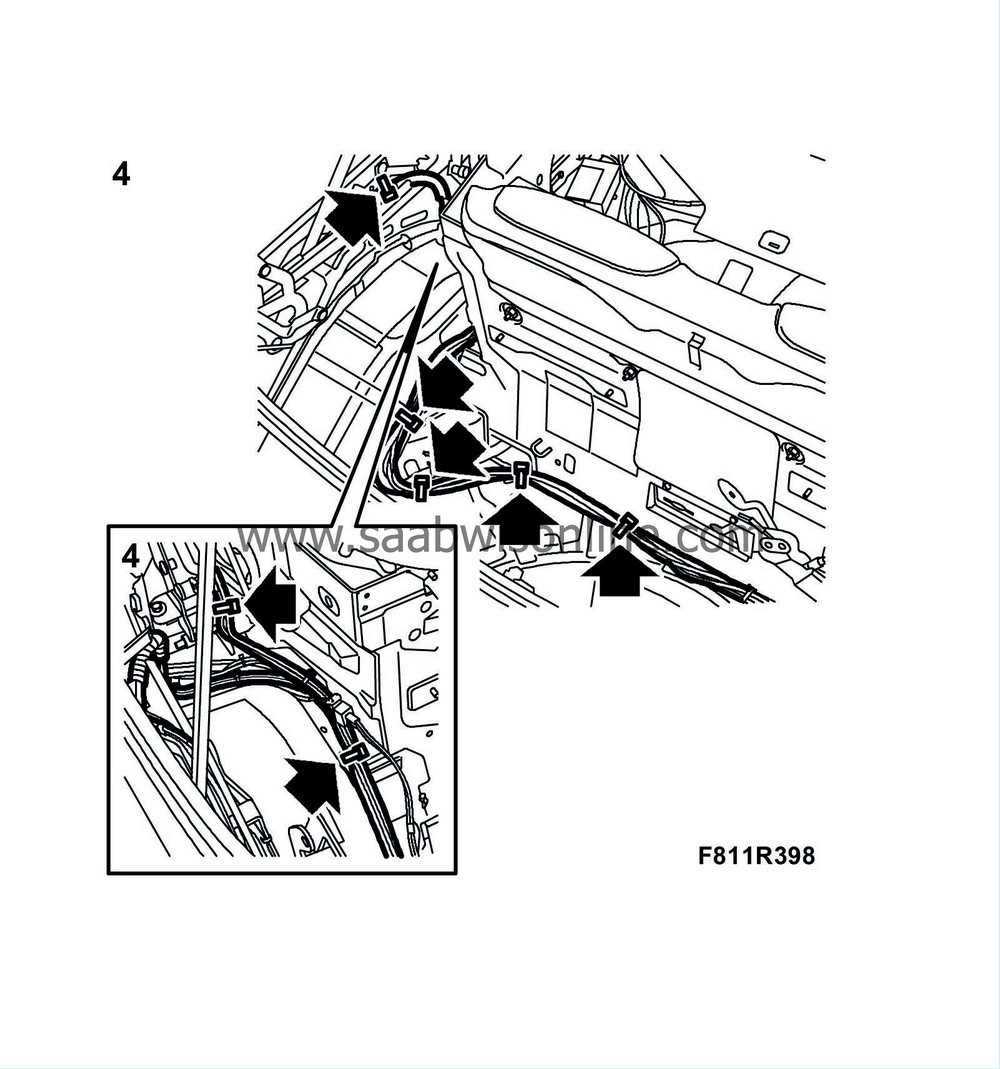
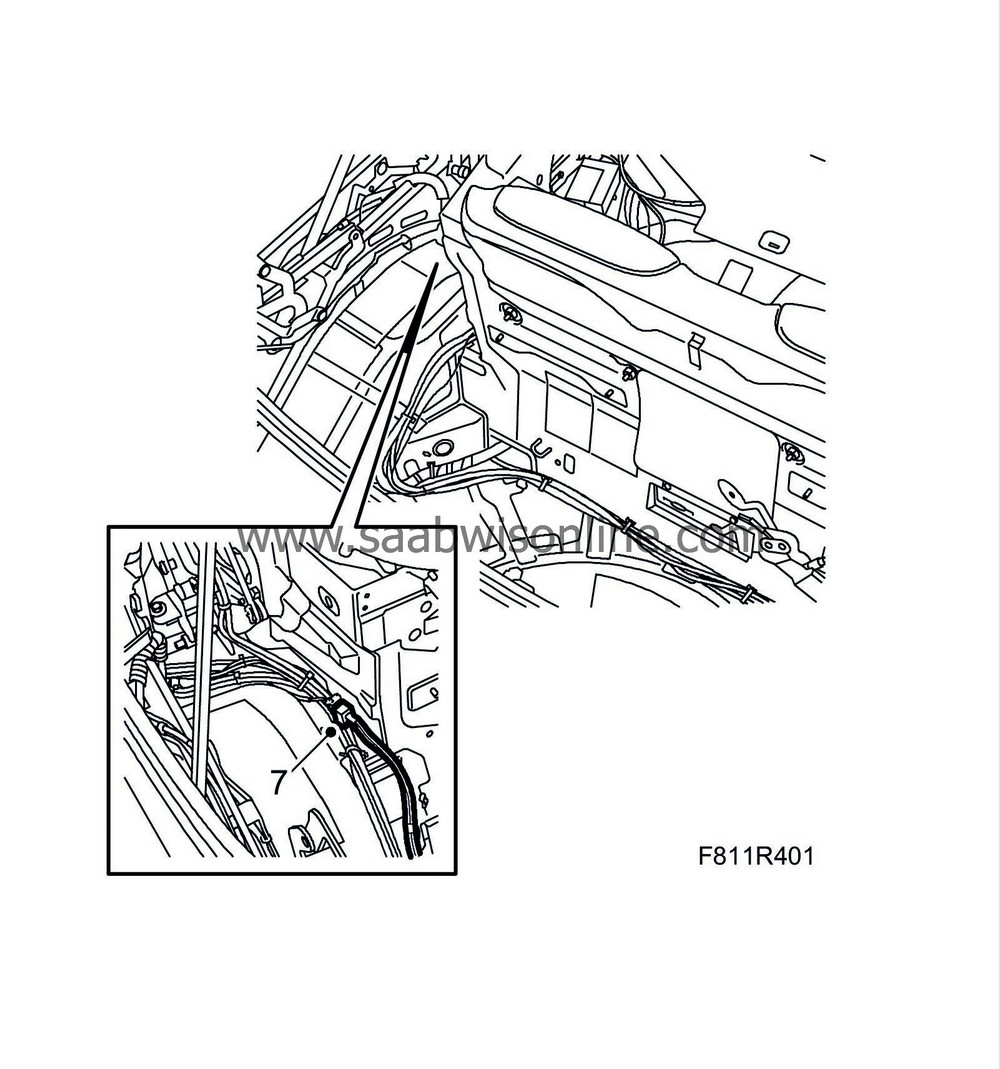
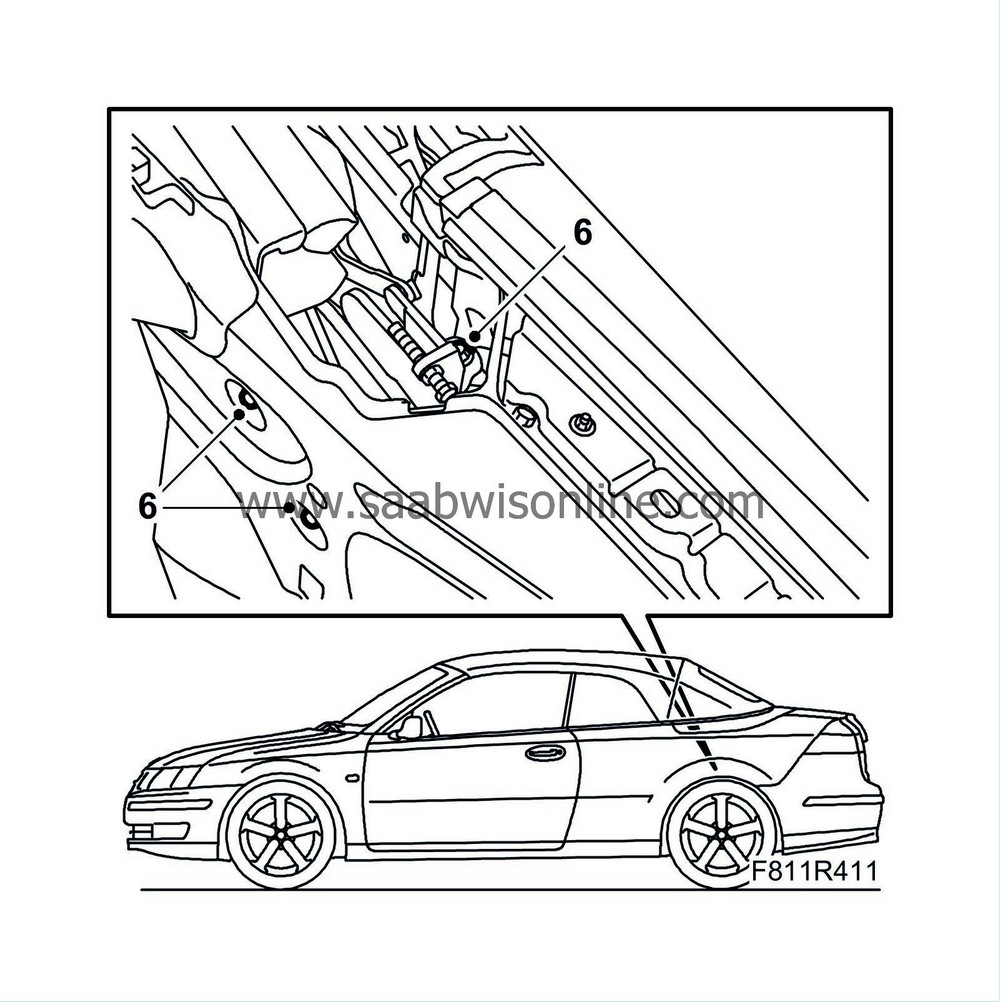
4.
|
Remove the hose package clip from the body.
|
|
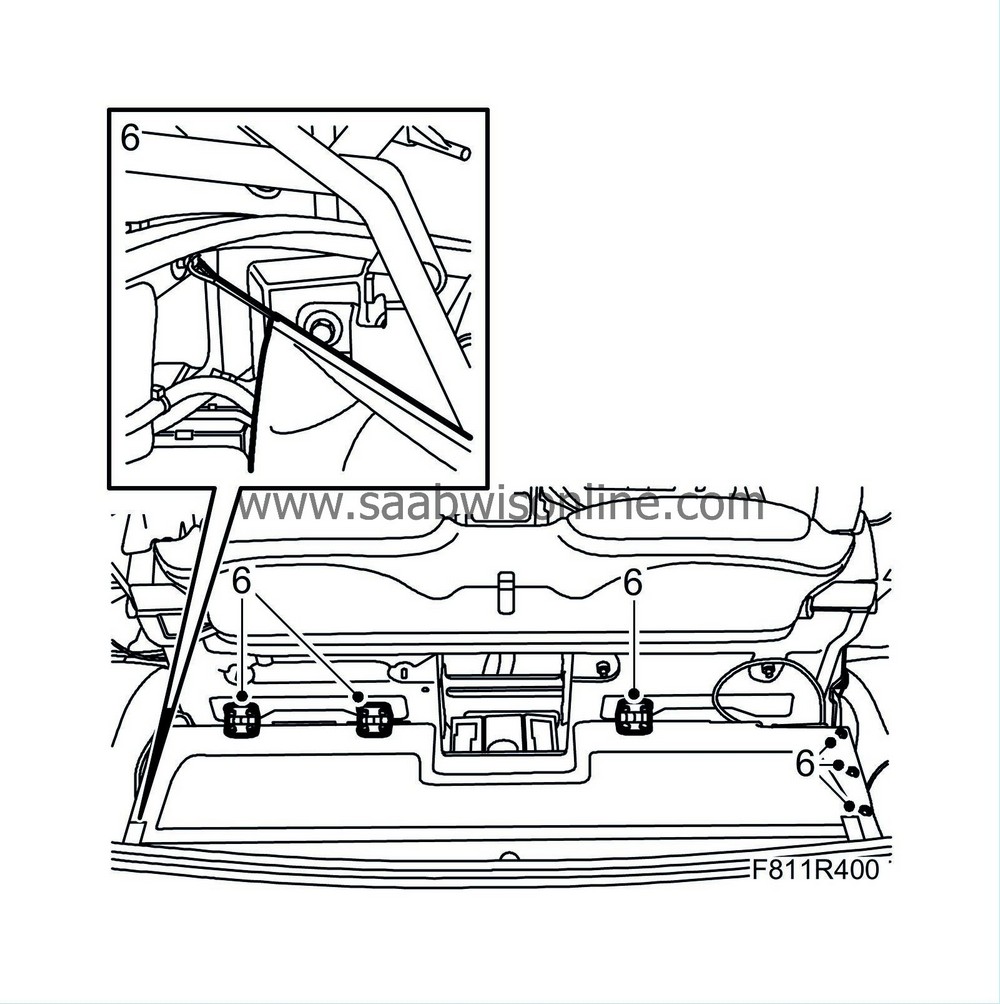
6.
|
Remove the front nuts securing the soft top storage and the bolts from the soft top storage drive. Unhook the side bands. Detach the front of the soft top storage and place it in the luggage compartment.
|
|
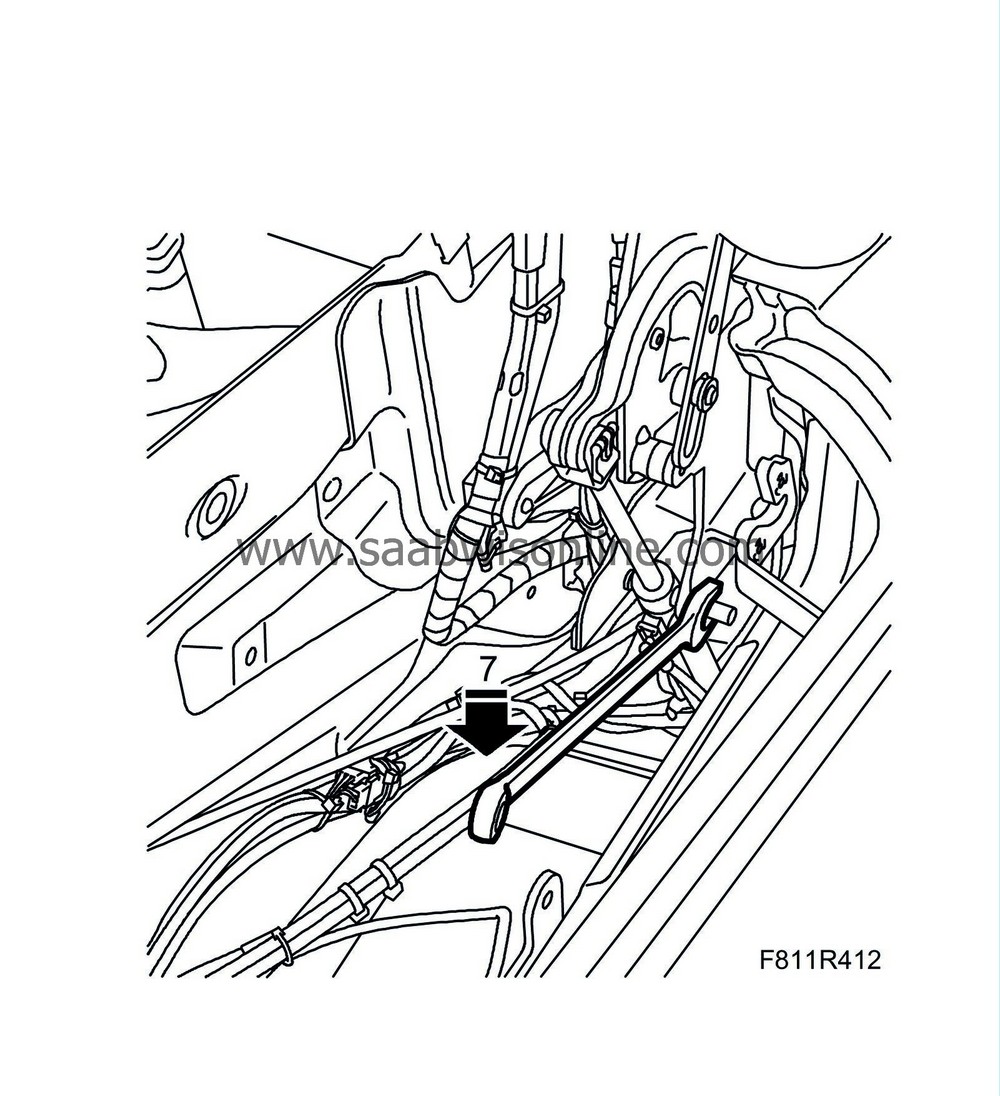
7.
|
Unplug the connector to the electrically heated rear window.
|
|
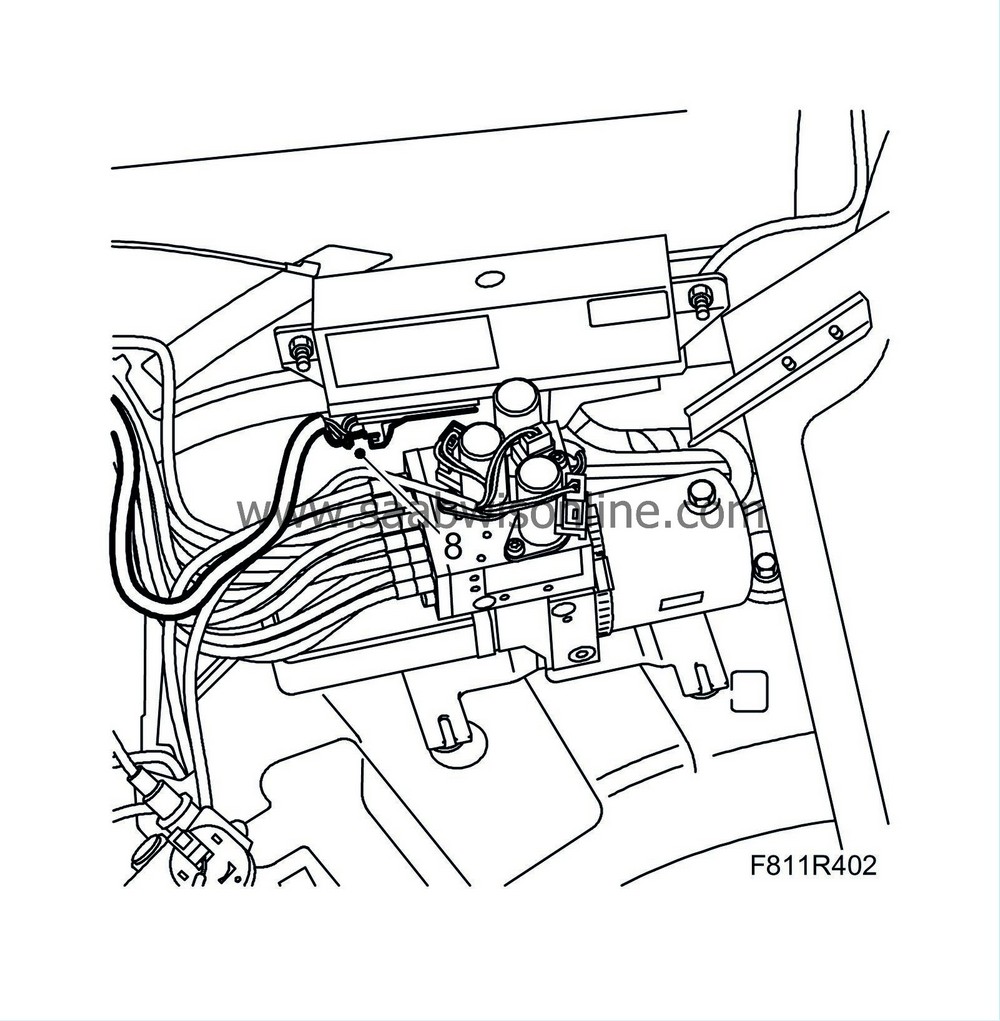
8.
|
Unplug the soft top control module front connector (blue connector).
|
|
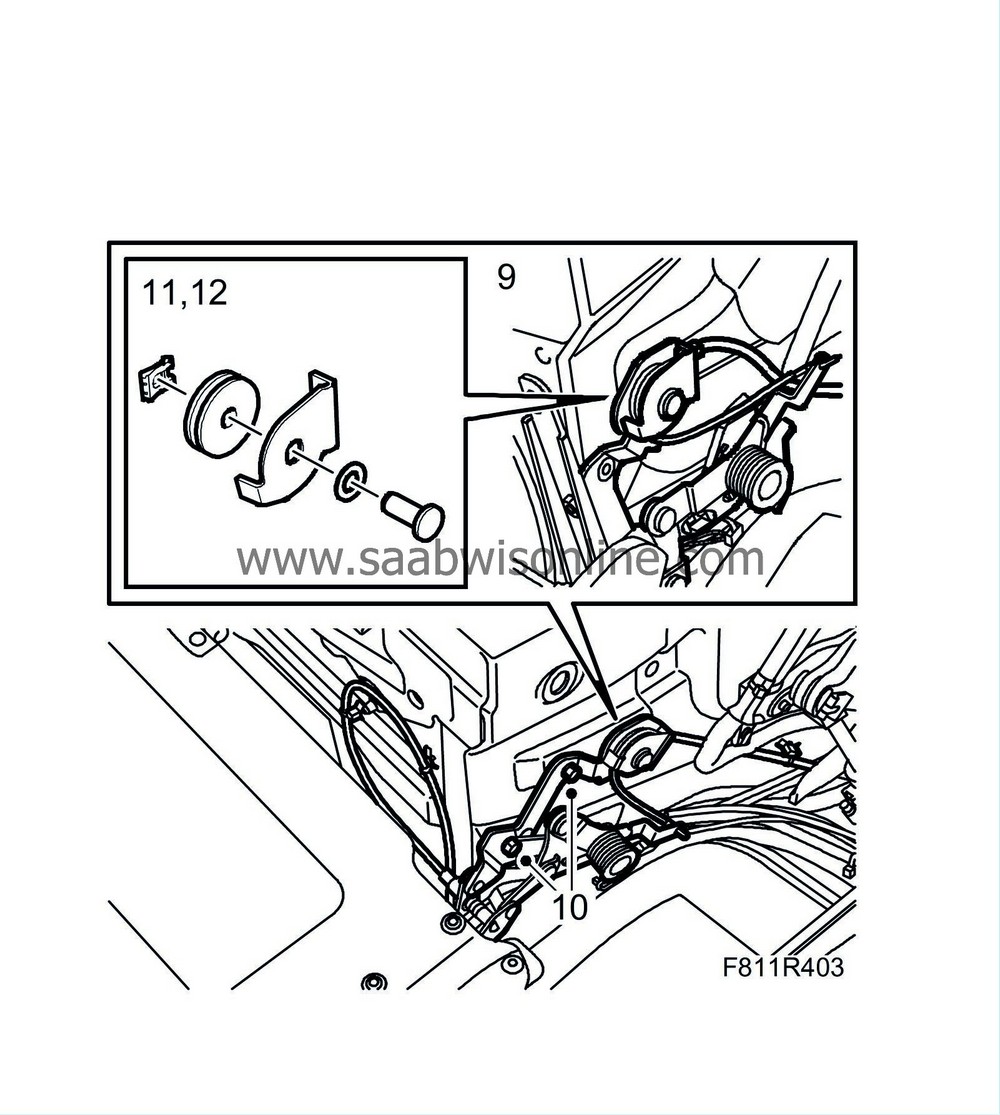
9.
|
Unhook the cable from the soft top storage drive.
|
|
10.
|
Remove the bolts from the soft top storage drive.
|
|
11.
|
Remove the clips from the idler pulley pin.
|
|
12.
|
Undo the idler pulley and unhook the cable from the holder.
|
|
13.
|
Remove the cable tie.
|
|
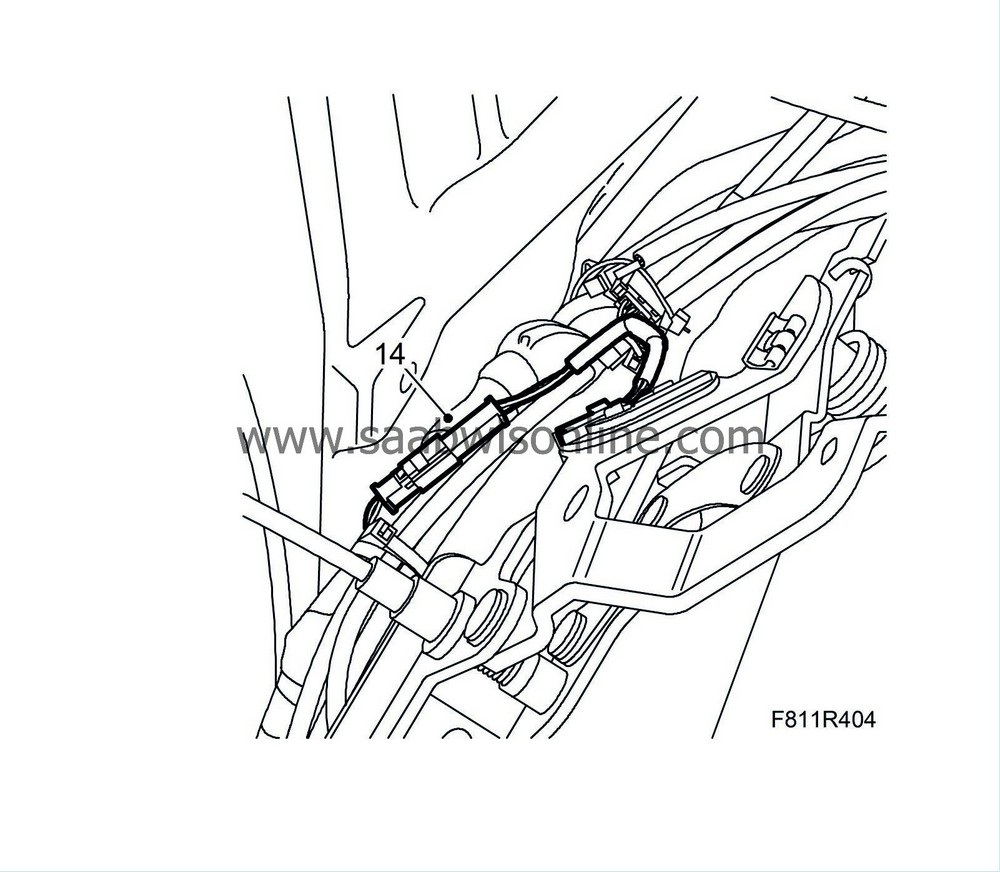
14.
|
Unplug the position sensor connector from the soft top storage drive. Hang the drive from the luggage hook.
|
|
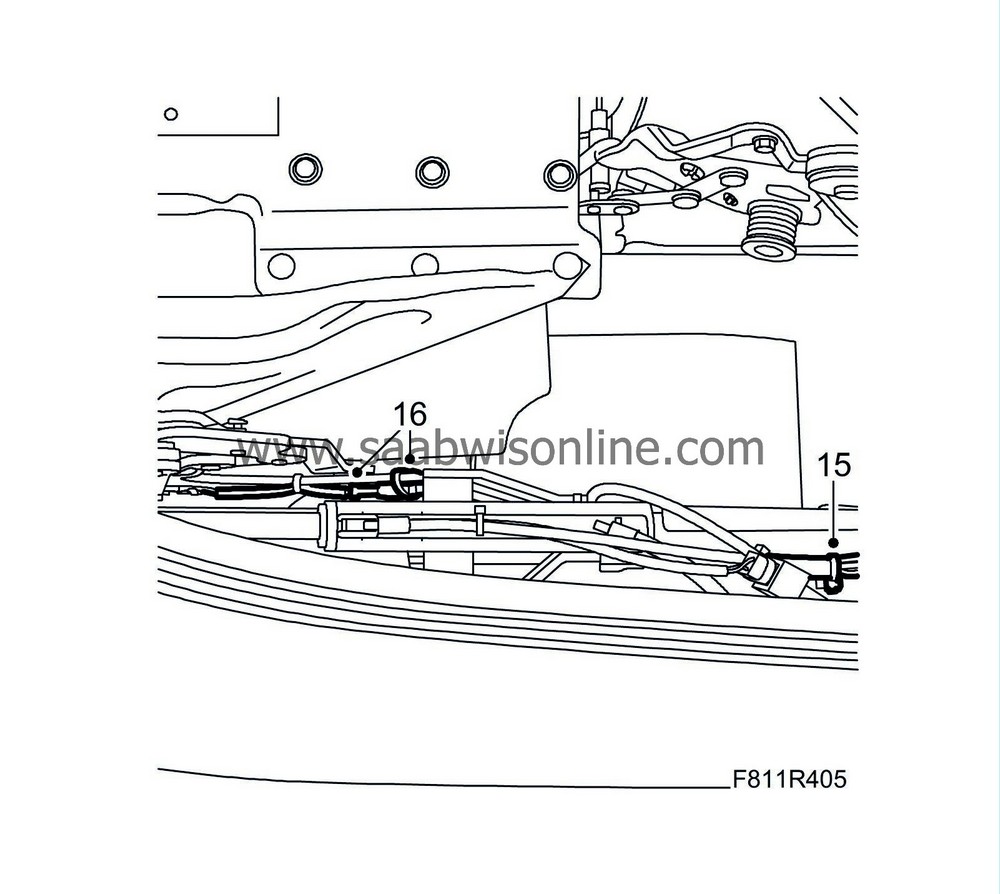
15.
|
Remove the cable ties securing the hoses to the body and the soft top cover hinges.
|
|
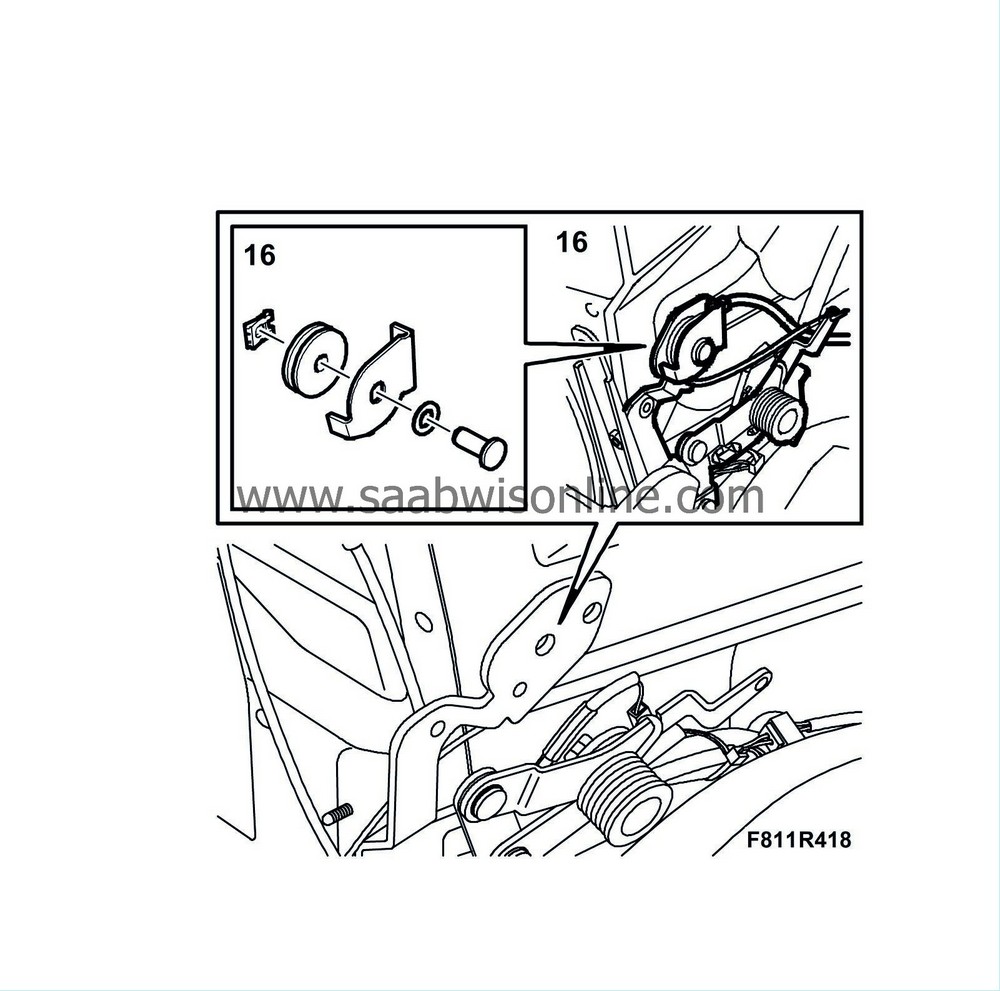
16.
|
Unplug the connector from the position sensor on the hinge. (Illustration of right-hand side)
|
|
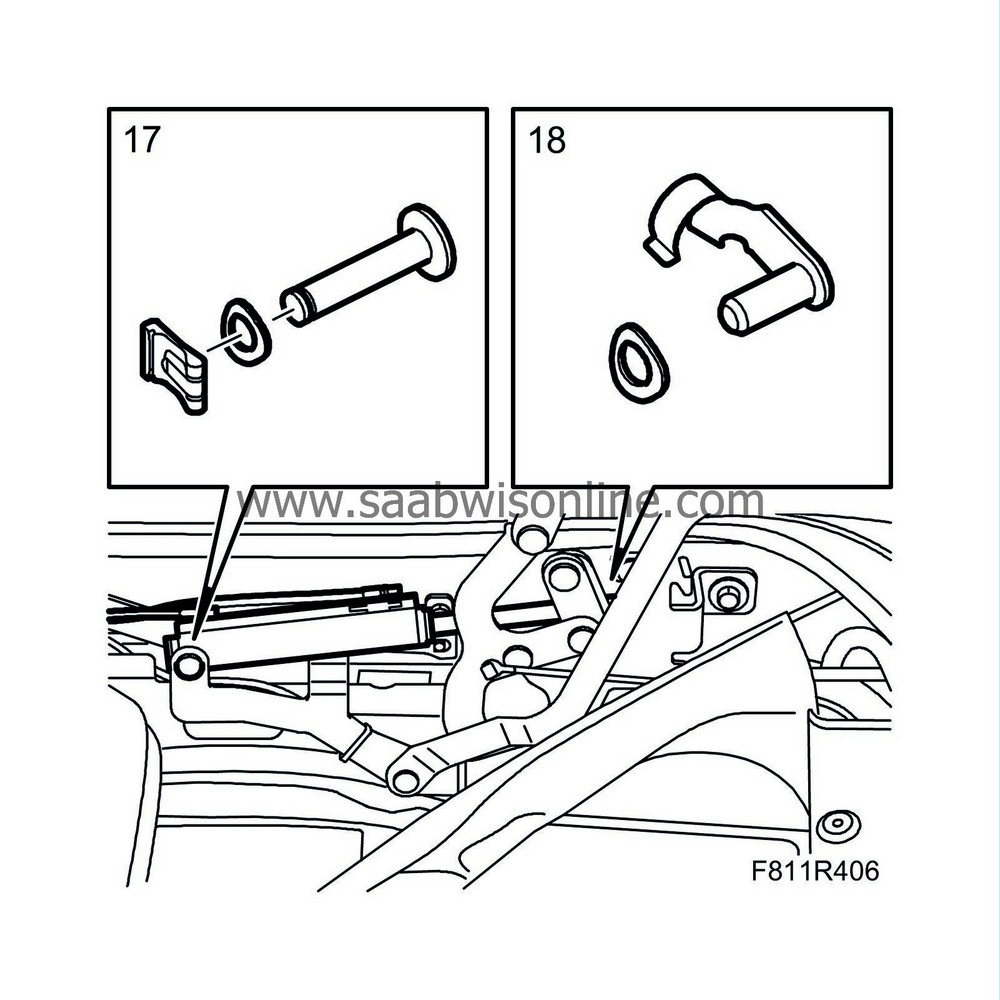
17.
|
Remove the hydraulic cylinder clip to the soft top cover
|
|
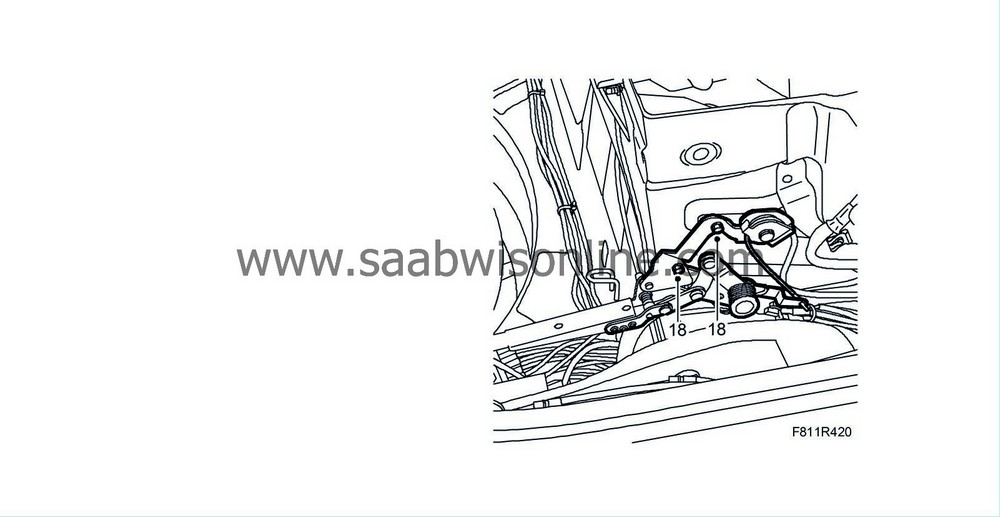
18.
|
Remove the hydraulic cylinder fastening pin. Note the accompanying washers.
|
|
19.
|
Lift away the hydraulic cylinders from the soft top cover hinge on both sides.
|
|
20.
|
Remove the soft top support from the sixth bow and lower the bow.
|
|
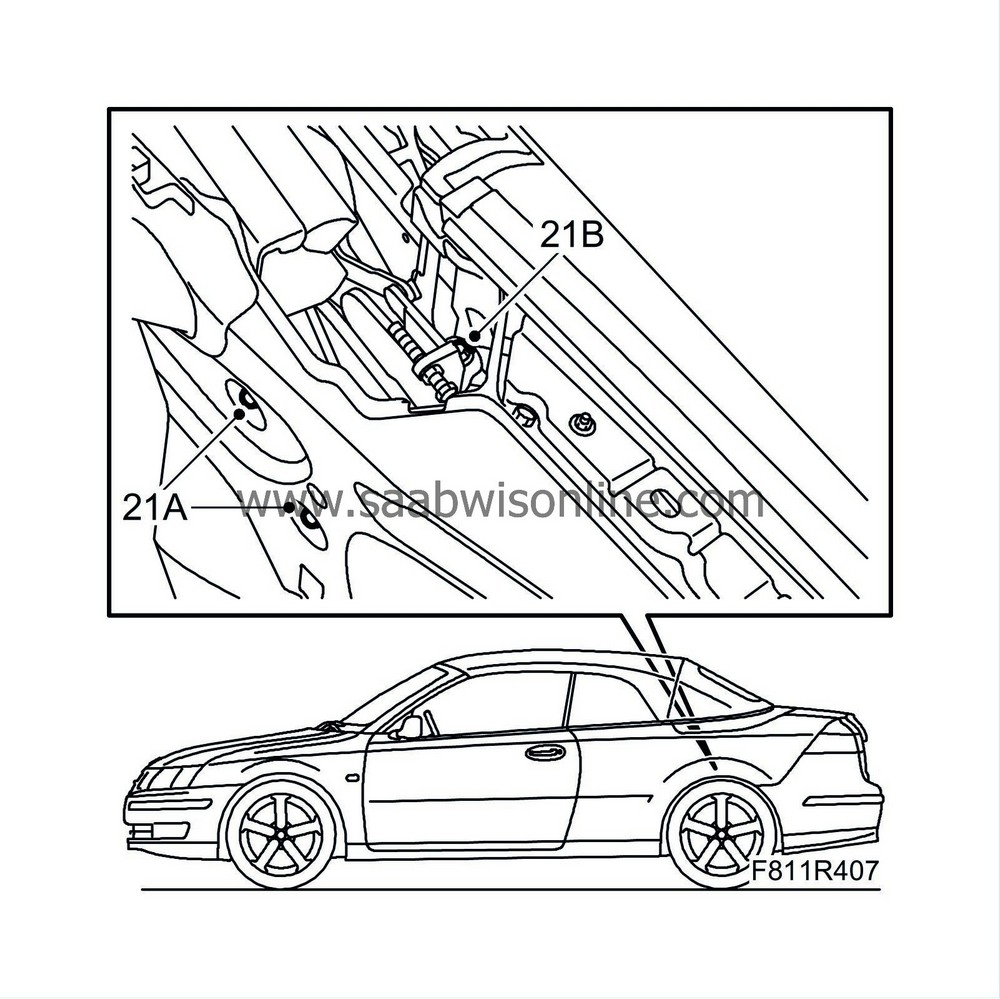
21.
|
A
: Remove the soft top mechanism inner bolts.
B:
Remove the outer bolts of the soft top mechanism. Note that there may be washers under the bracket.
|
|
22.
|
Open the first bow latch first using the emergency opening tool (included in the tool kit).
|
|
23.
|
Lift up the soft top, hydraulic unit, hoses and the two soft top cover cylinders. At least 4 people are required to do this. Lift the assembly backward out of the car.
Carefully put down the soft top assembly, making sure not to damage the hydraulic cylinders.
|
|
1.
|
Check and replace any damaged cable ties with hose fasteners. Fit these in exactly the original positions.
|
|
2.
|
Before putting the soft top in place, it must be in the closed position with the sixth bow open.
|
|
3.
|
With at least 3 assistants, lift the soft top and hydraulic unit over the car and lower the unit into its mounting position. The soft top cover hydraulic cylinders must be placed in the luggage compartment together with the hydraulic unit. Make sure the hose package is located behind the soft top bracket.
|
|
5.
|
Lock the first bow manually to the windscreen frame using the emergency operation tool (included in the tool kit).
|
|
6.
|
Thread (but do not tighten) the bolts securing the soft top mechanism brackets. Take note that there may be washers for the outer bracket.
|
|
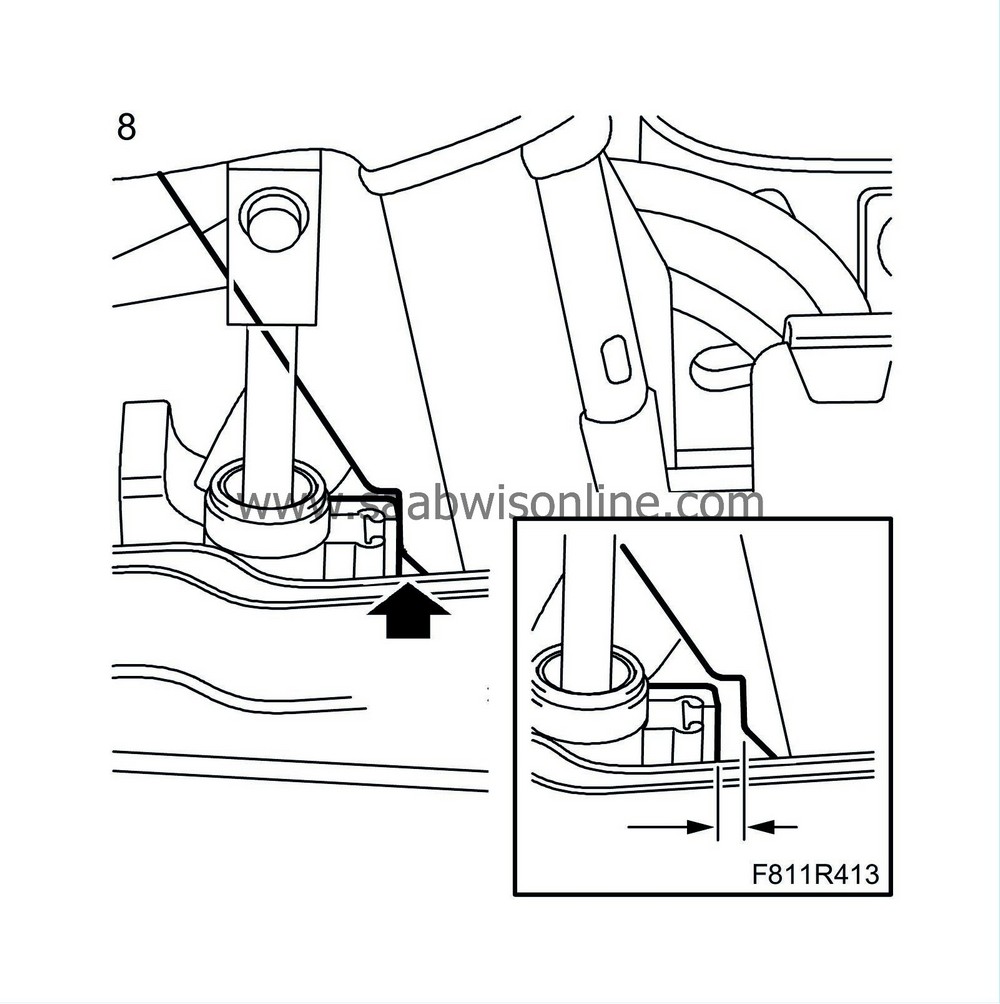
7.
|
Place a 17mm box wrench on the soft top mechanism hexagon.
|
|
8.
|
Press down the wrench so that the gap disappears (as illustrated). Do not press too hard, forcing the wrench forward. (The picture is taken from the rear seat).
|
|
9.
|
Hold the wrench in this position and tighten the bolts in the soft top mechanism. Repeat on the other side.
|
|
10.
|
Lay out the hose package and hydraulic lines in place.
|
|
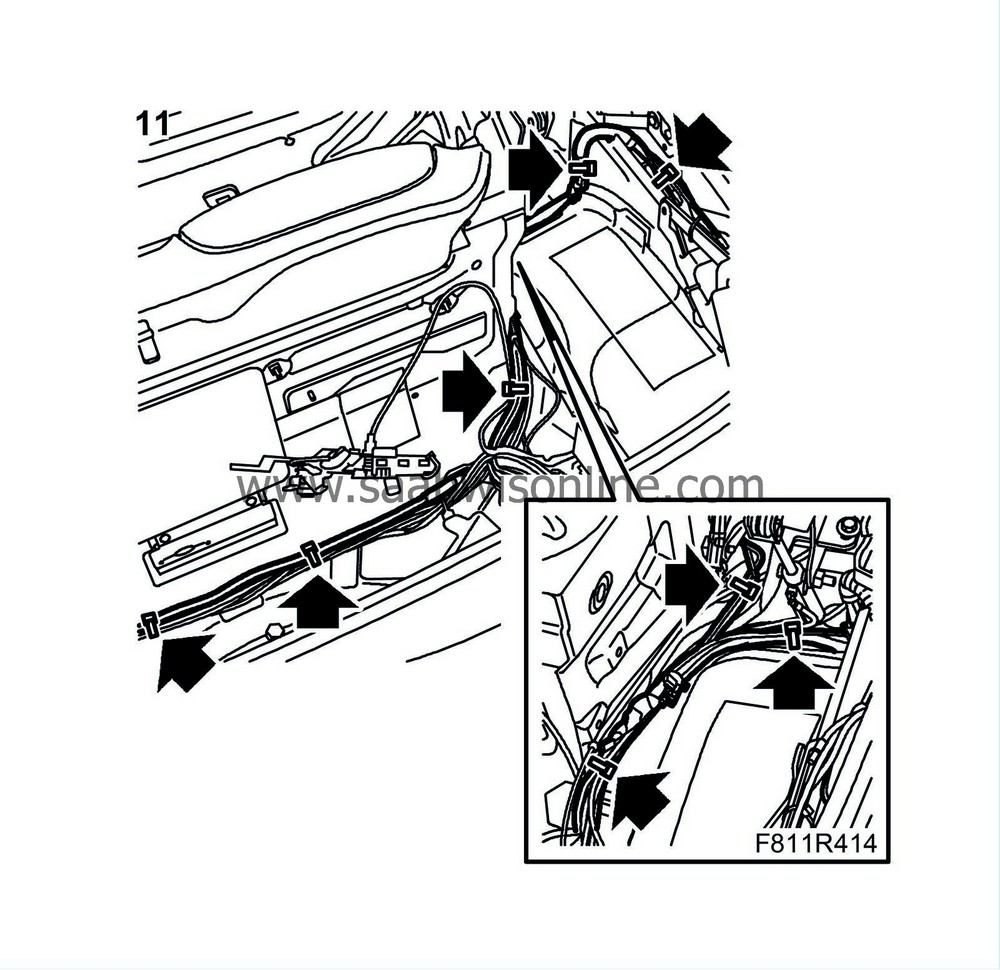
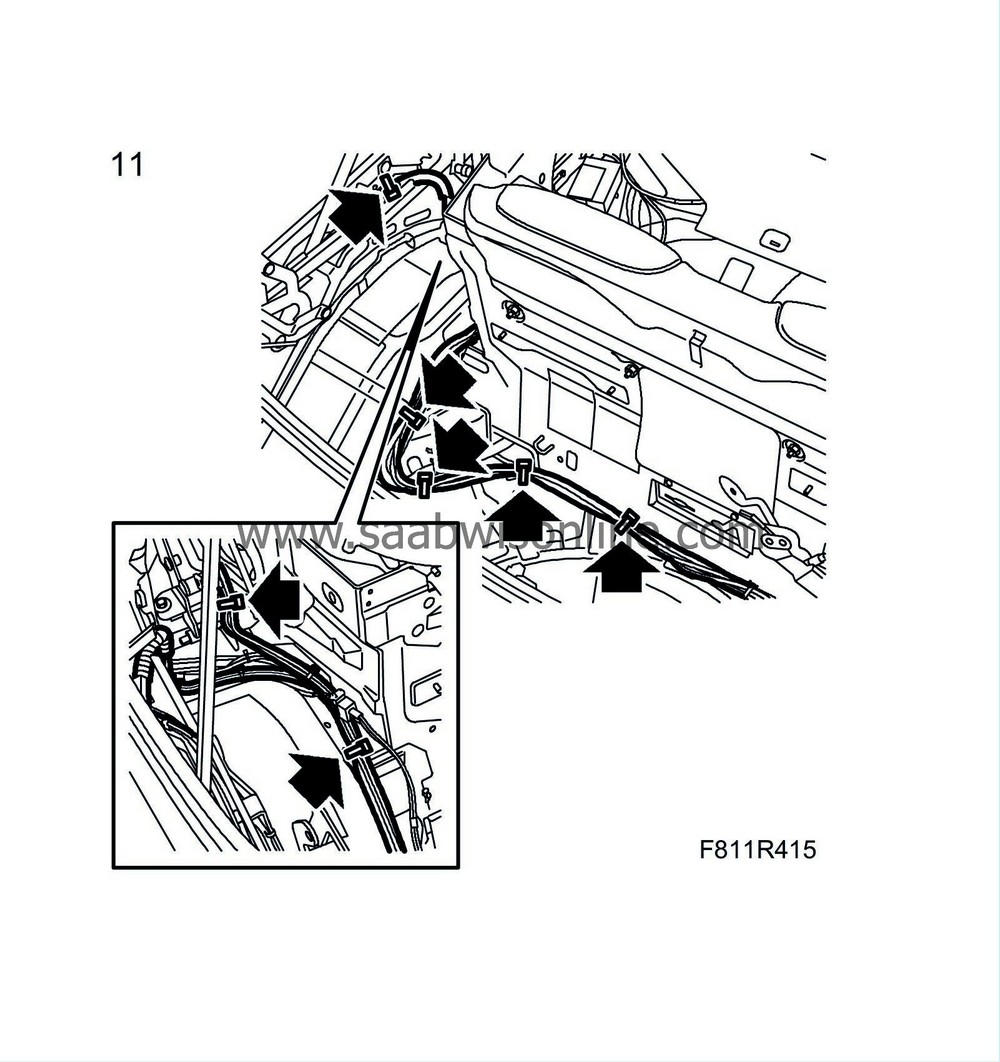
11.
|
Fit the cable tie clips for the hoses and hydraulic lines. Plug in the rear window connector on the left-hand side.
|
Important
|
|
Cables and hydraulic lines must be refitted as they were earlier or there will be a risk of them being damaged when the soft top is operated.
|
|
|
|
|
12.
|
Plug in the connectors to the position sensors on the soft top cover hinge on both sides.

|
|
13.
|
Press the clips home onto the body. Fit the cable ties to the position sensor cables on both sides.
|
Important
|
|
Cables and hydraulic lines must be refitted as they were earlier or there will be a risk of them being damaged when the soft top is operated.
|
|
|
|
|
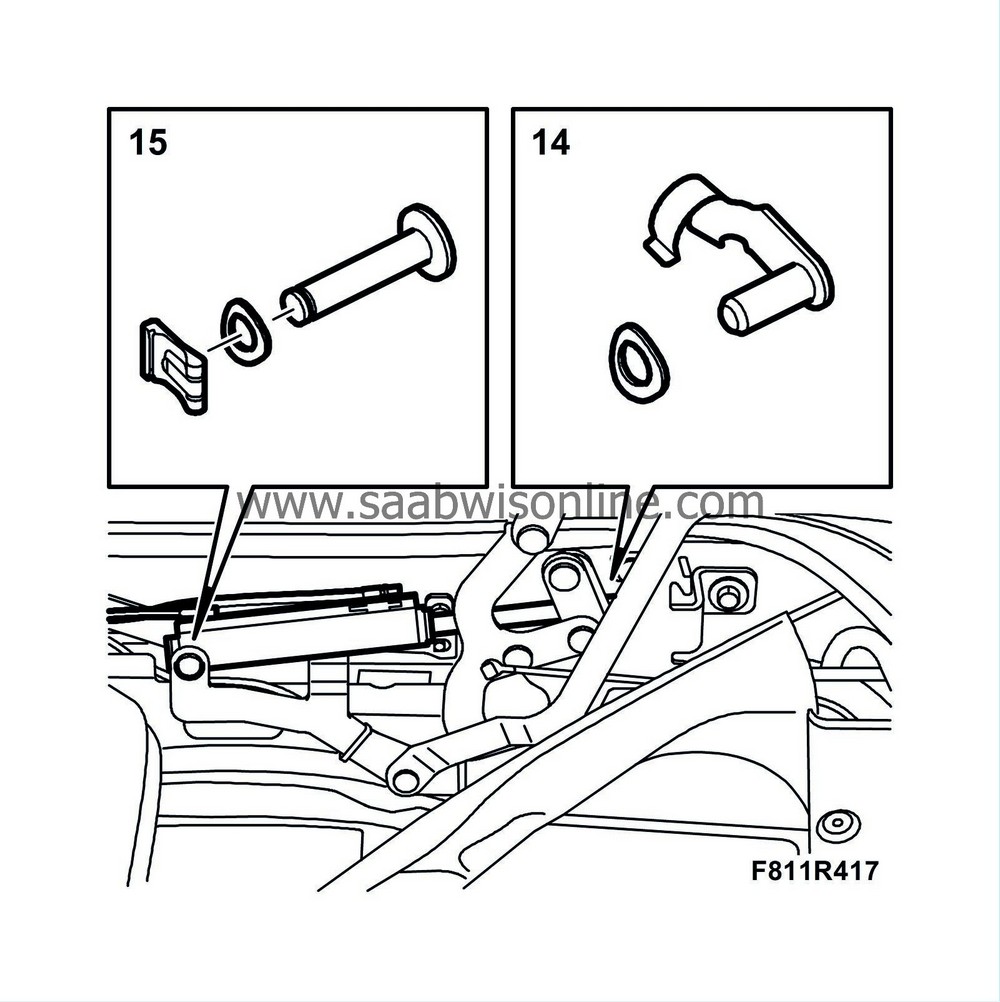
14.
|
Fit in place the hydraulic cylinders for the soft top cover. Fit the piston rod fastening pin with washer (if any).
|
|
15.
|
Fit the hydraulic cylinder fastening pin with washer where appropriate. The washer must be towards the cylinder. Fit the clip.
|
|
16.
|
Fit the cable and idler pulley to the soft top storage mechanism.
|
|
17.
|
Plug in the position sensor and place the connector behind the wiring.

|
|
18.
|
Place the soft top storage drive in its mounting position. Fit the retaining bolts for the soft top storage drive.
|
|
19.
|
Place the soft top storage in position for fitting. Fit the bolts to the soft top storage. Lift up the soft top storage to check that the side bands fit correctly.

|
|
20.
|
Place the hydraulic unit in mounting position and bolt it on.

|
|
21.
|
Plug in the control module connector (blue connector).
|
|
22.
|
Test run the soft top. Check that the first bow lock hooks mesh exactly with the latch fittings on the windscreen frame and that the hydraulic lines are located correctly.
|
|
26.
|
Connect the diagnostics tool and erase any diagnostic trouble code.
|


