PRE-RELEASE
Front Lower Control Arm Rear Bushing Replacement
| Front Lower Control Arm Rear Bushing Replacement |
| Removal Procedure |
| 1. |
Raise and support the vehicle. Refer to
Lifting and Jacking the Vehicle
.
|
|
| 2. |
Remove the front lower control arm rear bolts. Refer to
Lower Control Arm Replacement
.
|
|
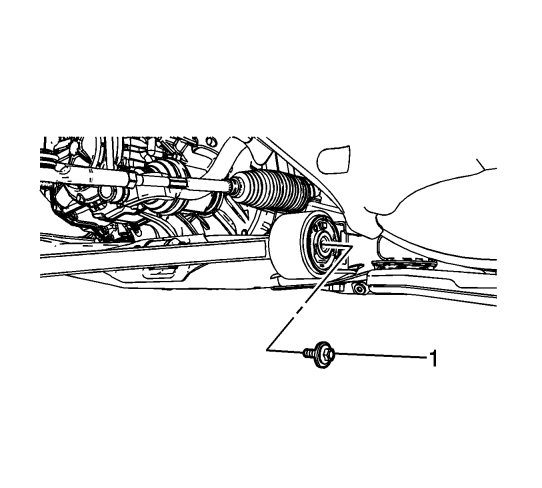
| 3. |
Remove and discard the front lower control arm bushing bolt (1). Replace with NEW only.
|
|
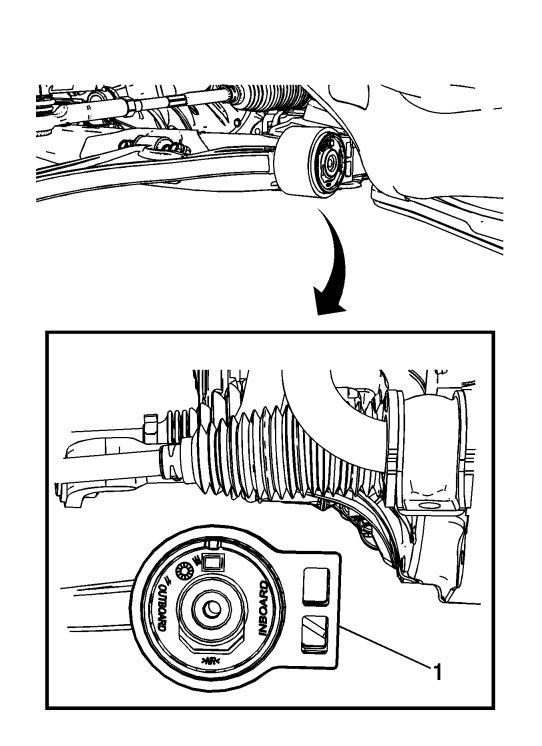
| 4. |
Before removing the lower control arm bushing (1), note the location of the marking on the bushing (1).
|
|
| 5. |
Position the control arm away from the underside of the vehicle to remove the bushing (1) from the lower control arm. 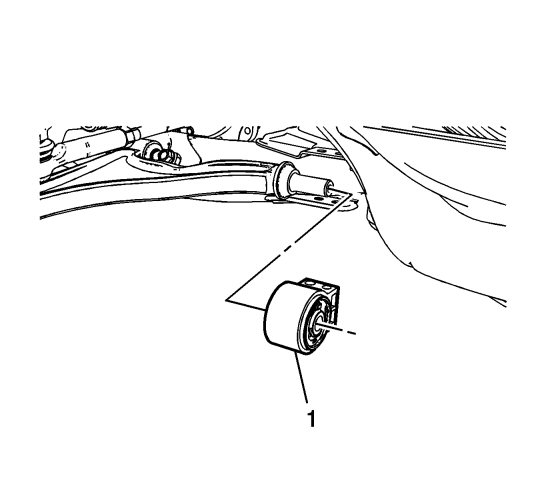
|
|||||||
| Installation Procedure |
| 1. |
Ensure that the lower control arm bushing (1) installed with the markings on the bushing (1) are facing the rear of the vehicle.
|
|
| 2. |
Reposition the lower control arm in away to install the bushing (1).
|
|
| 3. |
Install the NEW lower control arm bushing bolt (1).
|
|||||||
| 4. |
Install the front lower control arm rear bolts. Refer to
Lower Control Arm Replacement
|
|
| 5. |
With the vehicle at curb height, tighten the lower control arm bushing bolt (1) to
55 Nm 41 lb ft plus 90 degrees
.
|
|
| 6. |
Verify the front wheel alignment. Refer to
Wheel Alignment Specifications
.
|
|
