PRE-RELEASE
Changing generator, 4-cyl diesel
| Changing generator, 4-cyl diesel |
| To remove |
| Note | ||
|
If the car has a non-Saab radio, check that the customer has the radio code before commencing work. |
| 1. |
Remove the battery cover and disconnect the negative battery terminal.
|
|
| 2. |
Raise the car.
|
|
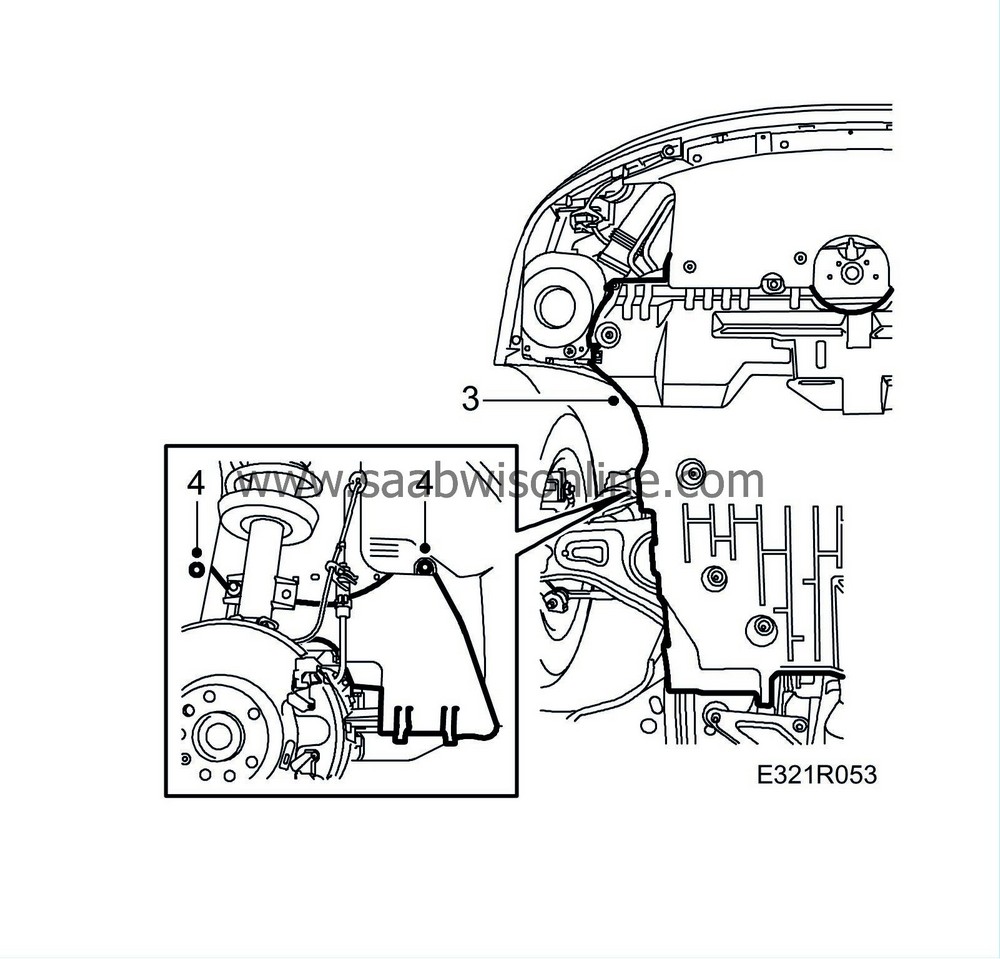
| 3. |
Remove the lower engine cover.
|
|
| 4. |
Remove the drive belt cover.
|
||||||||||
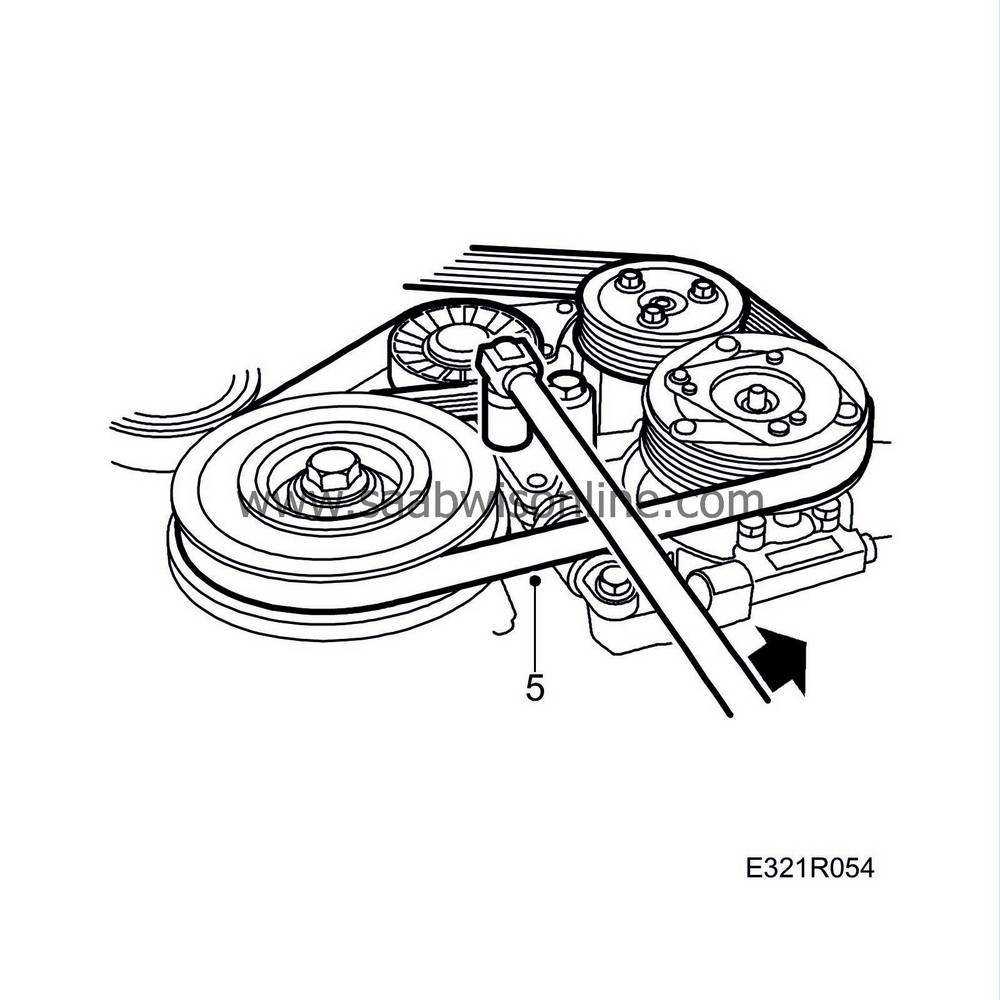
| 5. |
Relieve the tension on the belt tensioner and unhook the multigroove V-belt.
|
|
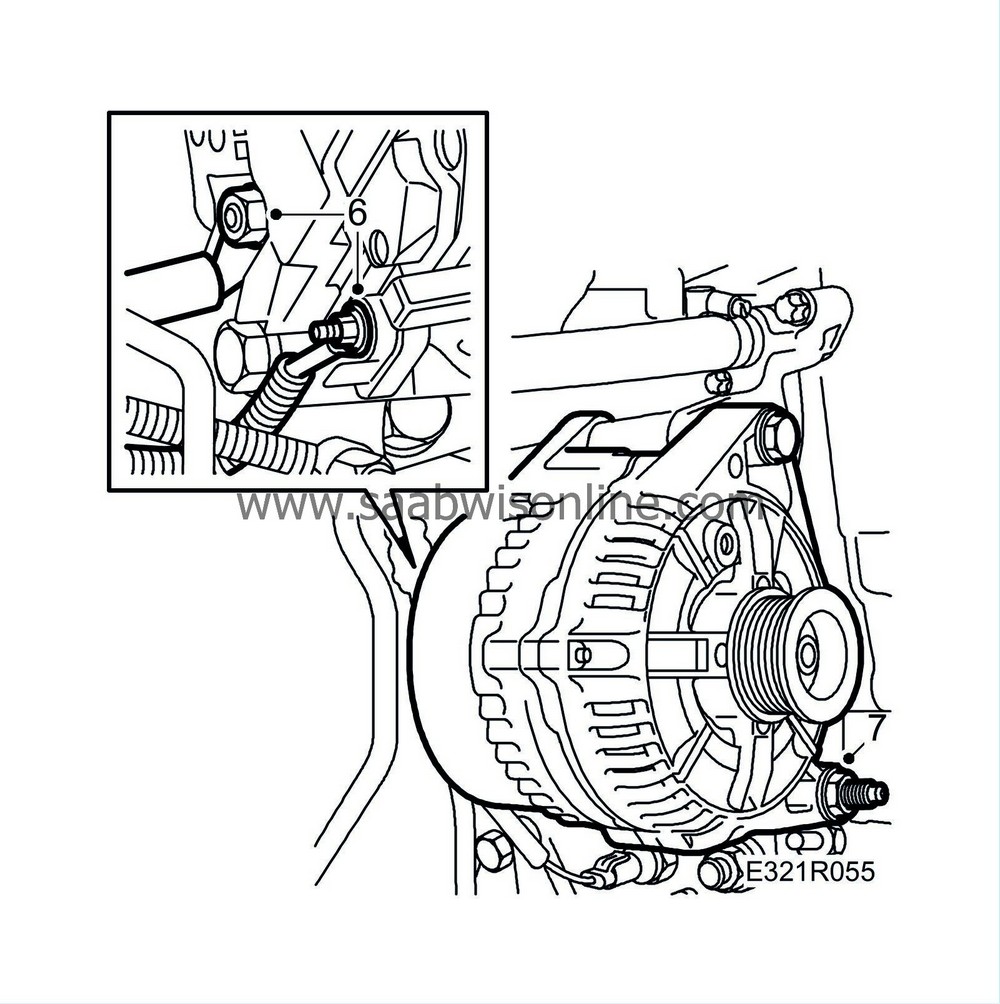
| 6. |
Remove the generator connectors.
|
|
| 7. |
Remove the generator's lower retaining bolt.
|
|
| 8. |
Lower the car.
|
|
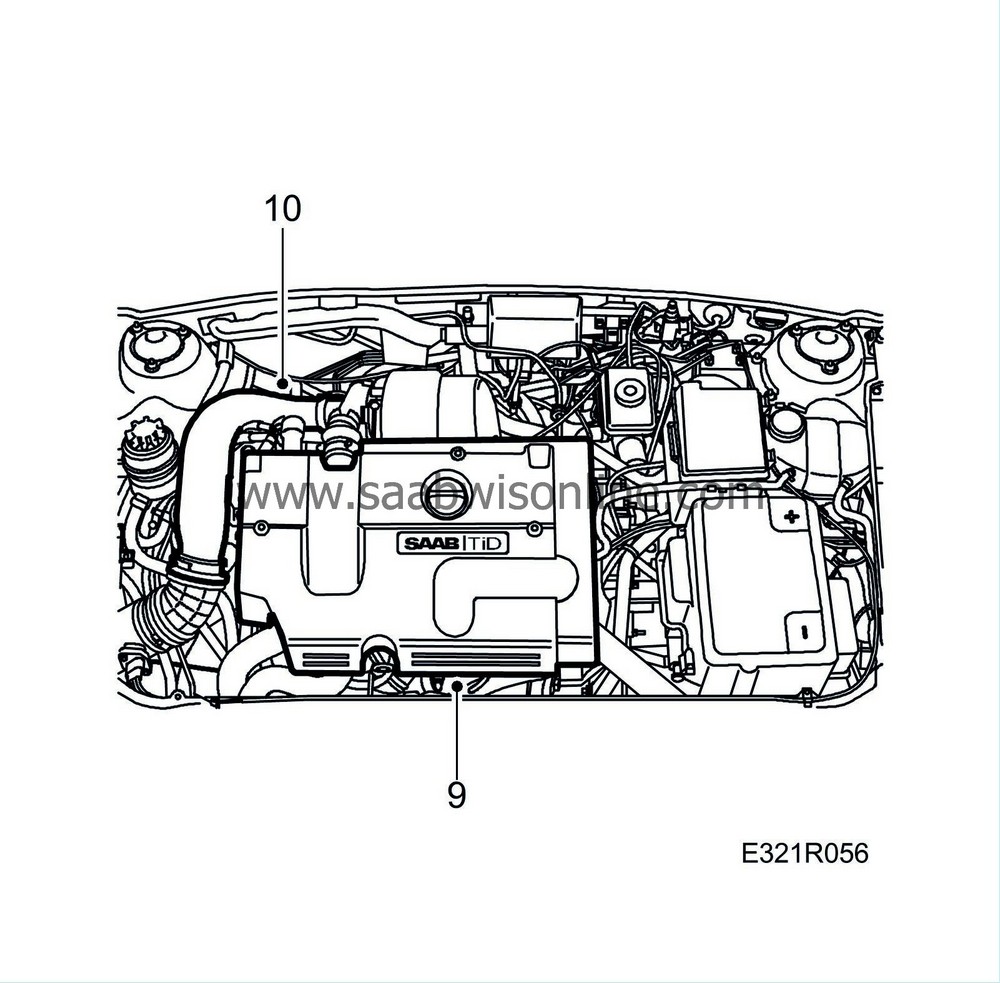
| 9. |
Remove the upper engine cover.
|
|
| 10. |
Remove the intake manifold with crankcase ventilation hose from the valve cover.
|
|
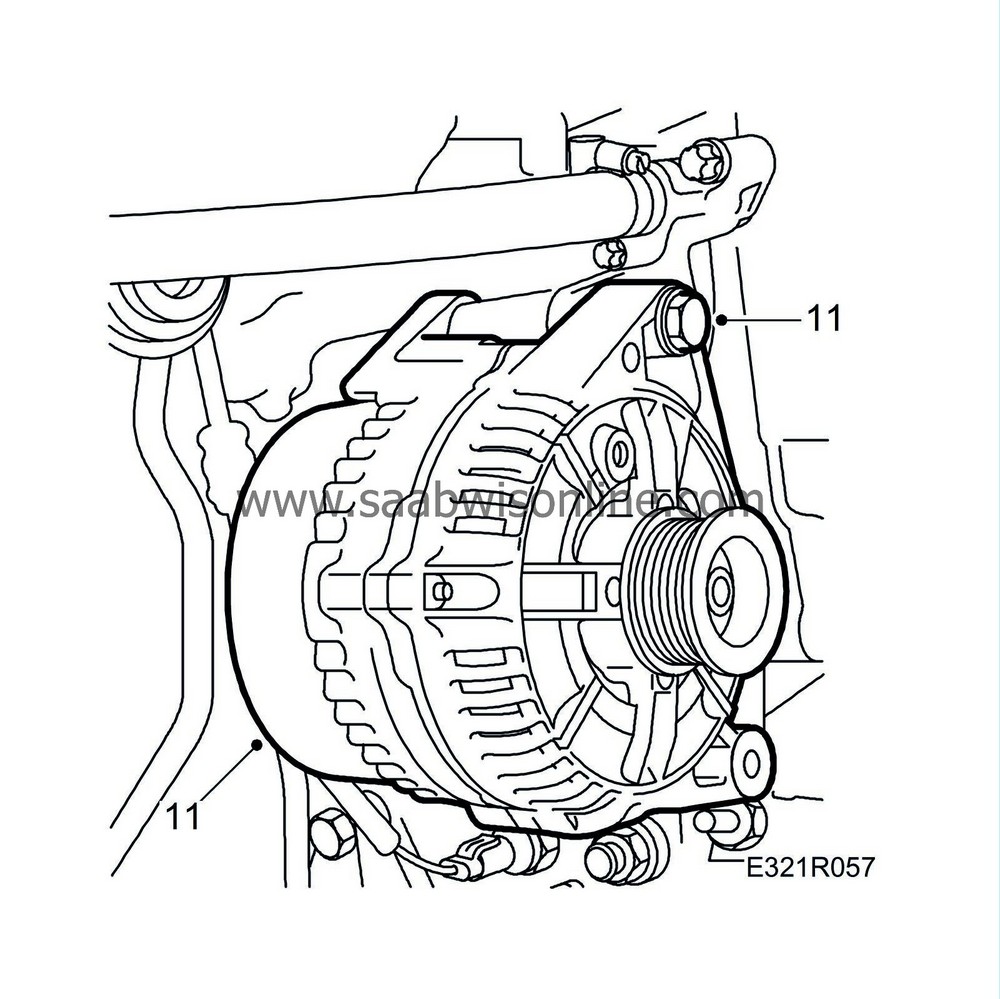
| 11. |
Undo the upper generator retaining bolt, leaving the bolt in the generator mounting. Lift up the bottom of the generator to remove it.
|
|
| To fit |
| 1. |
Clean and coat the generator contact surfaces and electrical connections with
Vaseline, non-acidic
.
|
|
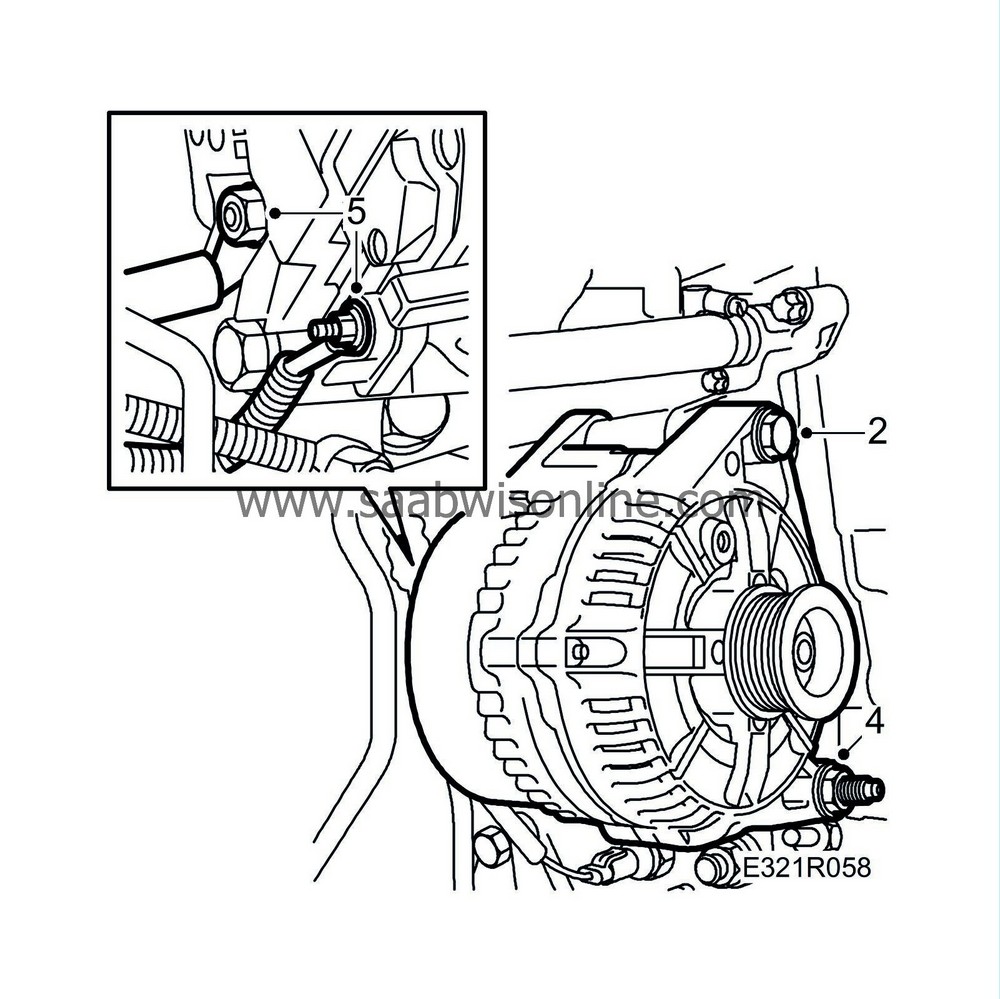
| 2. |
Put the upper generator retaining bolt in place in the generator. Put the generator in place and insert the upper generator retaining bolt.
|
|
| 3. |
Raise the car.
|
|
| 4. |
Fit the lower generator retaining bolt.
Tightening torque: 47 Nm (35 lbf ft) |
|
| 5. |
Fit the generator connectors.
|
||||||||||
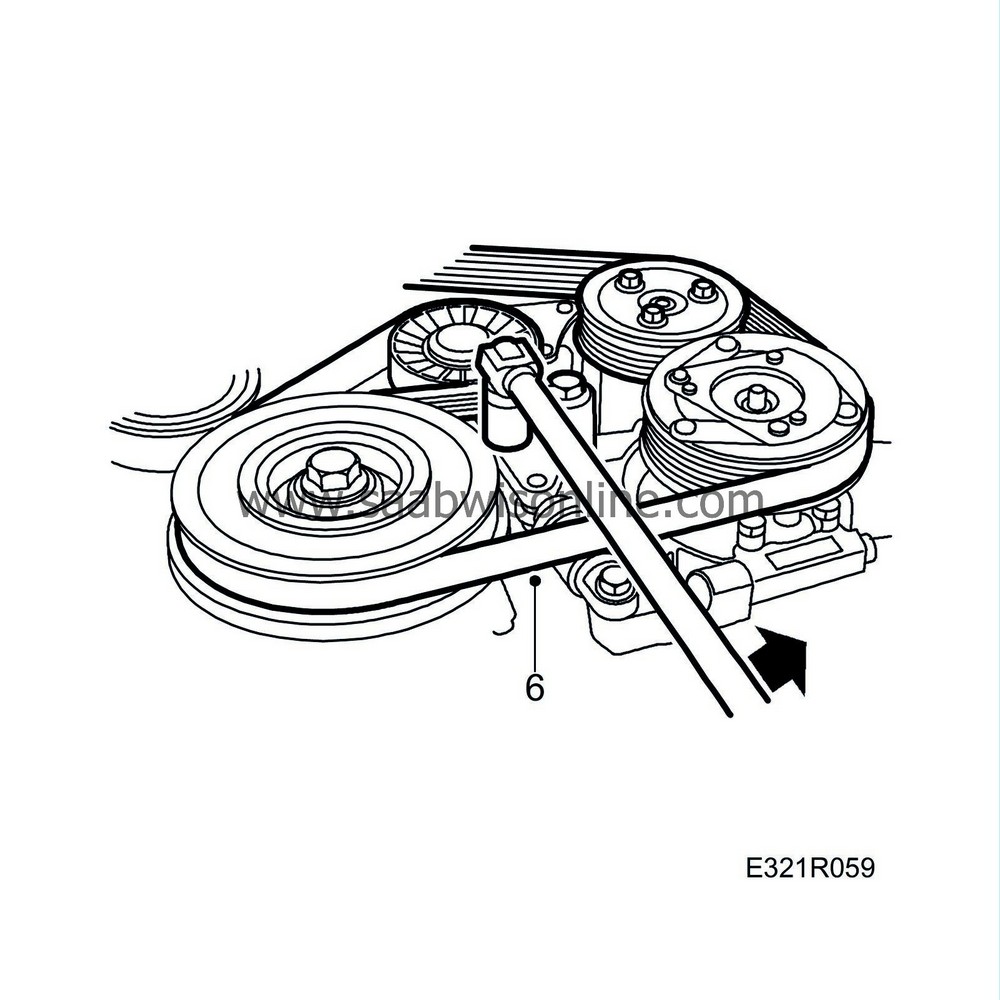
| 6. |
Refit the multigroove V-belt.
|
|||||||
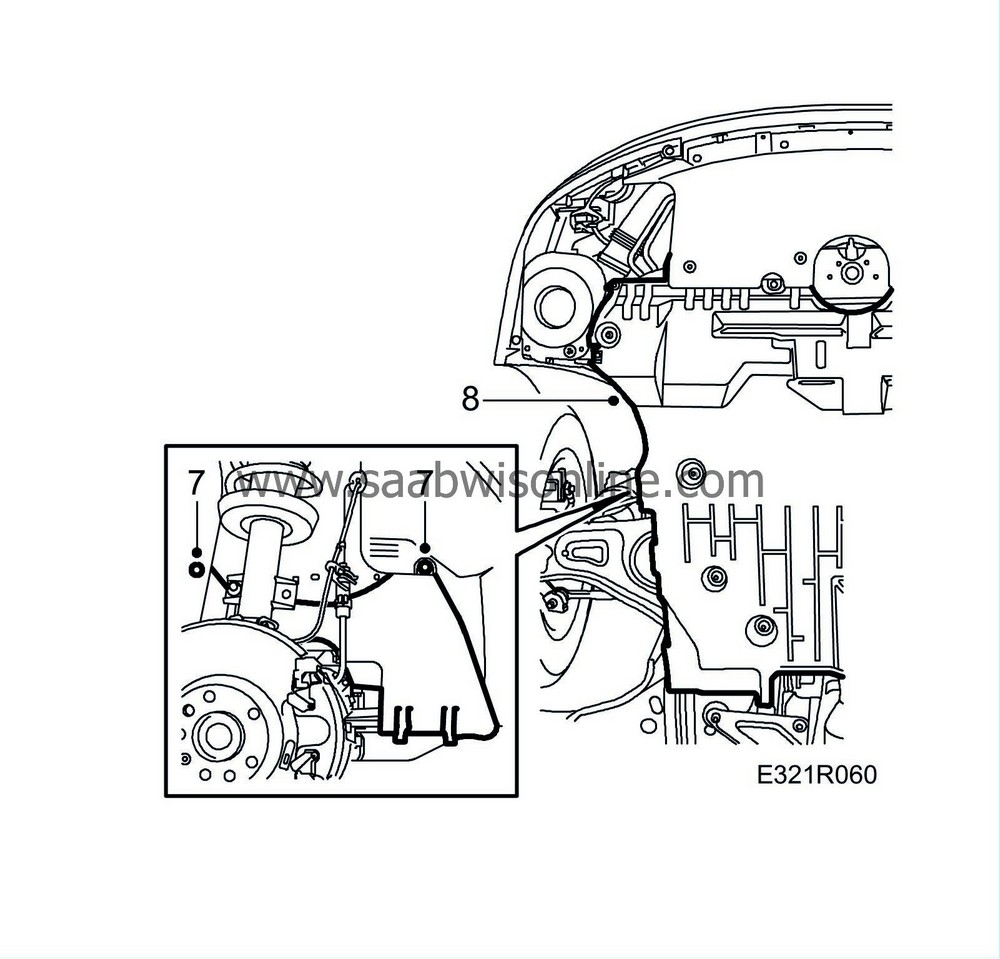
| 7. |
Fit the drive belt cover.
|
|
| 8. |
Fit the lower engine cover.
|
|
| 9. |
Lower the car.
|
|
| 10. |
Tighten the upper generator retaining bolt.
Tightening torque: 47 Nm (35 lbf ft) 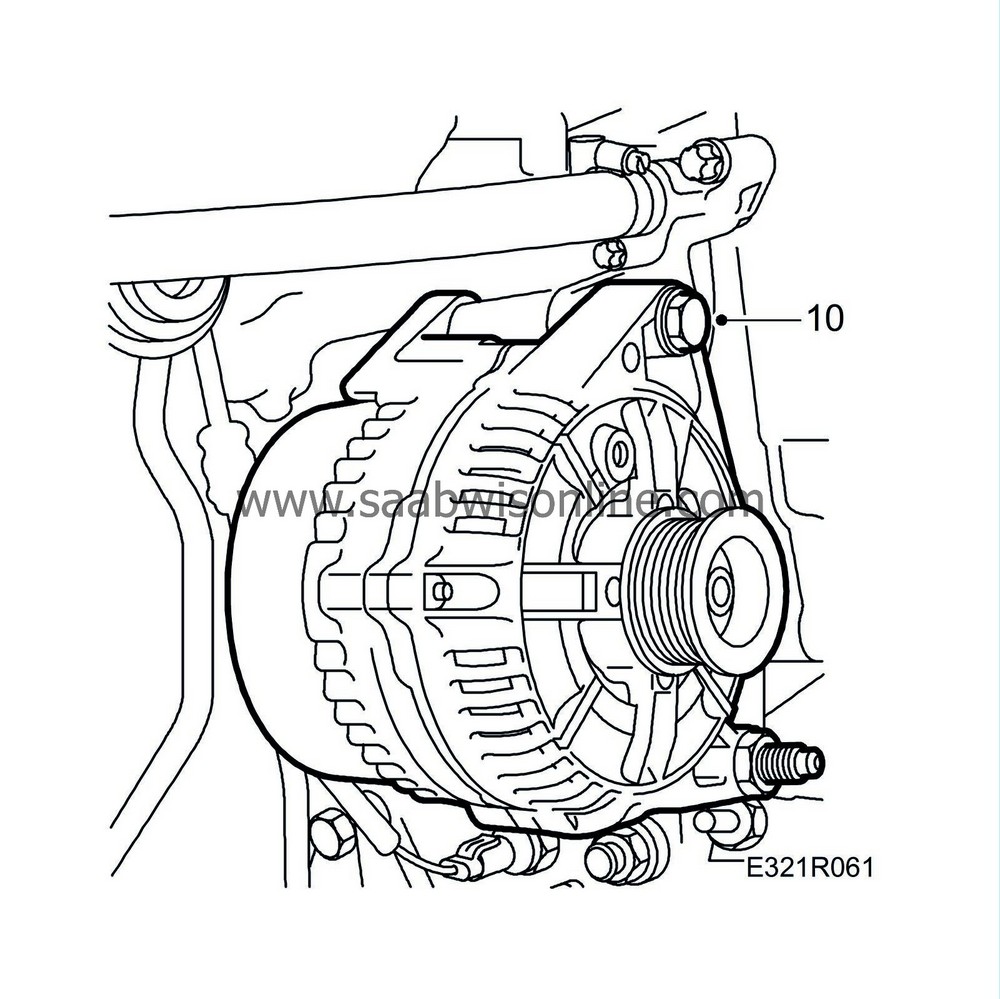
|
|
| 11. |
Fit the intake manifold with crankcase ventilation hose to the valve cover.
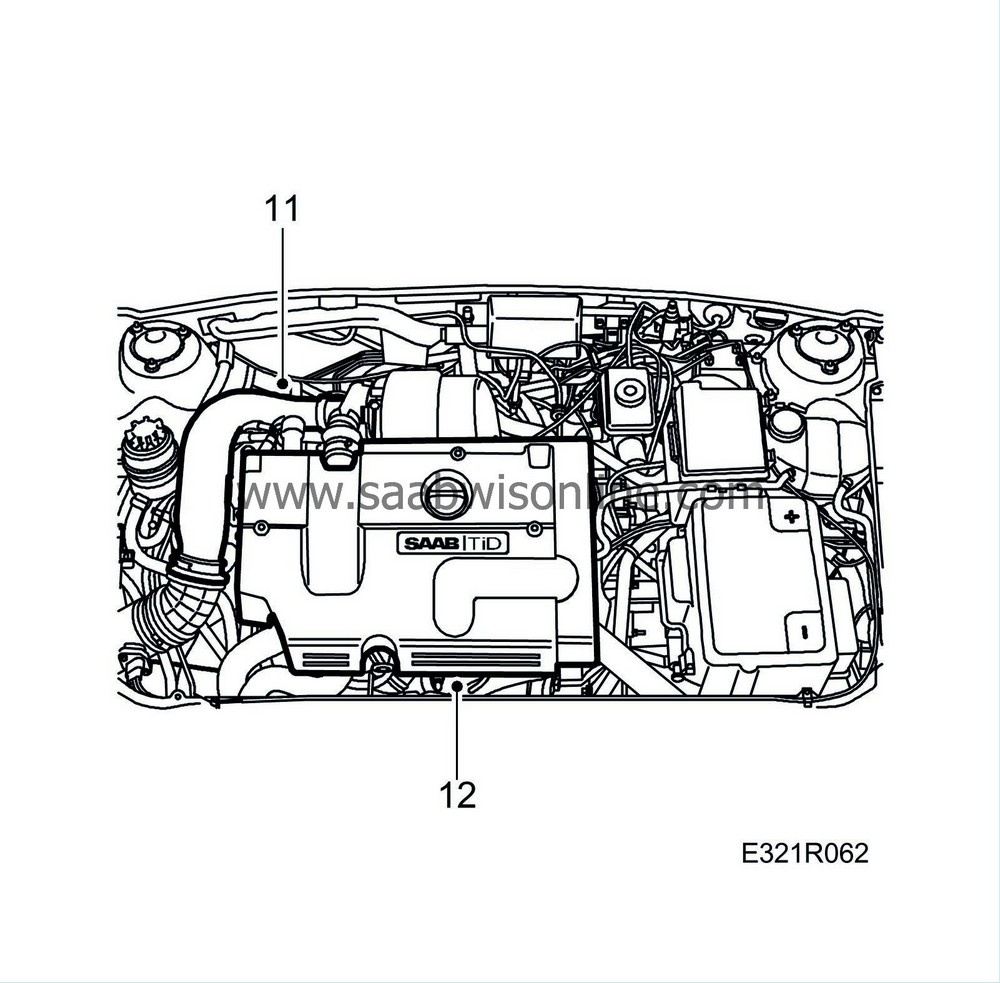
|
|
| 12. |
Fit the upper engine cover.
|
|
| 13. |
Connect the negative battery cable and fit the battery cover.
|
|
| 14. |
Set the clock and reprogram the radio code.
|
|
| 15. |
Carry out a function check.
|
|
| 16. |
During replacement: check the battery, refer to
Battery check
and charge the battery if necessary, see
Charging the battery.
|
|


