PRE-RELEASE
Crankshaft, clearance
| Crankshaft, clearance |
| Checking bearing clearances |
Main bearings
Before the bearing clearance is checked in connection with fitting new bearings, the crankshaft journals ovality and taper must be checked. The clearances are checked with Plastigauge , part number 30 06 558, available in three dimensions. Type PG-1 (green) must be used.
| Important | ||
|
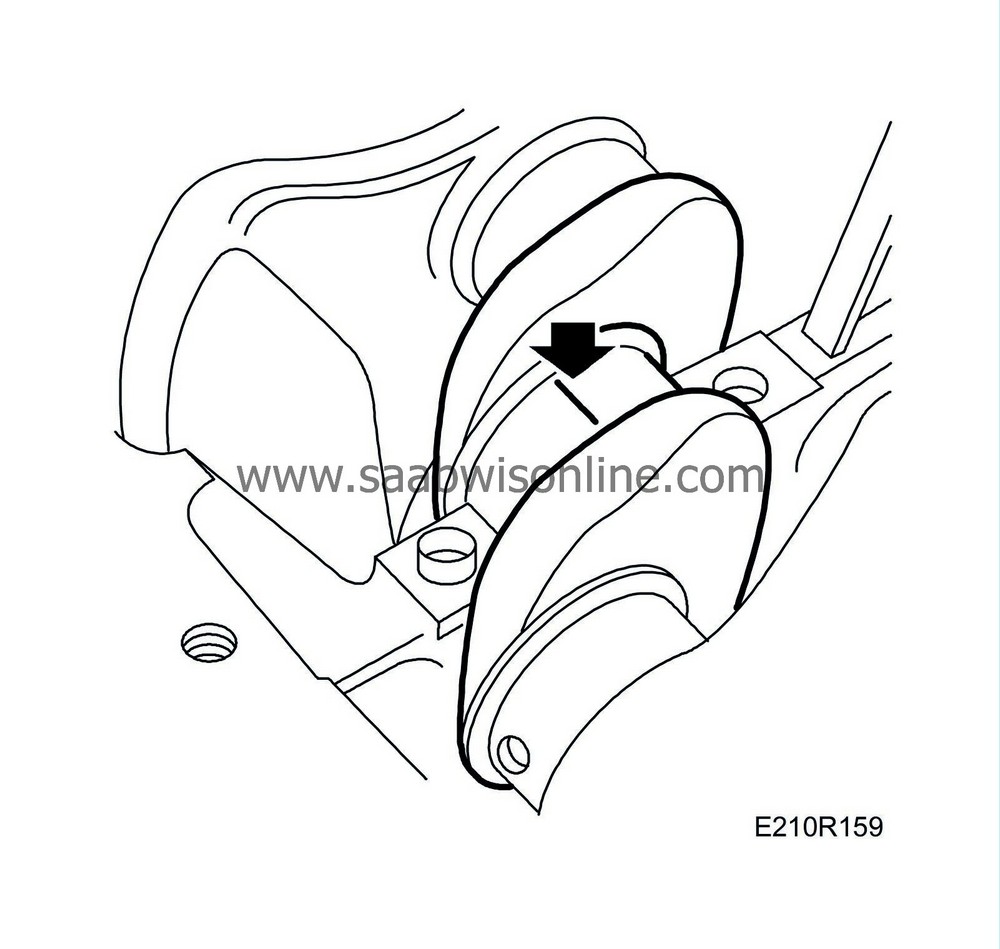
When using the Plastigauge to measure play, be careful not to get any in the oil holes. |
||
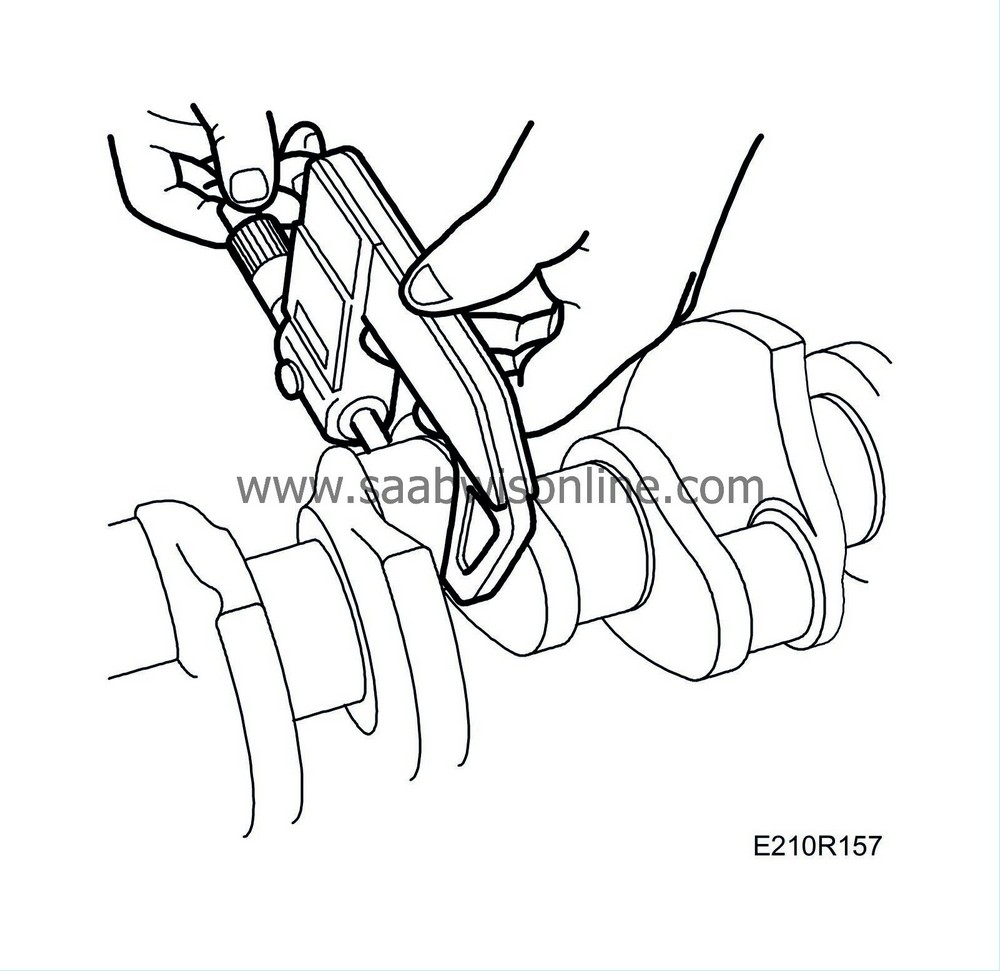
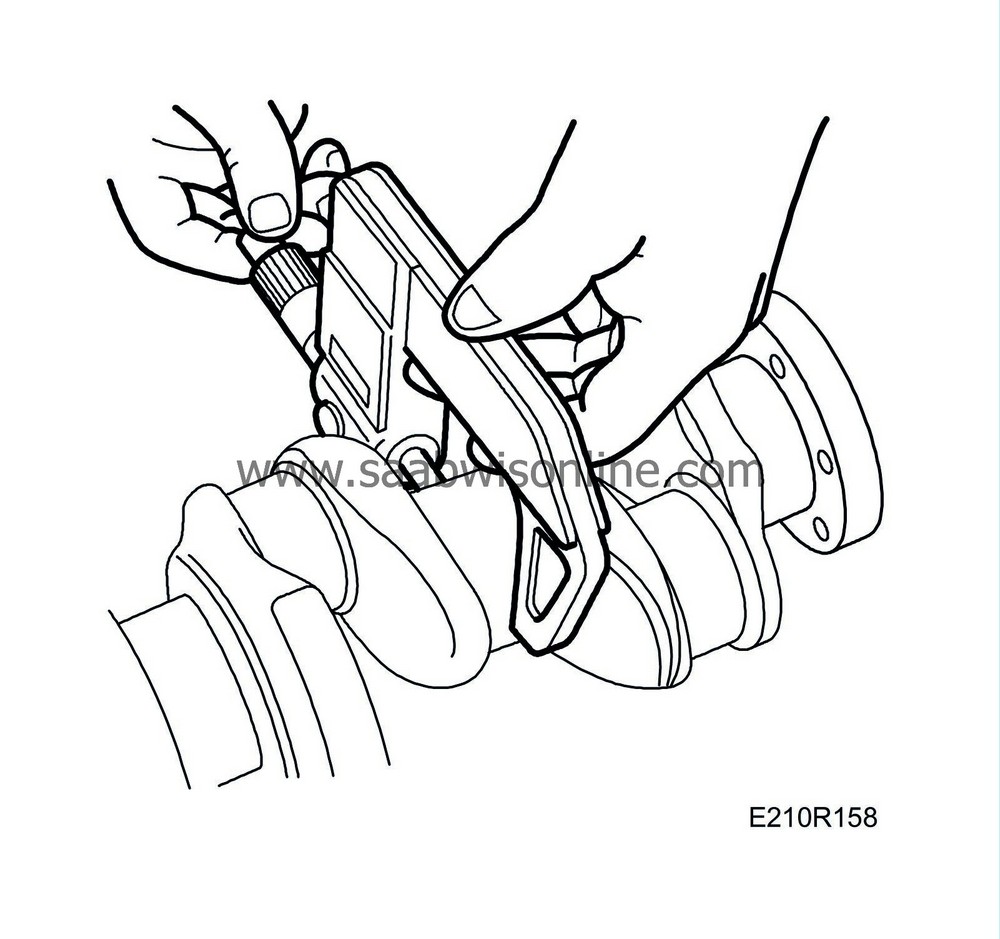
Measure ovality with a micrometer at two positions 90 degrees from each other. Use Plastigauge to measure clearance as follows:
| 1. |
Turn the engine upside down on the stand so that the weight of the crankshaft will not affect the measurements.
|
|
| 2. |
Clean the parts to be measured so that they are dry and free from oil and dirt. Place a strip of Plastigauge along the shaft.
|
|
| 3. |
Fit the bearing cap.
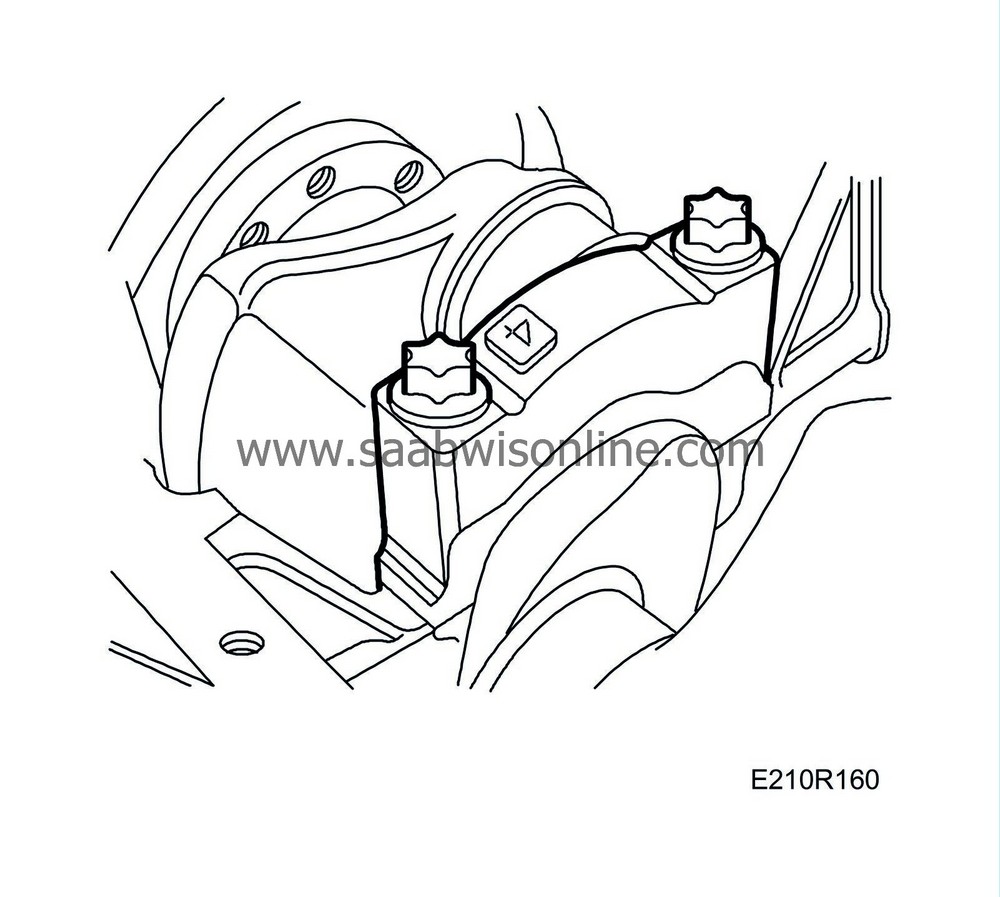
Tightening torque 20 Nm + 70 ° (15 lbf ft + 70 ° ). The crankshaft must remain absolutely still while measurement is in progress. |
|
| 4. |
Remove the bearing cap. The strip of Plastigauge should now have adhered to either the bearing cap or the main journal.
|
|
| 5. |
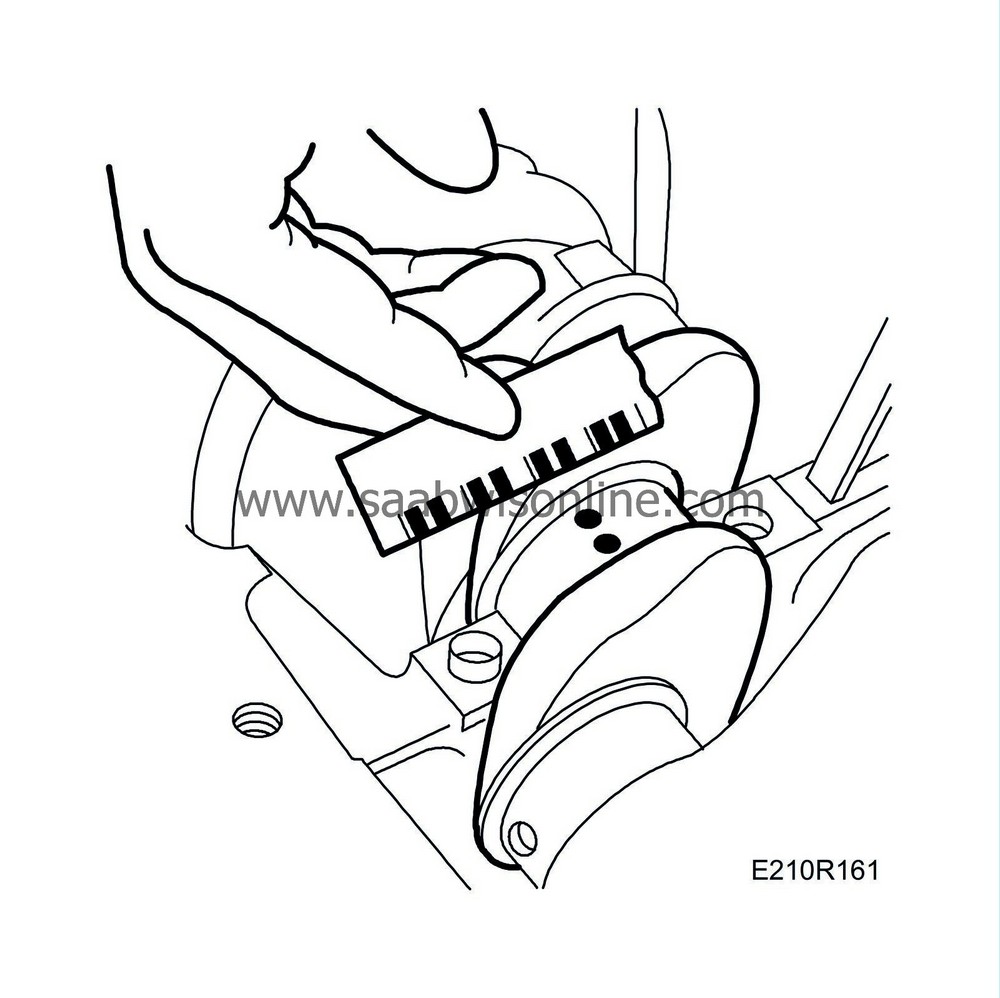
Measure the width of the Plastigauge strip using the scale that is printed on the packaging to measure the clearance. One side of the packaging gives measurements in mm and the other in 1000ths of inches. Measure the strip at its widest point. Do not touch the strip with your fingers. See
Crankshaft
regarding dimensions.
|
|
Big-end bearings
Before the bearing clearance is checked in connection with fitting of new bearings, the crankshaft journals ovality and taper must be checked. The clearances are checked with Plastigauge, part number 30 06 558, available in three dimensions. Type PG-1 (green) must be used.
| Important | ||
|
When using the Plastigauge to measure play, be careful not to get any in the oil holes. |
||
Measure ovality with a micrometer in two positions 90 degrees from each other. Clearance can be checked with a Plastigauge as follows:
| 1. |
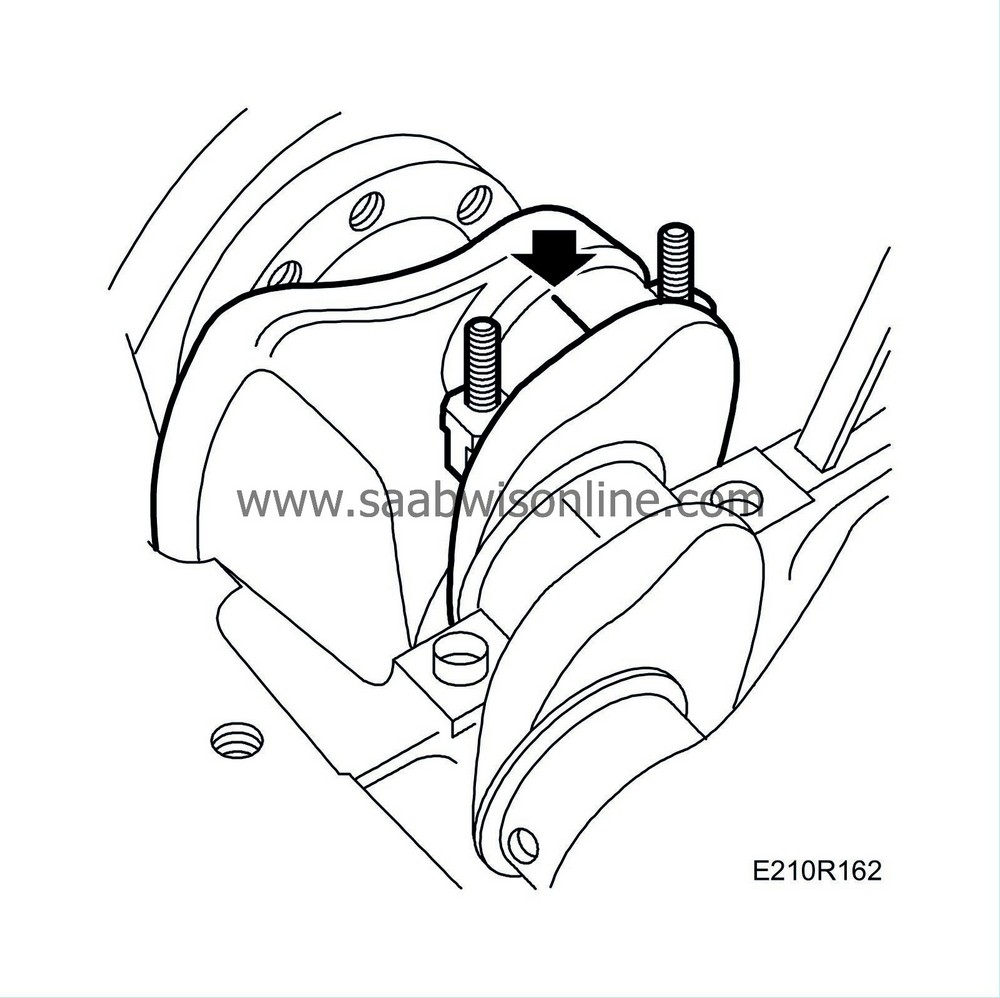
Clean the parts to be measured so that they are dry and free from oil and dirt. Place a strip of Plastigauge along the shaft.
|
|
| 2. |
Fit the bearing cap.
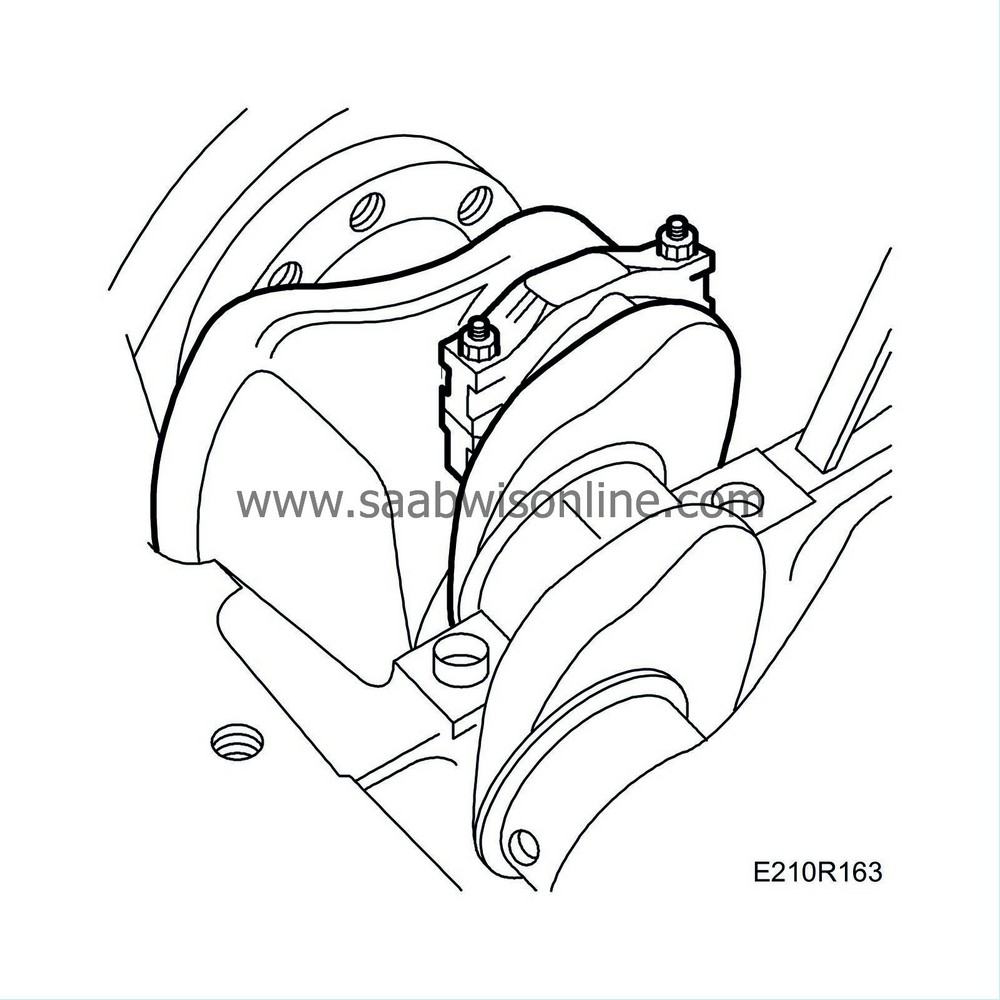
Tightening torque 20 Nm + 70 (15 lbf ft + 70) The crankshaft must remain absolutely still while measurement is in progress. |
|
| 3. |
Remove the bearing cap. The strip of Plastigauge should now have adhered to either the bearing cap or the main journal.
|
|
| 4. |
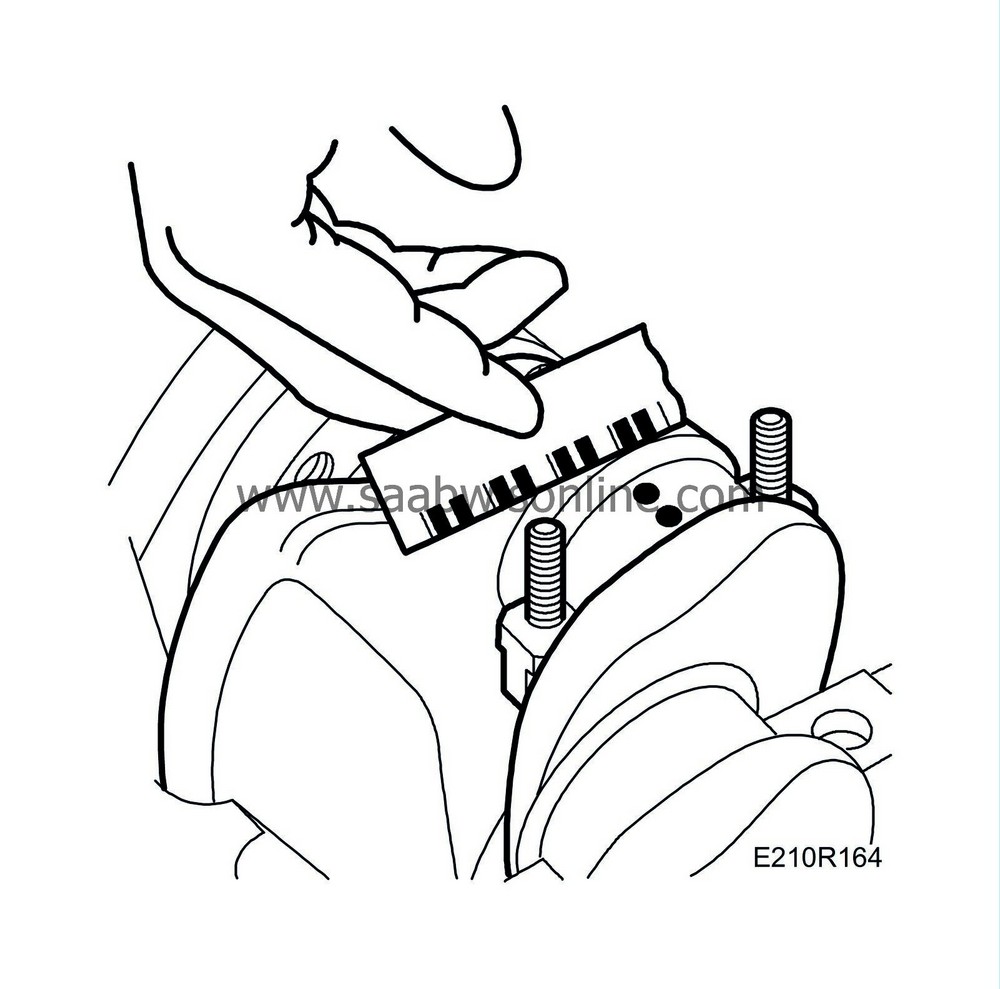
Measure the width of the Plastigauge strip using the scale that is printed on the packaging to measure the clearance. One side of the packaging gives measurements in mm and the other in 1000ths of inches. Measure the strip at its widest point. Do not touch the strip with your fingers. See
Crankshaft
regarding dimensions.
|
|

