PRE-RELEASE
Fuel level sensor/fuel pump, Z19
| Fuel level sensor/fuel pump, Z19 |
|
||||||||||||||||||||||
| Important | ||
|
Be particulary observant regardning cleanliness when working on the fuel system. Loss of function may occur due to very small particles. Prevent dirt and grime from entering the fuel system by cleaning the connections and plugging pipes and lines during disassembly. Use 82 92 948 Plugs, A/C system assembly. Keep components free from contaminants during storage. |
||
| To remove |
| 1. |
Remove
Fuel tank
.
|
|
| 2. |
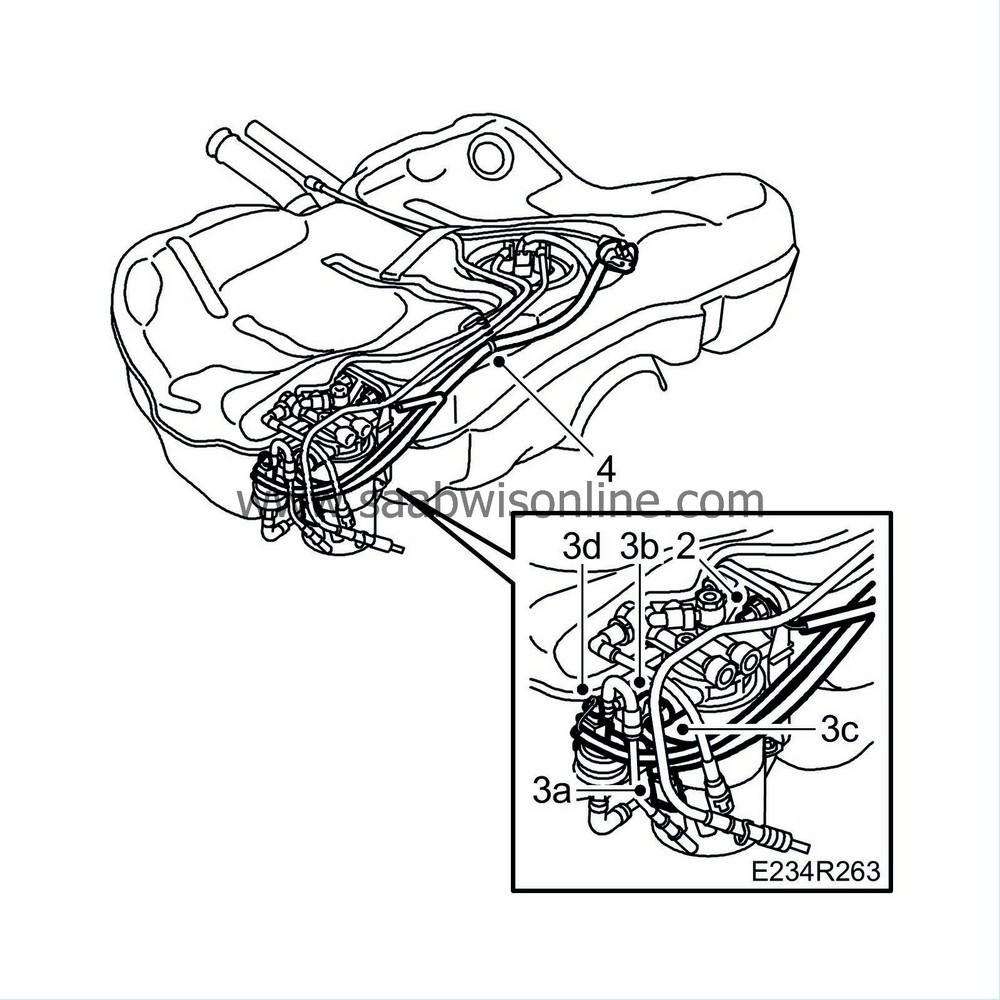
Detach the ground lead from the retaining bolt.
|
||||||||||
| 3. |
Unplug the following connectors:
|
|
| 3.a. |
Water level switch, fuel filter (692)
|
| 3.b. |
Fuel temperature sensor (651).
|
| 3.c. |
Fuel filter heating element (410)
|
| 3.d. |
Cars with auxiliary heater
: Fuel pump connector.
|
| 4. |
Cut the cable tie holding the cables to the fuel line.
|
|
| 6. |
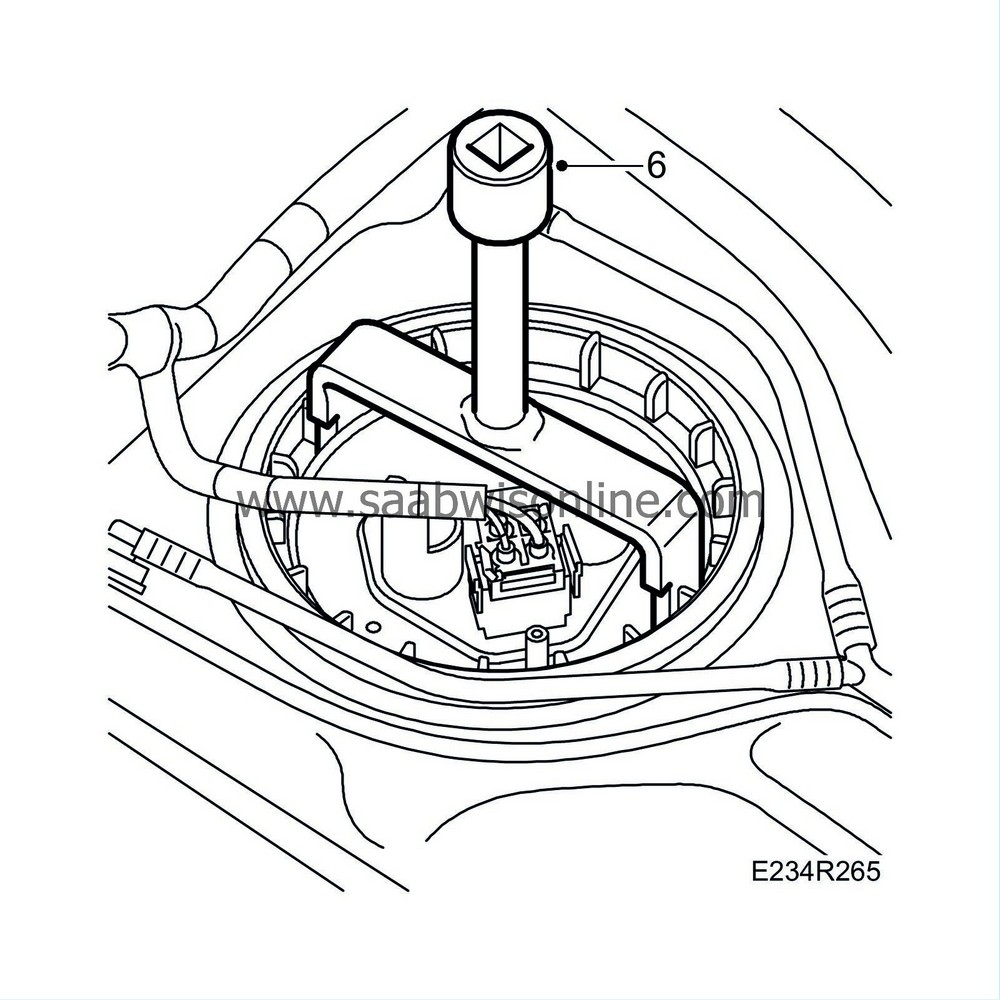
Remove the screw ring using the
83 94 462 Fuel pump tool
.
|
|
| 7. |
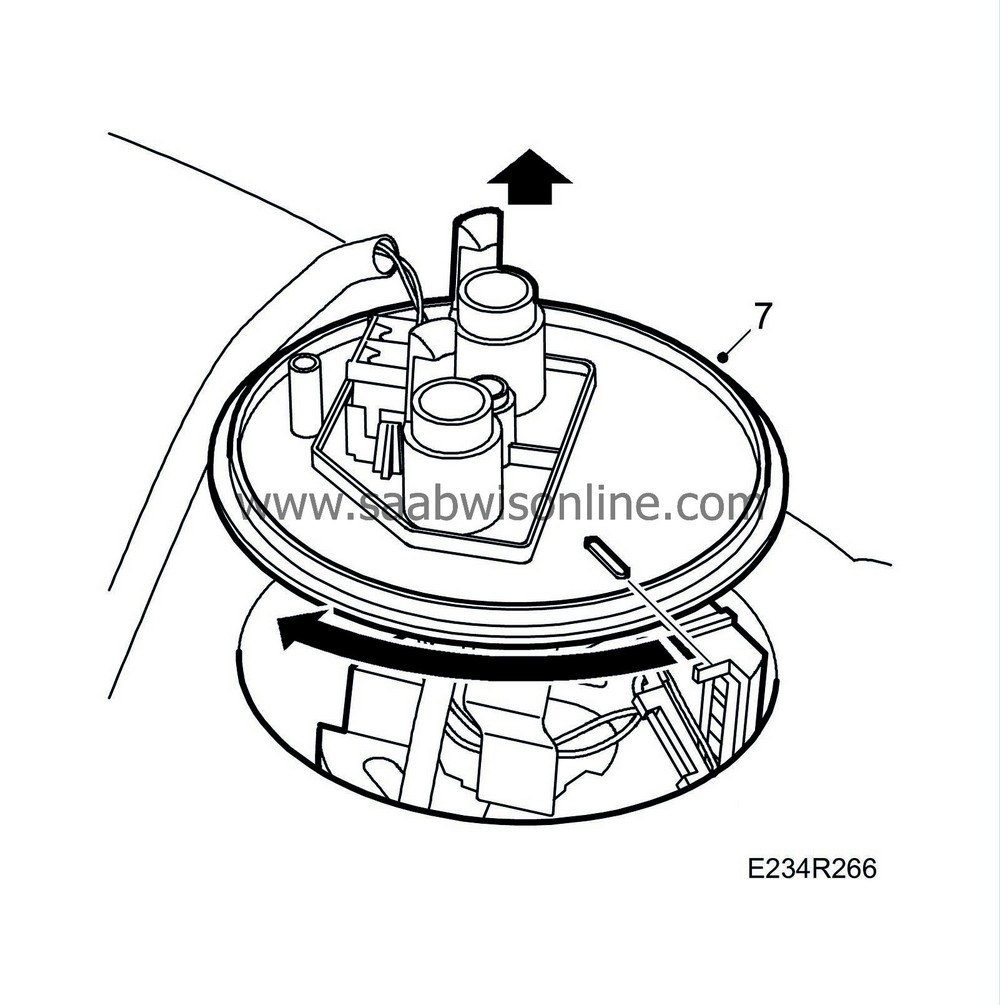
Raise the fuel reservoir (including fuel level sensor) until its upper section is about 50 mm above the fuel tank. Then turn the reservoir clockwise about 80° and carefully remove the reservoir.
|
|
| 8. |
Transfer the fuel reservoir to a suitable container and pour off the fuel.
|
|
| To fit |
| Note | ||
|
Spray the connectors with Contact Protect anti-corrosion agent or the like before connection. |
| 1. |
Clean sealing surfaces.
|
|
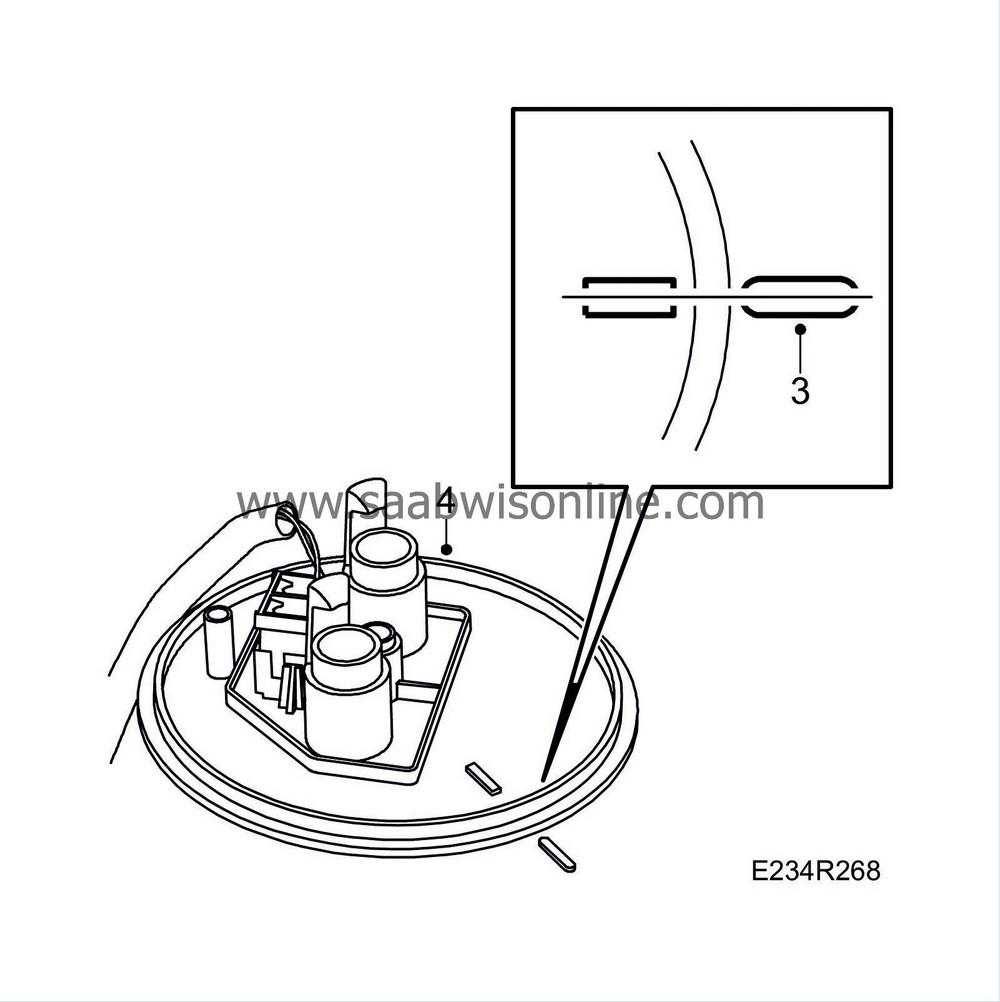
| 2. |
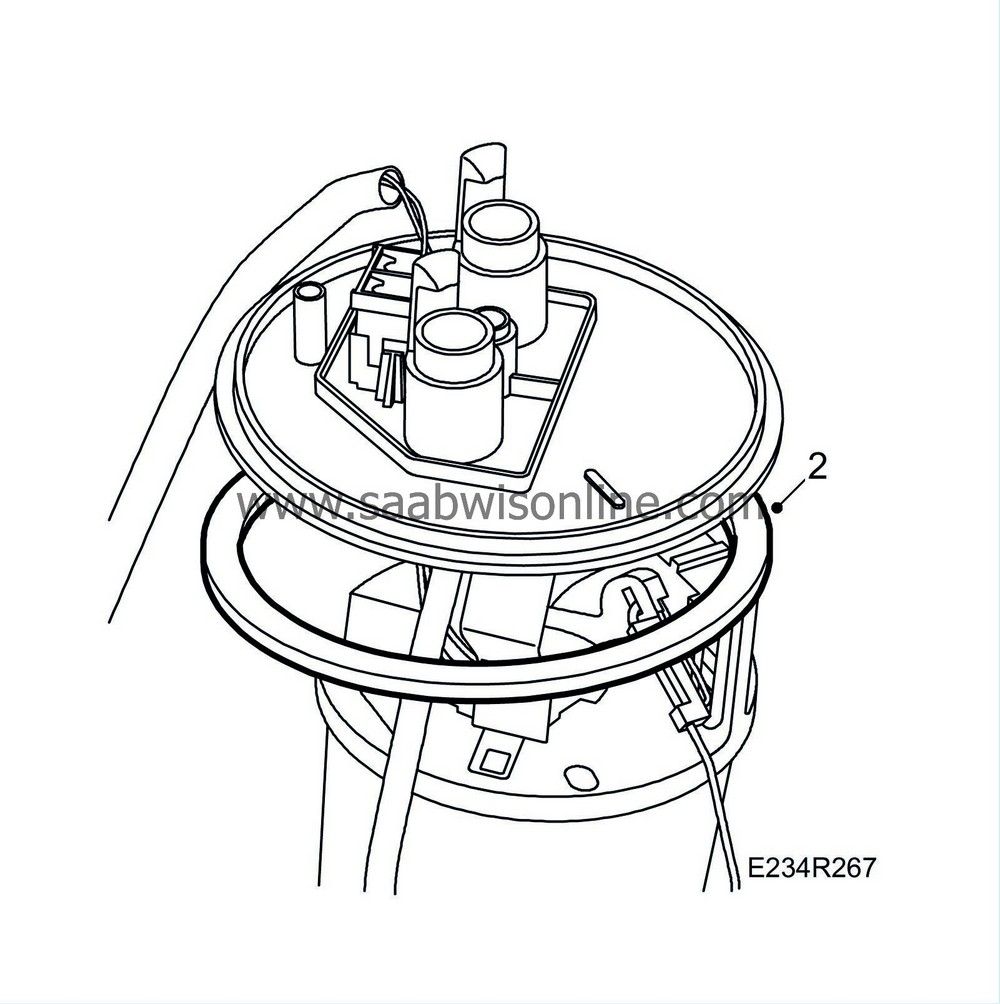
Fit a new O-ring in the tank groove.
|
|
| 4. |
Lubricate the threads of the cover and the top edge of the reservoir with acid-free petroleum jelly to prevent the reservoir from turning when the eye screw is tightened.
|
|
| 5. |
Attach the screw ring with the
83 94 462 Fuel pump tool
.
Tightening torque: 75 Nm (55 lbf ft) 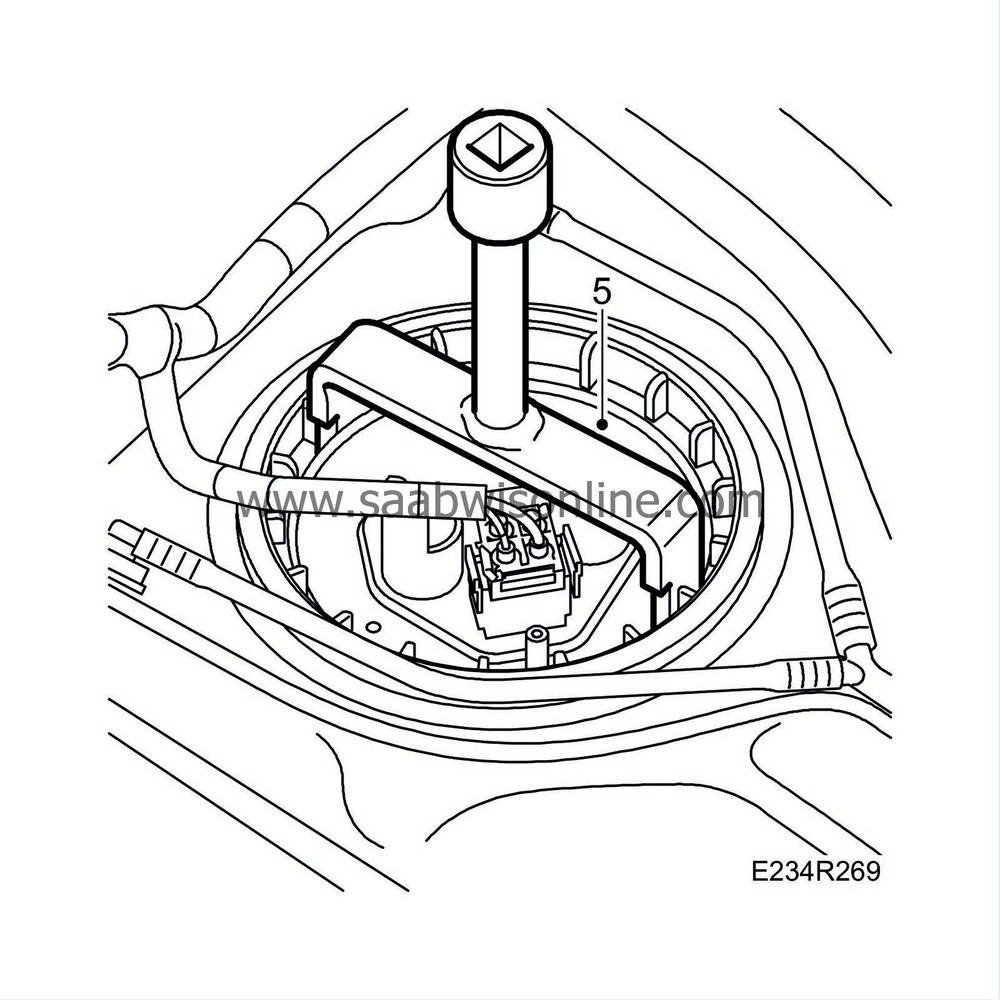
|
|
| 6. |
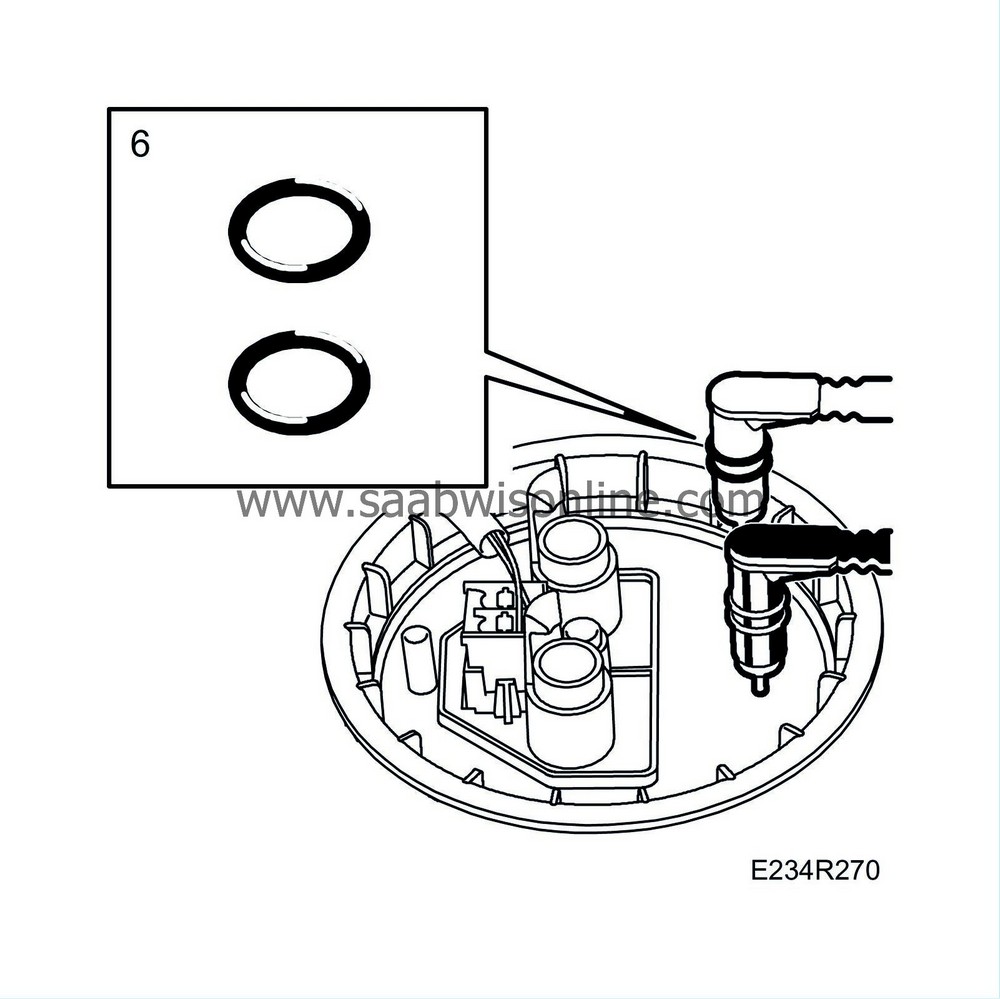
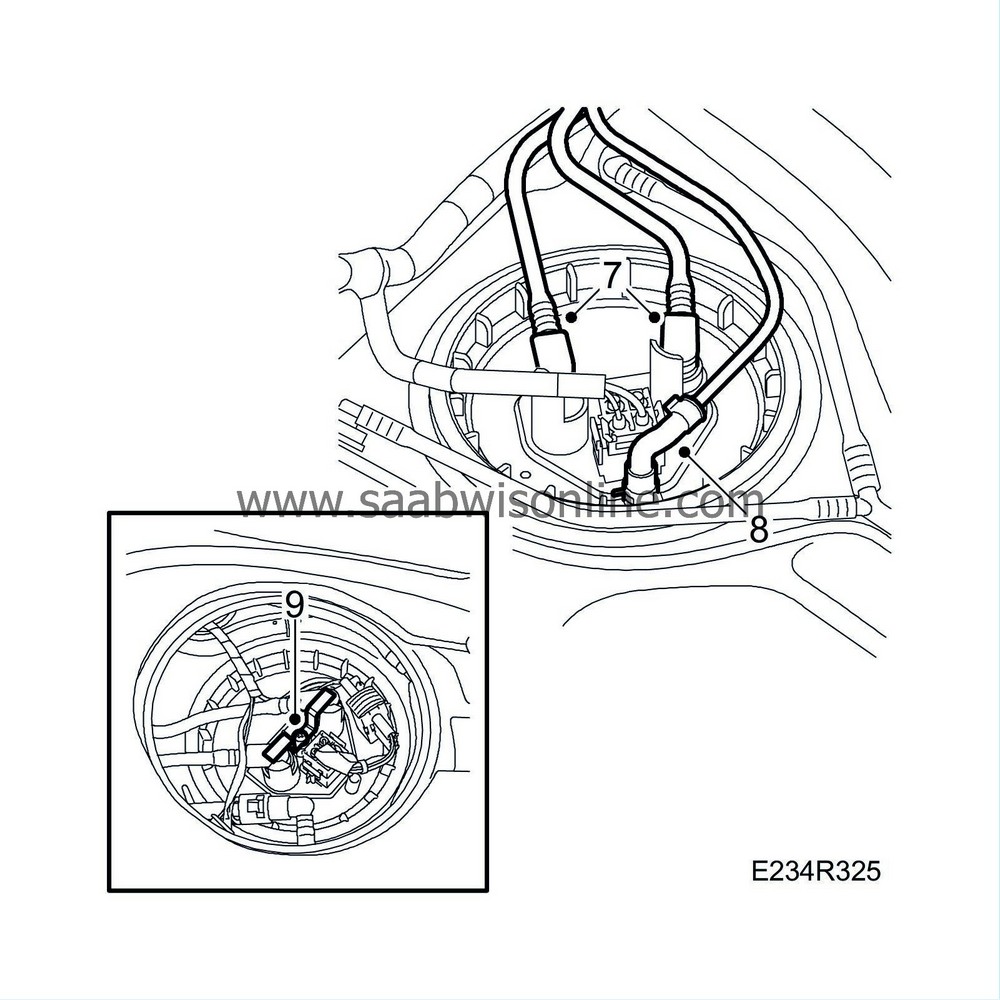
Check and lubricate the O-rings on the fuel line connections with acid-free petroleum jelly and connect them to the fuel reservoir.
|
|
| 7. |
Make sure that the catches have snapped in place over the connections.
|
|
| 8. |
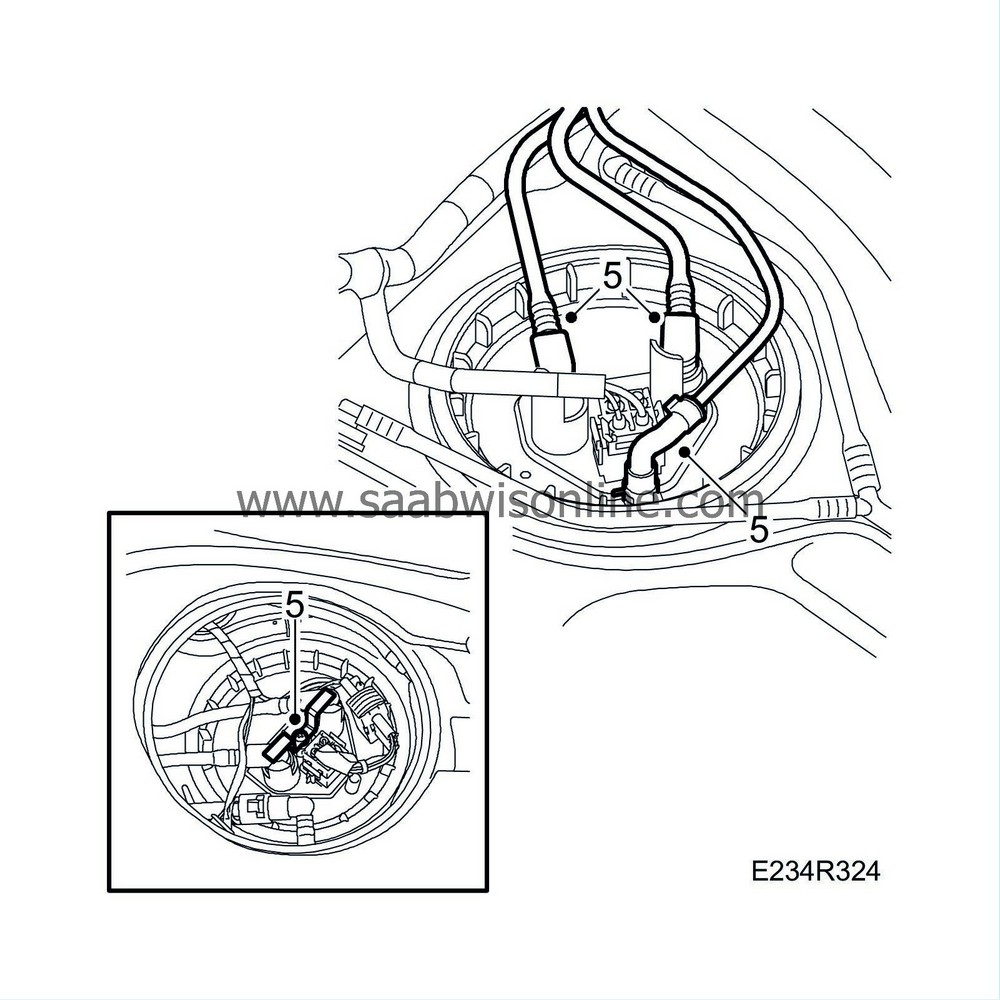
Attach any heater feed line.
|
|
| 9. |
Certain cars:
Fit the retaining clip manually to prevent damage to the thread. Check that the retaining clip does not press against the yellow hooks.
Tightening torque: 2 Nm (1.5 lbf ft)
|
||||||||||
| 10. |
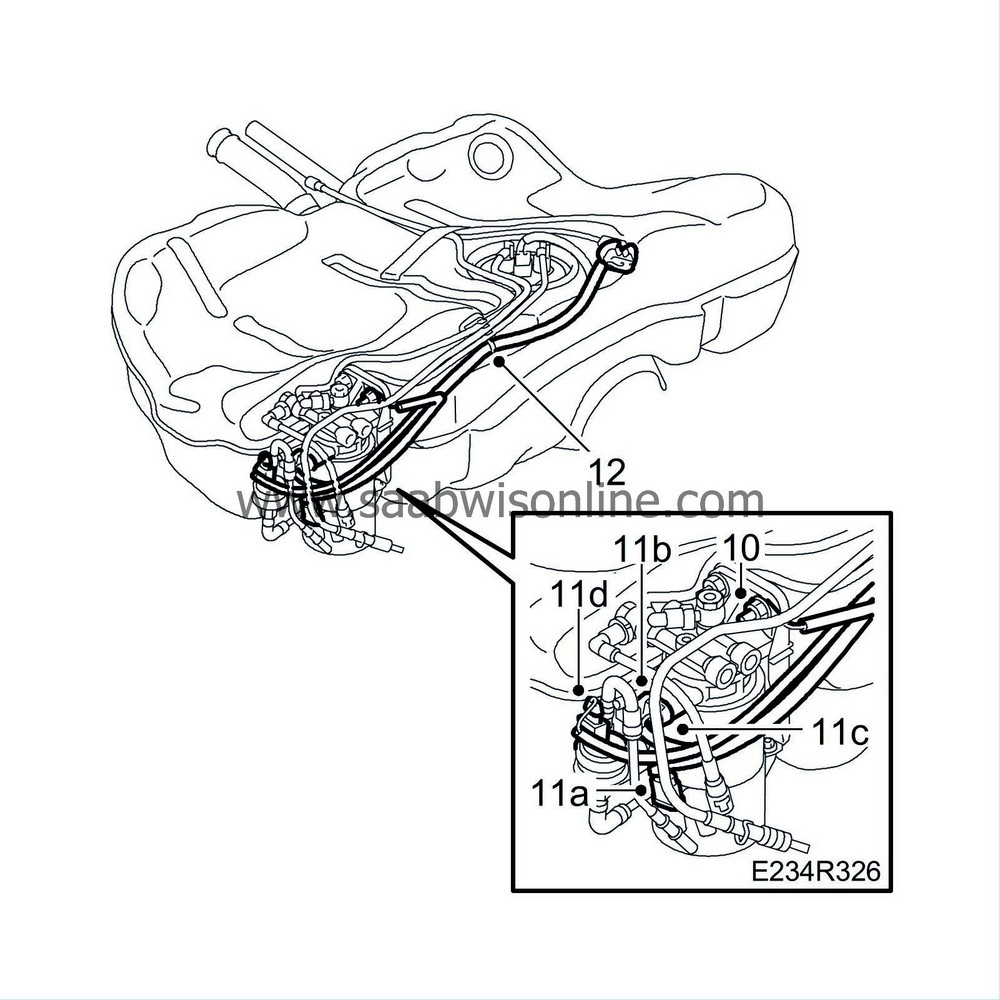
Attach the ground lead to the retaining bolt.
|
|
| 11. |
Plug in the following connectors:
|
|
| 11.a. |
Water level switch, fuel filter (692)
|
| 11.b. |
Fuel temperature sensor (651)
|
| 11.c. |
Fuel filter heating element (410)
|
| 11.d. |
Cars with auxiliary heater
: Fuel pump connector.
|
| 12. |
Secure the wiring harness to the fuel line with a cable tie.
|
|
| 13. |
Fit
Fuel tank
.
|
|

 Warning
