Bumper member with integrated collision box
|
|
Bumper member with integrated collision box
|
Certain weld joints on the car may be MIG brazed whereby the filler material is bronze rod. The characteristic sign of MIG brazing is that the joint is gold coloured. MIG brazing must always be replaced with new MIG brazing.
 Warning
|
|
Repairs to MIG brazing using conventional welding methods and normal filler material are forbidden. Cracks can arise which can impair performance in a collision.
|
|
|
|
|
|
|
Important
|
|
Welding, drilling or grinding is not allowed on the bumper member. Only the impact box may be welded. The following method must be adhered to to safeguard crash safety.
|
|
|
|
1.
|
Position the car in an aligning bench and cross-measure if necessary.
|
|
2.
|
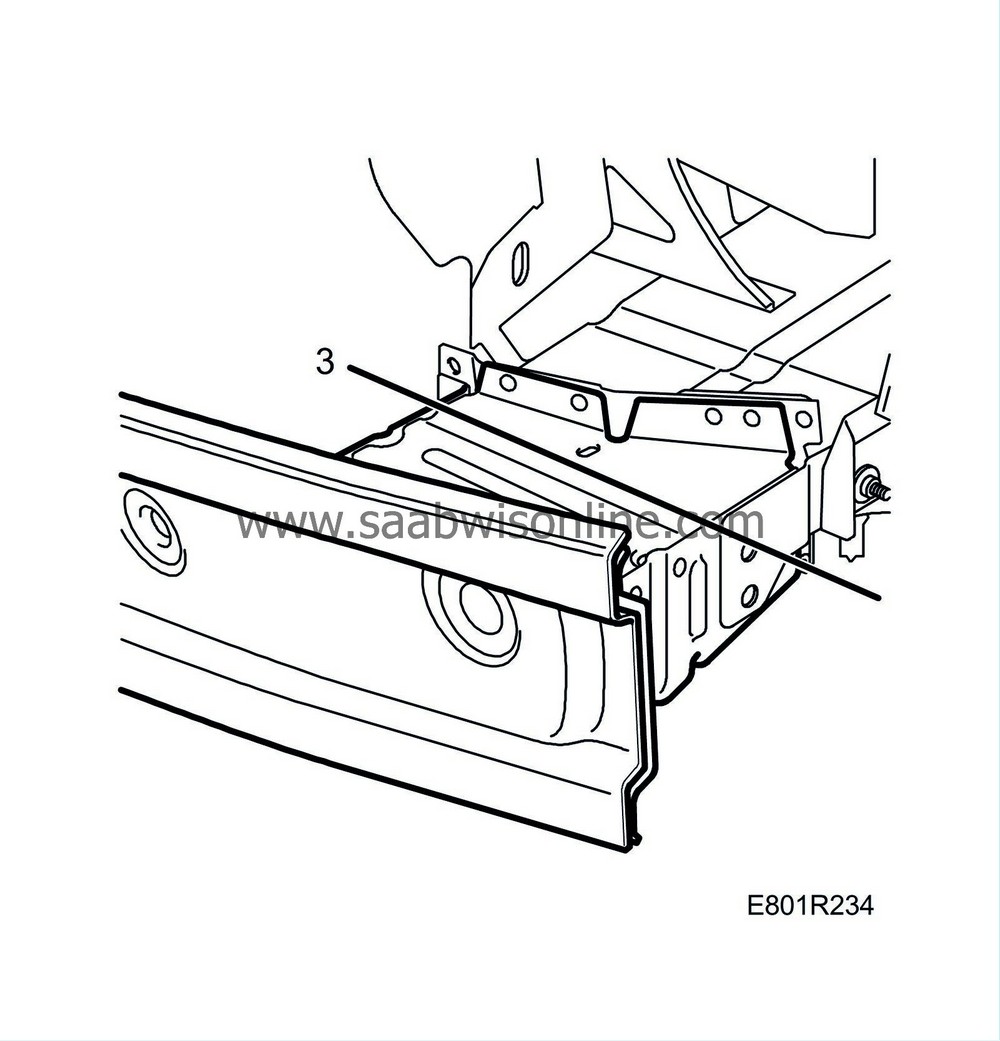
Remove the 2 bolts of the bracket.

|
|
3.
|
Cut the collision box and lift away the bumper member.
|
|
4.
|
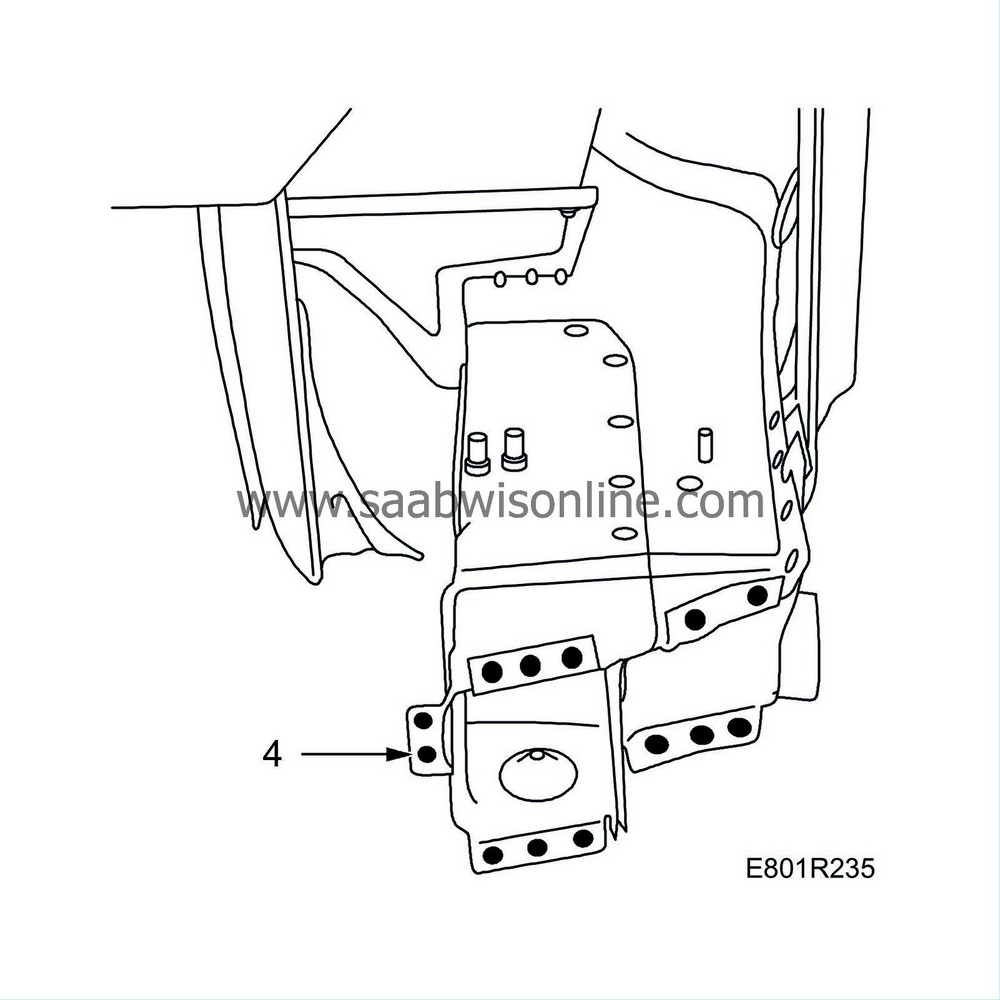
Grind away the seam weld. Note that the seam weld may be MIG brazed.
Drill holes through the spot-welds in the remaining mountings and remove the mounting plates.
|
|
5.
|
Straighten the frame member if it is deformed.
|
|
6.
|
Grind clean the surfaces that are to be welded on the body.
|
|
7.
|
Use a grinder to clean the areas on the new bumper member that are to be welded.
|
|
8.
|
Apply welding primer to the surfaces that are to be spot-welded. Use recommended welding primer.
|
|
Important
|
|
Welding, drilling or grinding is not allowed on the bumper member. Only the impact box may be welded. The following method must be adhered to to safeguard crash safety.
|
|
|
|
1.
|
Position the new bumper member and mounting plates and fix them in place with a few pairs of welding clamps.
|
|
2.
|
Align it with the alignment bench measuring system.
|
Warning
|
|
Repairs to MIG brazing using conventional welding methods and normal filler material are forbidden. Cracks can arise which can impair performance in a collision.
|
|
|
|
|
|
|
|
3.
|
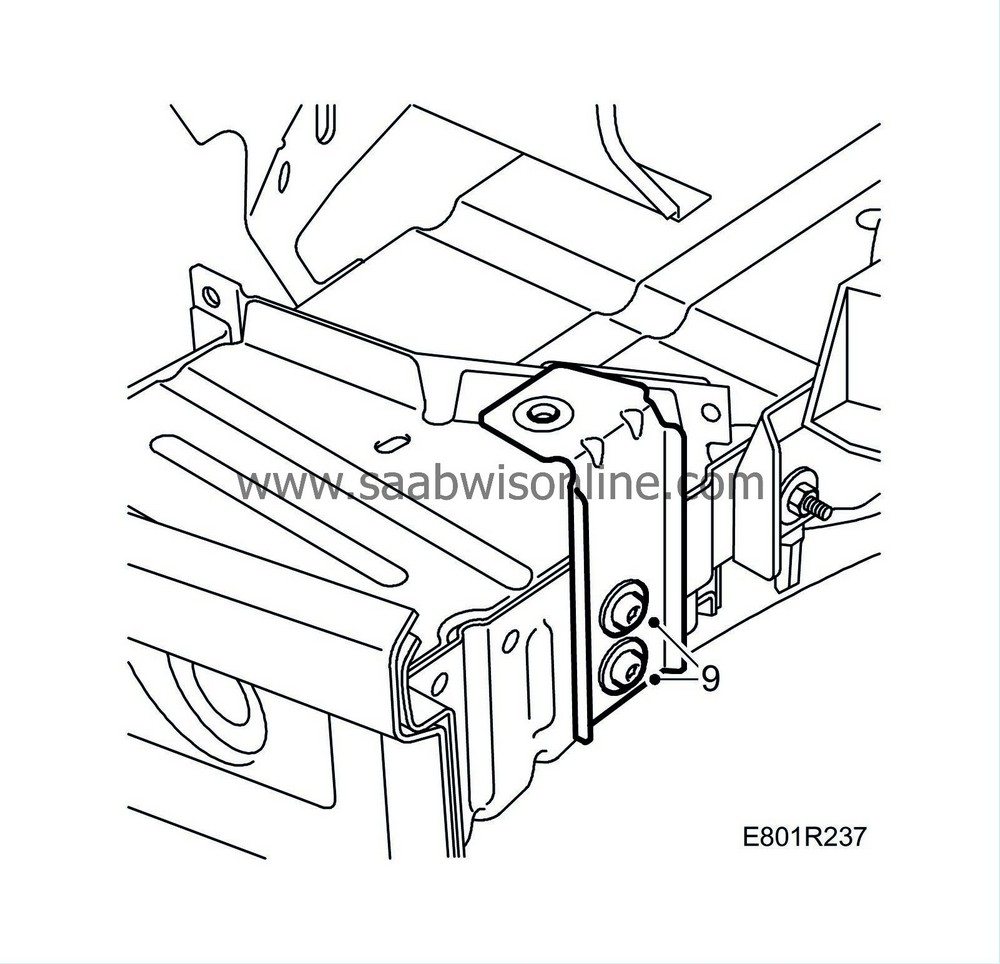
Spot weld the mounting plates for the bumper member.
Replace the seam weld.

|
|
4.
|
Position the bumper mounting plates on the bumper member with the aid of the headlamps.
|
|
5.
|
Weld on the mounting plates for the bumper shell.
|
|
6.
|
Remove any remaining welding primer. Welding primer reduces adhesion of paint, filler and sealant.
|
|
7.
|
Apply primer to all bare metal surfaces.
|
|
8.
|
Apply anti-corrosion agent to the bumper member, mountings and frame members after painting.
|
|
9.
|
Fit the 2 bolts of the bracket.
|


