PRE-RELEASE
Heat exchanger
| Heat exchanger |
| 1. |
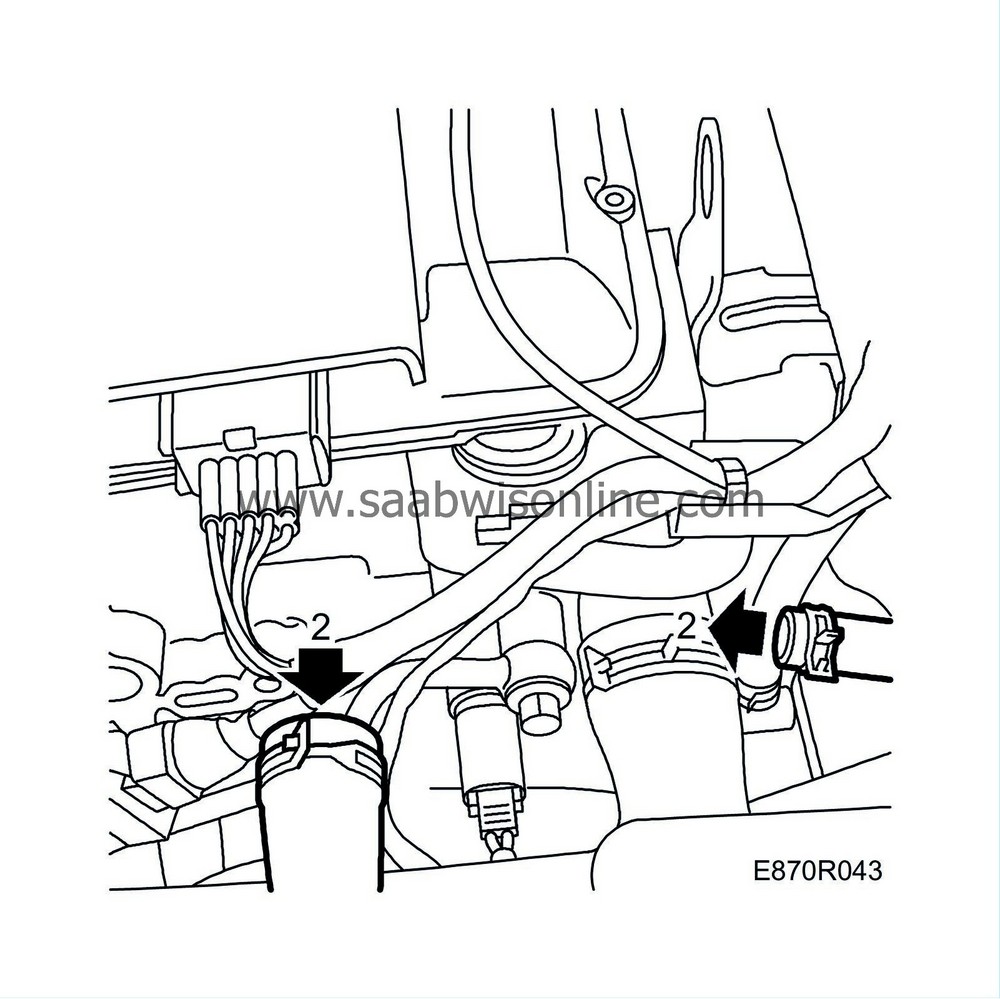
Disconnect the heat exchanger coolant hoses from the engine.
Place a container under the car to collect the coolant. |
|
| 2. |
Blow into the connection on the cylinder head with compressed air to empty coolant from the heat exchanger.
|
|
| 3. |
Remove the glove box. See
Glove box
.
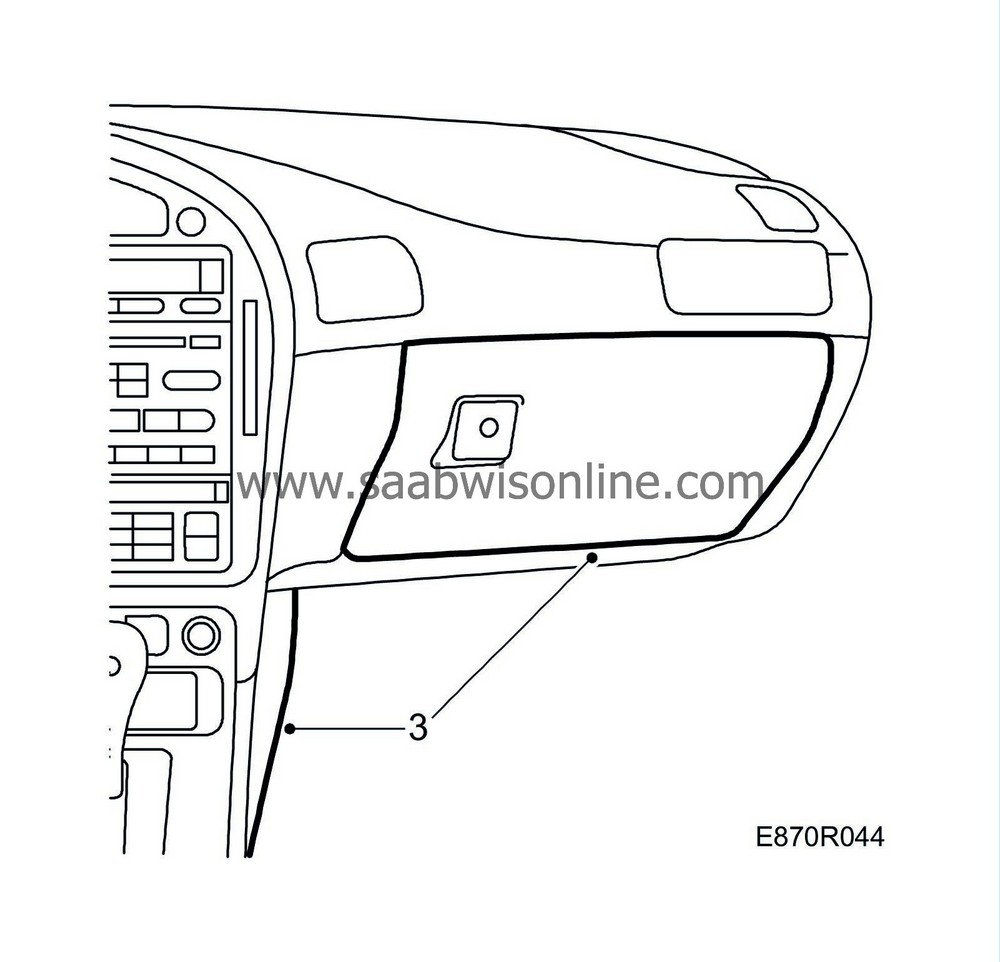
Remove the trim from the side of the centre console. |
|
| 4. |
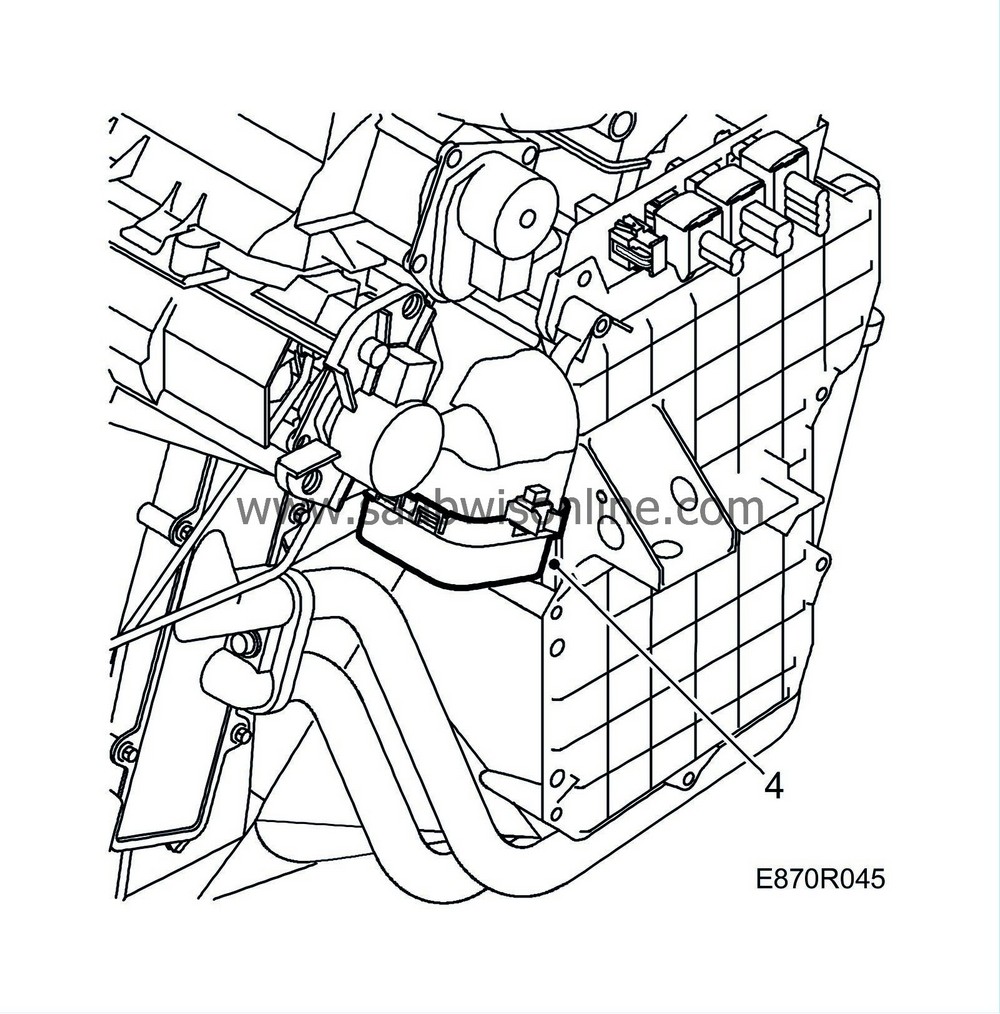
Remove the air vent from the air duct. Do not remove the seal.
|
|
| 5. |
Detach the PAD connector for the piping to the heat exchanger.

|
|
| 6. |
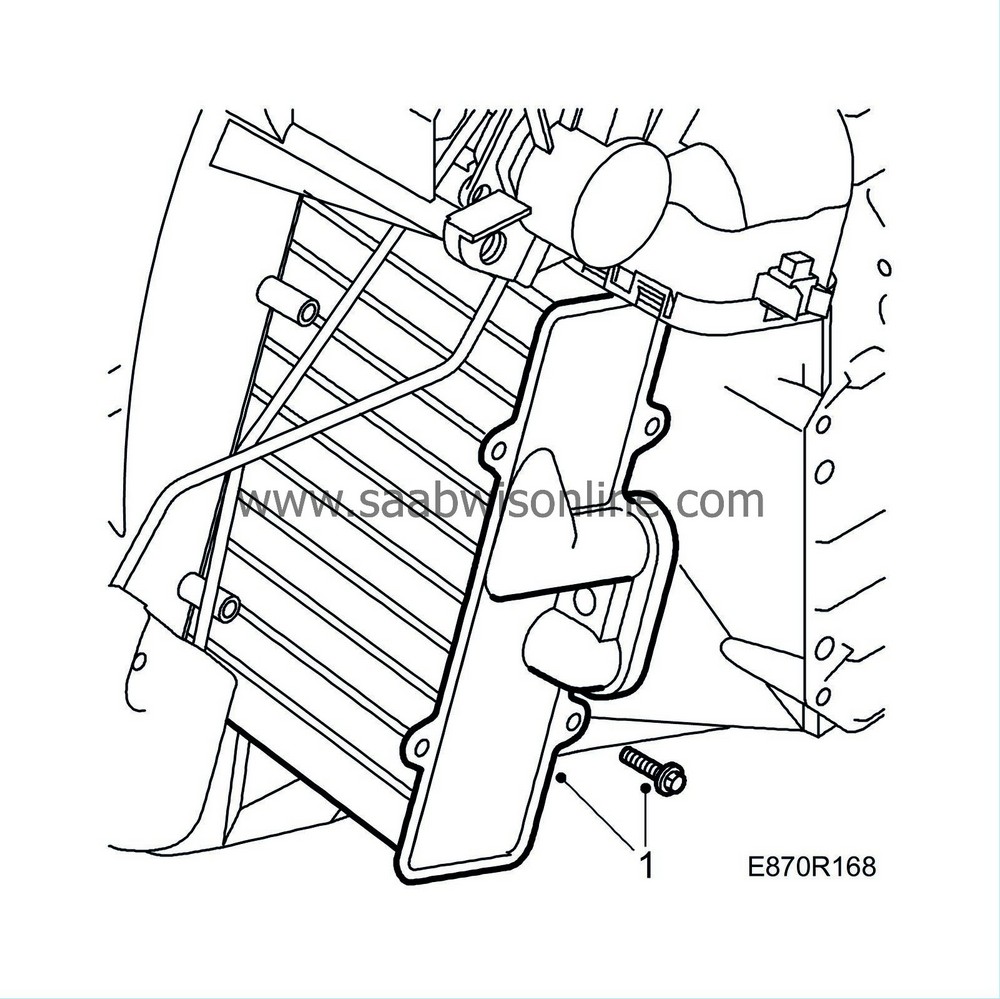
Remove the heat exchanger housing, 4 bolts.
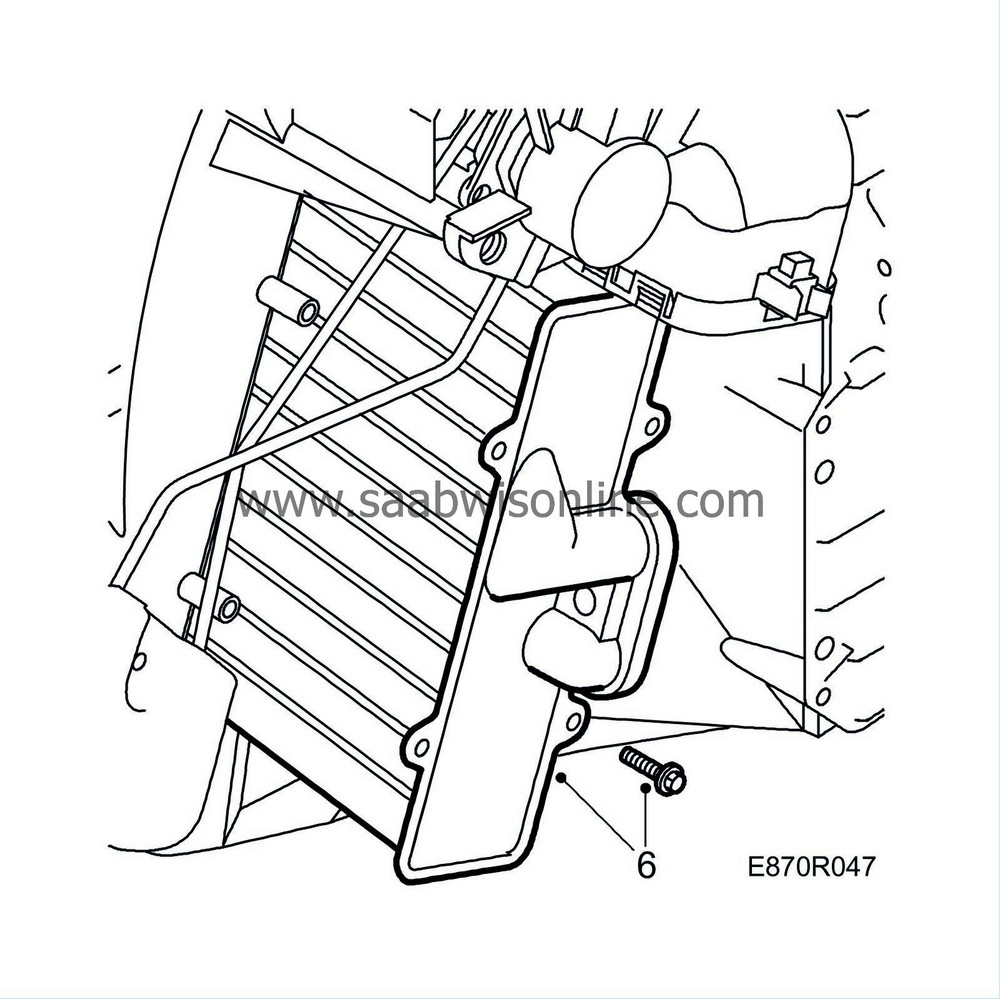
Remove the heat exchanger. |
|
| To fit |
| 1. |
Fit the heat exchanger, 4 bolts.
|
|
| 2. |
Replace and lubricate the O-rings with synthetic vaseline. Fit the O-rings on the heat exchanger pipes.

|
|
| 3. |
Connect the pipes to the heat exchanger and screw on the PAD connector.
Tightening torque: 3-4 Nm (2.2-3.0 lbf ft) |
|
| 4. |
Fit the air vent to the air duct.

|
|
| 5. |
Replace the side trim on the centre console.

Fit the glove box. See Glove box . |
|
| 6. |
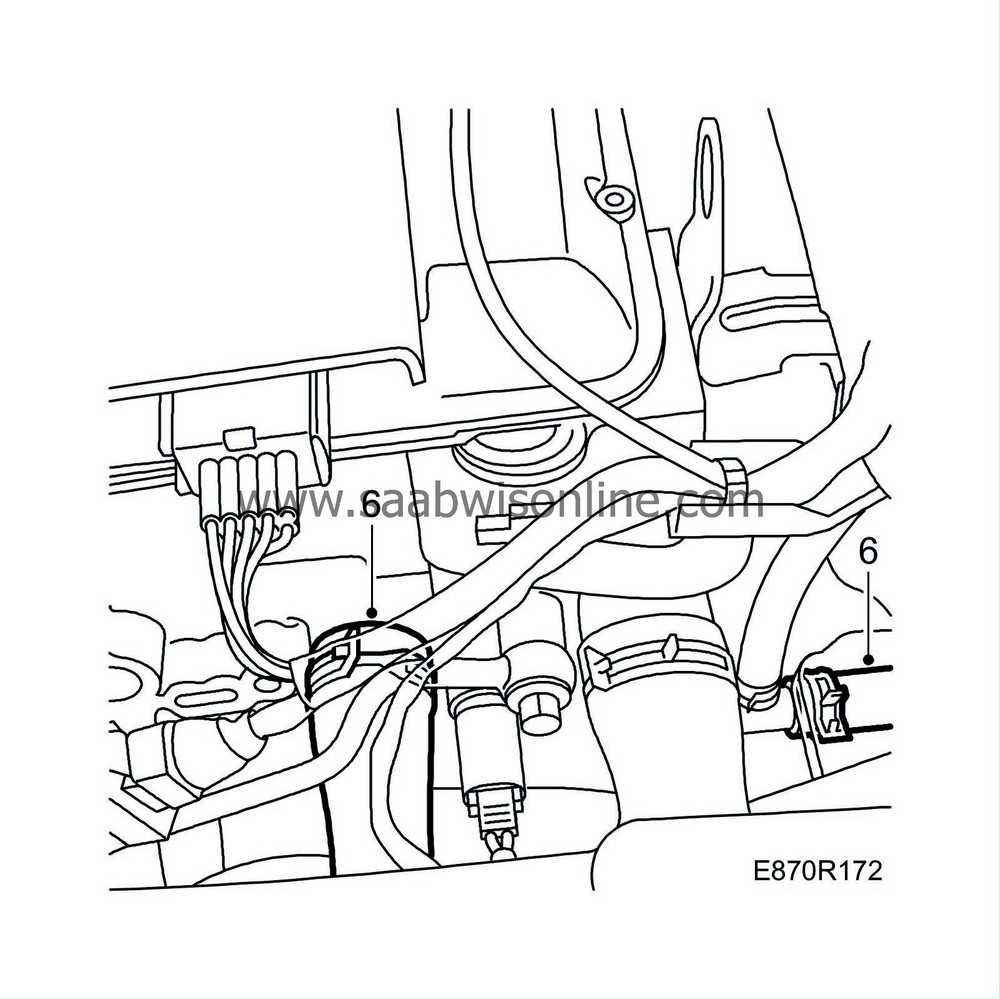
Connect the heat exchanger coolant hoses to the connections on the engine.
|
|
| 7. |
Refill coolant.
|
|
| 8. |
Bleed the system as follows:
Fill the system to MAX level. Fit the pressure cap, start the engine and run at varying engine speeds, until the cooling fan starts. Remove the pressure cap and top up to MAX level. Fit the pressure cap and let the engine run with varying engine speeds until the cooling fan has started another three times. Turn off the engine and top up to MAX level if needed.
|
||||||||||


