PRE-RELEASE
Engine Front Cover Removal (LAU or LBW)
| Engine Front Cover Removal (LAU or LBW) |
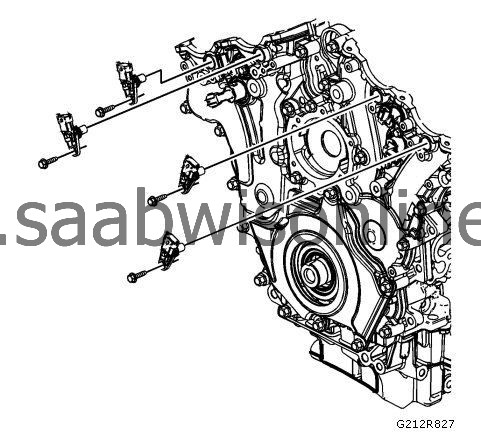
| 1. |
Remove the camshaft position sensor bolts.
|
|
| 2. |
Remove the camshaft position sensors.
|
|
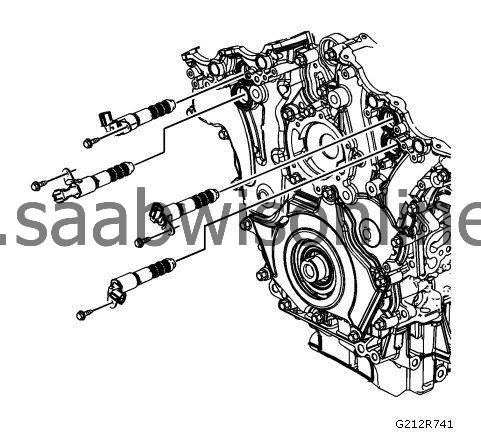
| 3. |
Remove the camshaft position actuator valve bolts.
|
|
| 4. |
Remove the camshaft position actuator valves from the front cover. |
|||||||||
 Warning
| 5. |
Remove the engine front cover bolts that hold the engine front cover deadener into position. 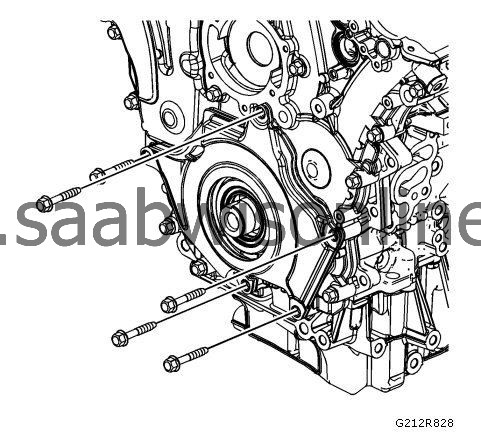
|
|||||||
| 6. |
Remove the engine front cover deadener.
|
|
| 7. |
Remove the remaining engine front cover bolts (1) and (2). 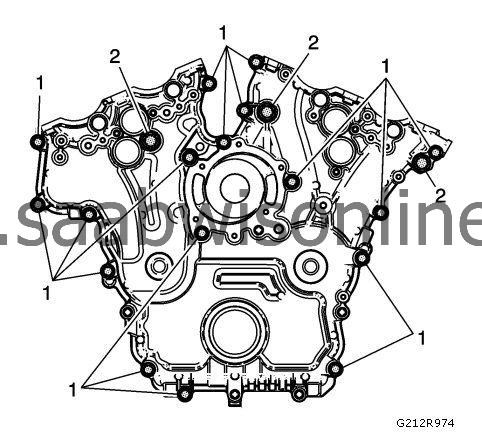
|
|||||||||||||
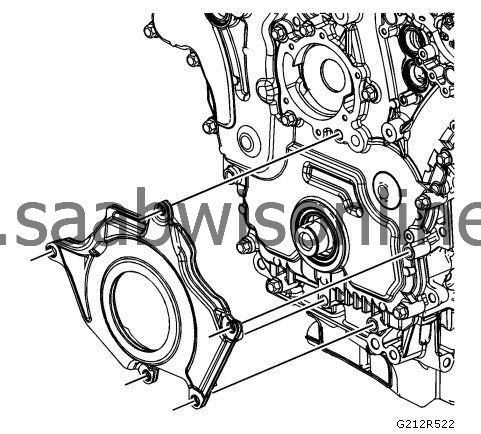
| 8. |
Loosely install a 10 x 1.5 mm bolt in the jackscrew hole (1). 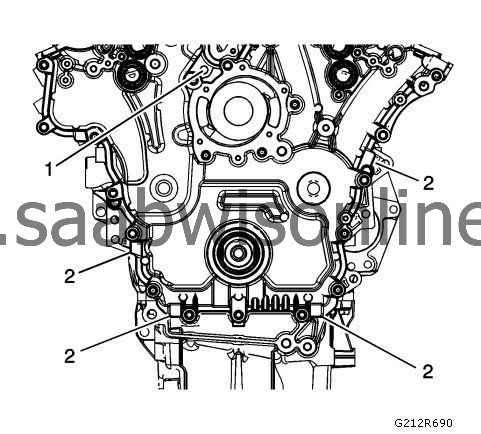
|
|||||||||||||||||
| 9. |
Using the pry points (2) located at the edge of the front cover and the jackscrew, separate the room temperature vulcanizing (RTV) sealant.
|
|
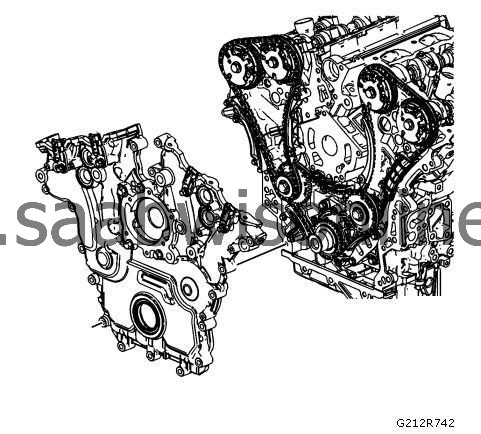
| 10. |
Remove the engine front cover.
|
|
