Fuel pump relay/fuel pump
|
|
Fuel pump relay/fuel pump
|
Symptom of fault
Engine will not start
Diagnostic procedure
1. Check the operation of the fuel pump relay
|
-
|
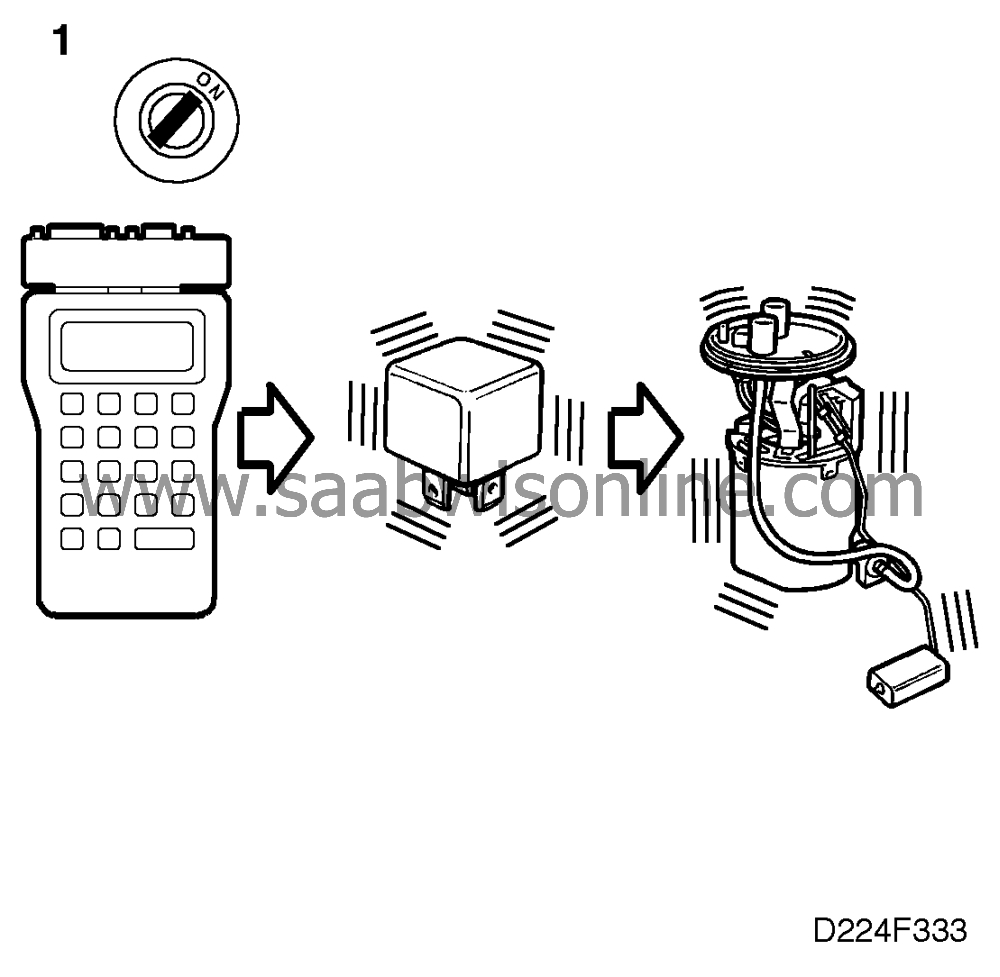
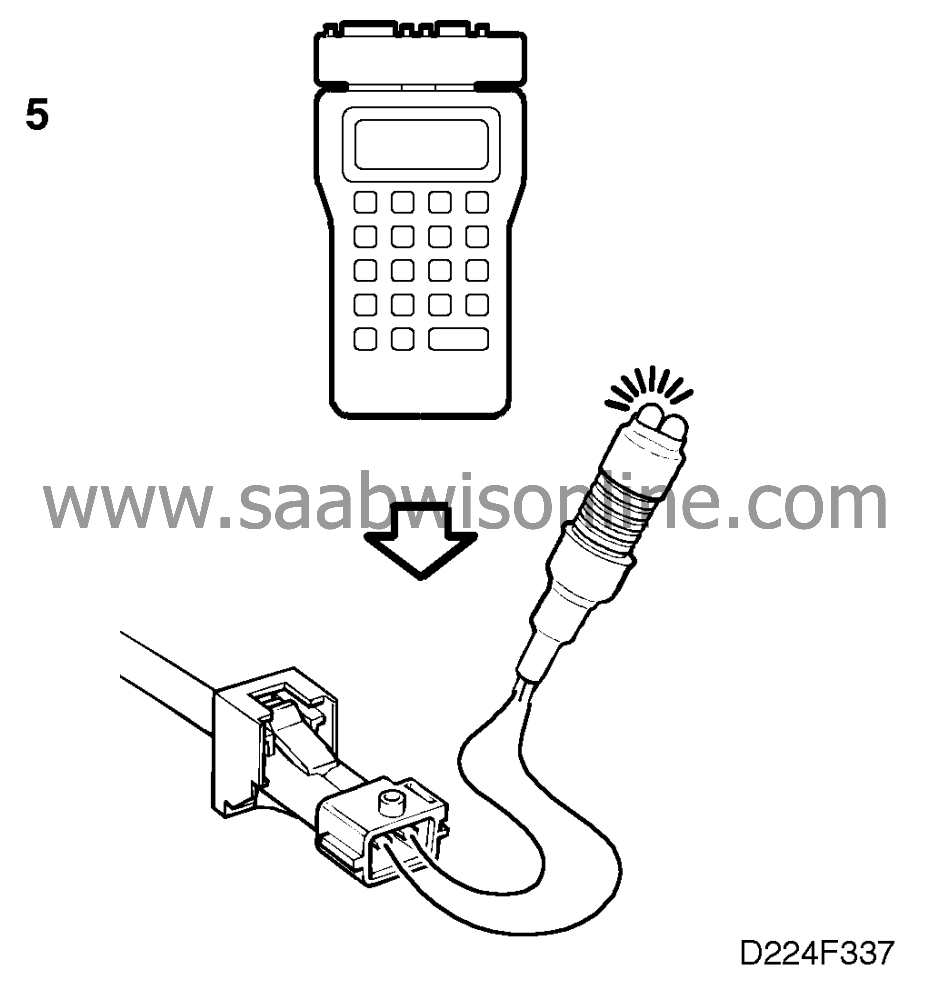
Connect an ISAT scan tool.
|
|
-
|
Ignition switch in ON position.
|
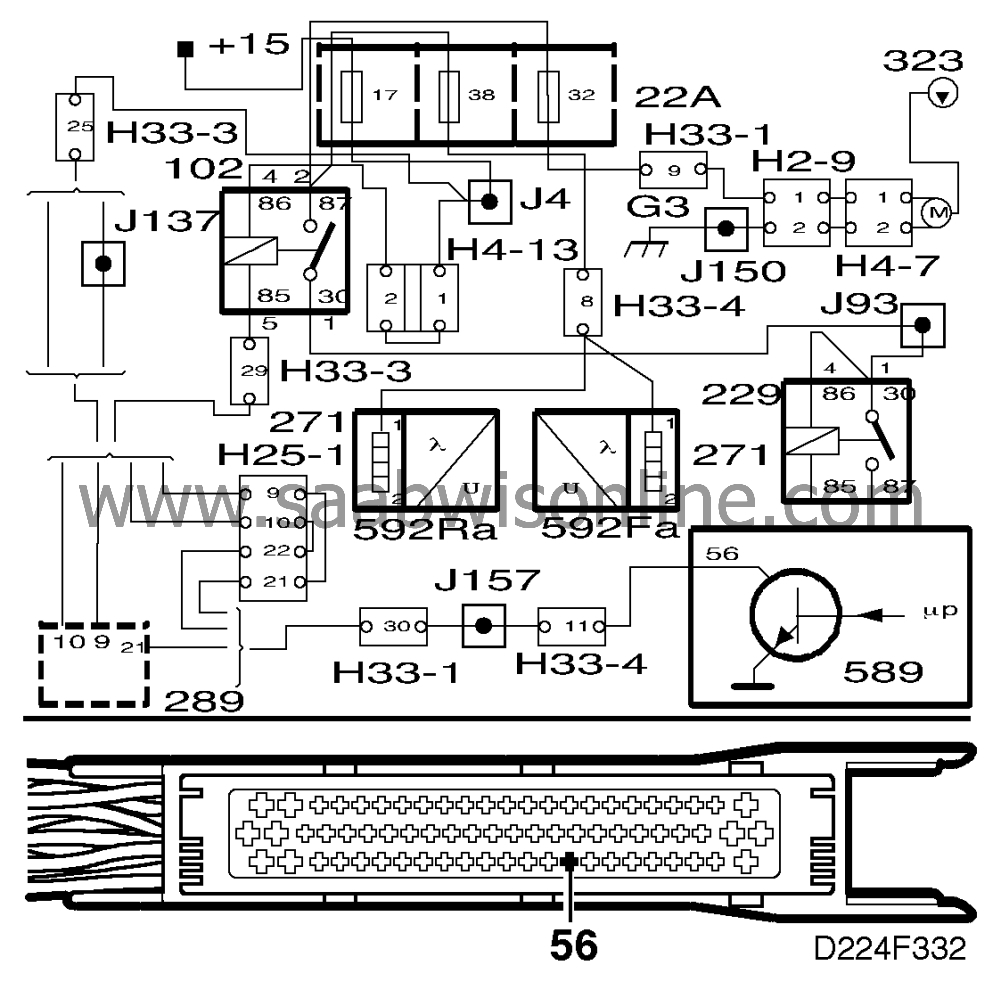
The main relay is activated for 10 seconds at a frequency of 1 Hz. If a longer
activation time is required, the command will have to be repeated.
|
-
|
Listen for the sound of the fuel
pump relay and fuel pump working. They should both be heard working at a frequency of 1 Hz
(once a second).
|
Can only the relay be heard?
Continue with point 2.
Neither the relay nor the pump can be heard. Continue with point 7.
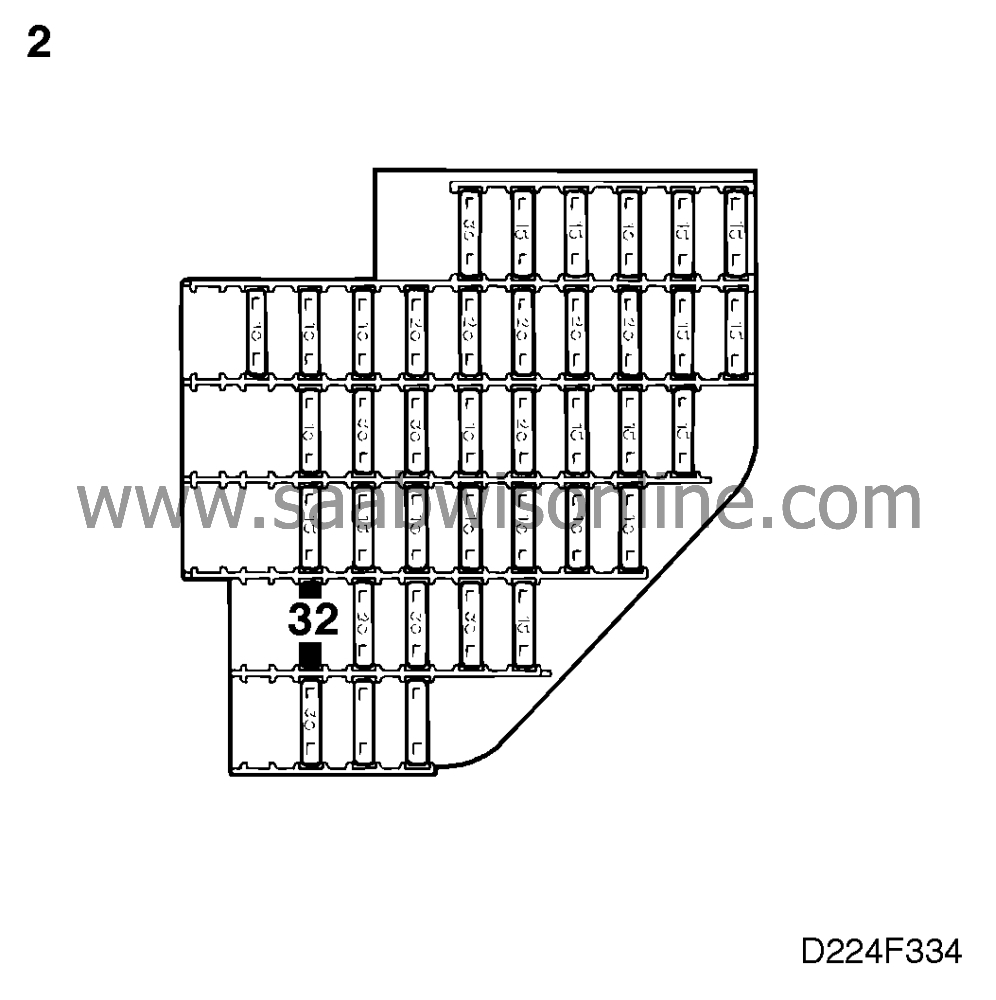
2. Check the fuse
|
-
|
Check fuse 32 and change it if
necessary.
|
Is the fuse OK?
Continue with point 3.
If the fuse blows on repeated activation of the fuel pump relay by means of the
ISAT scan tool, continue with point 6.
3. Check the fuel pump

|
-
|
Forcibly supply the fuel pump with
power.
|
|
-
|
Connect a jumper lead between
fuses 4 and 32.
|
|
-
|
Listen for the sound of the pump
working.
|
Is the pump working?
Continue with point 4.
Continue with point 5.
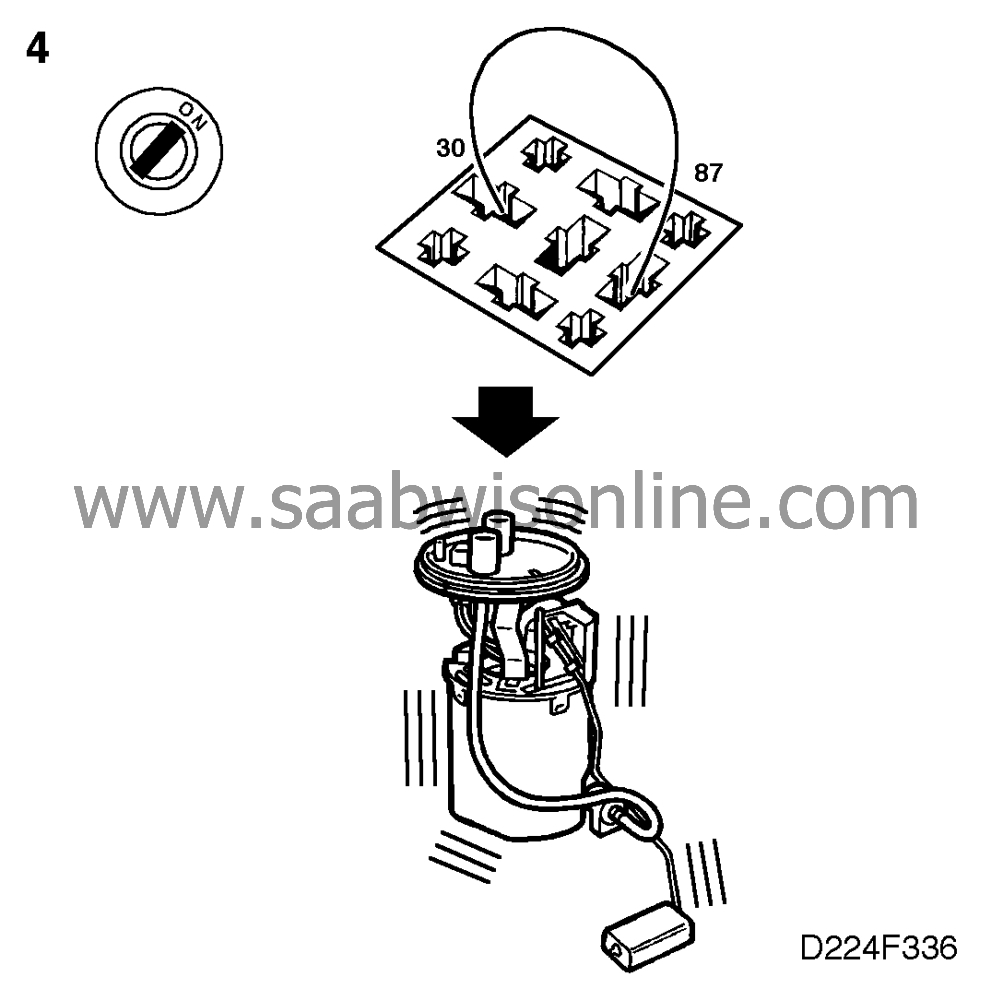
4. Check the fuel pump relay
|
-
|
Unplug the fuel pump relay.
|
|
-
|
Connect a jumper lead between
pins 30 and 87 on the relay holder.
|
|
-
|
Listen for the sound of the fuel
pump working.
|
Does the fuel pump work?
Change the fuel pump relay.
Check the lead between pin 87 and fuse 32 and the lead between pin 30 and
battery positive (B+). Repair or replace the leads if necessary.
5. Check the wiring harness
|
-
|
Unplug connector H2-9 from the
fuel pump. It is located on the fuel pump underneath the rear seat. Note that the connector
with the two thick cables is the one to unplug. The others are connected to the level sensor.
|
|
-
|
Connect the test lamp to pins 1 and
2 of the 2-pin male connector.
|
The test lamp should flash at the rate of 1 Hz (once a second).
Does the test lamp flash?
Change the fuel pump and wiring harness between H4-7 and H2-9, or just the
wiring harness.
First check and if necessary rectify the lead between pin 2 and grounding point
G3. If this does not help, deal with the lead between pin 1 and fuse 32 in the same way.
6. Check the fuel pump

|
-
|
Unplug connector H2-9 from the
fuel pump. It is located on the fuel pump underneath the rear seat.
|
|
-
|
Change fuse 32 and repeat the
ISAT scan tool command "PUMP RELAY".
|
Did the fuse blow?
Check and if necessary rectify the wiring harness between fuse 32 and pin 1 of
connector H2-9.
Change the fuel pump.
7. Check the fuel pump relay
|
-
|
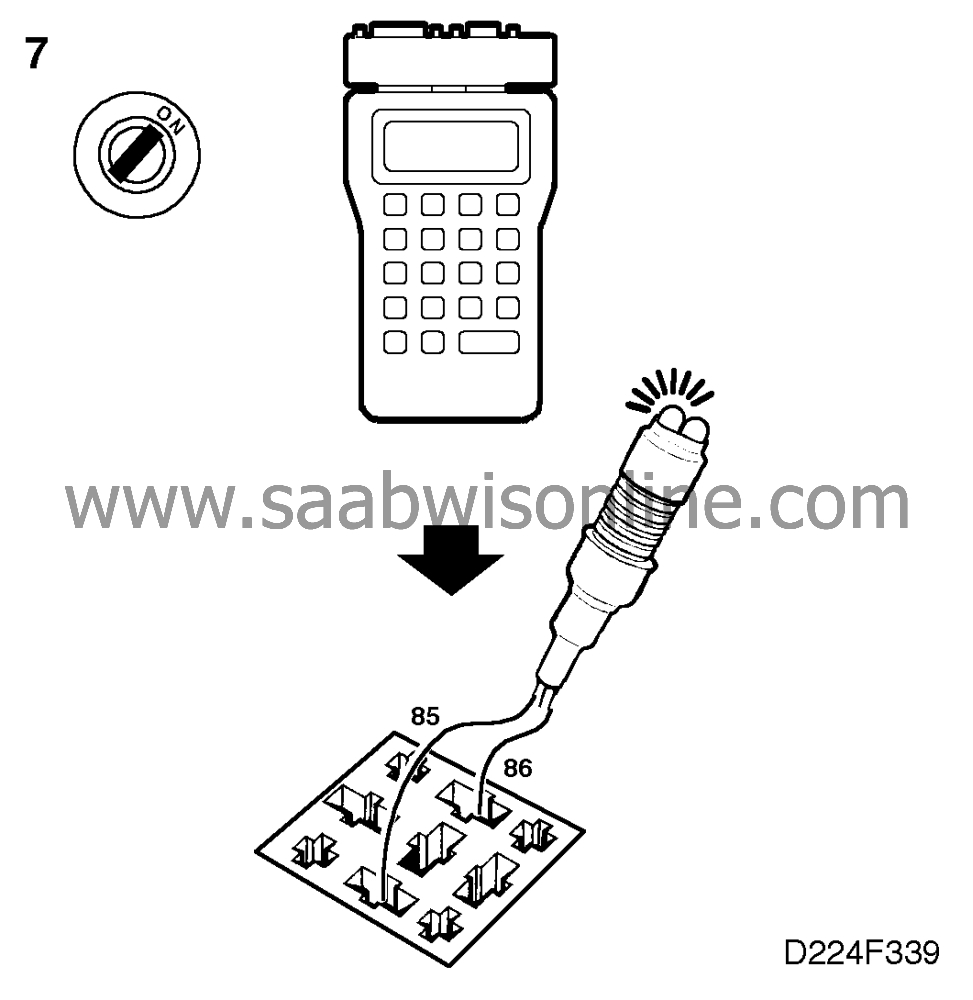
Unplug the fuel pump relay.
|
|
-
|
Connect the test lamp to pins 85
and 86 of the relay holder.
|
|
-
|
Ignition switch in ON position.
|
The test lamp should flash at the rate of 1 Hz (once a second).
Does the test lamp flash?
Change the fuel pump relay.
Continue with point 8.
8. Check the fuel pump relay's power
supply
|
-
|
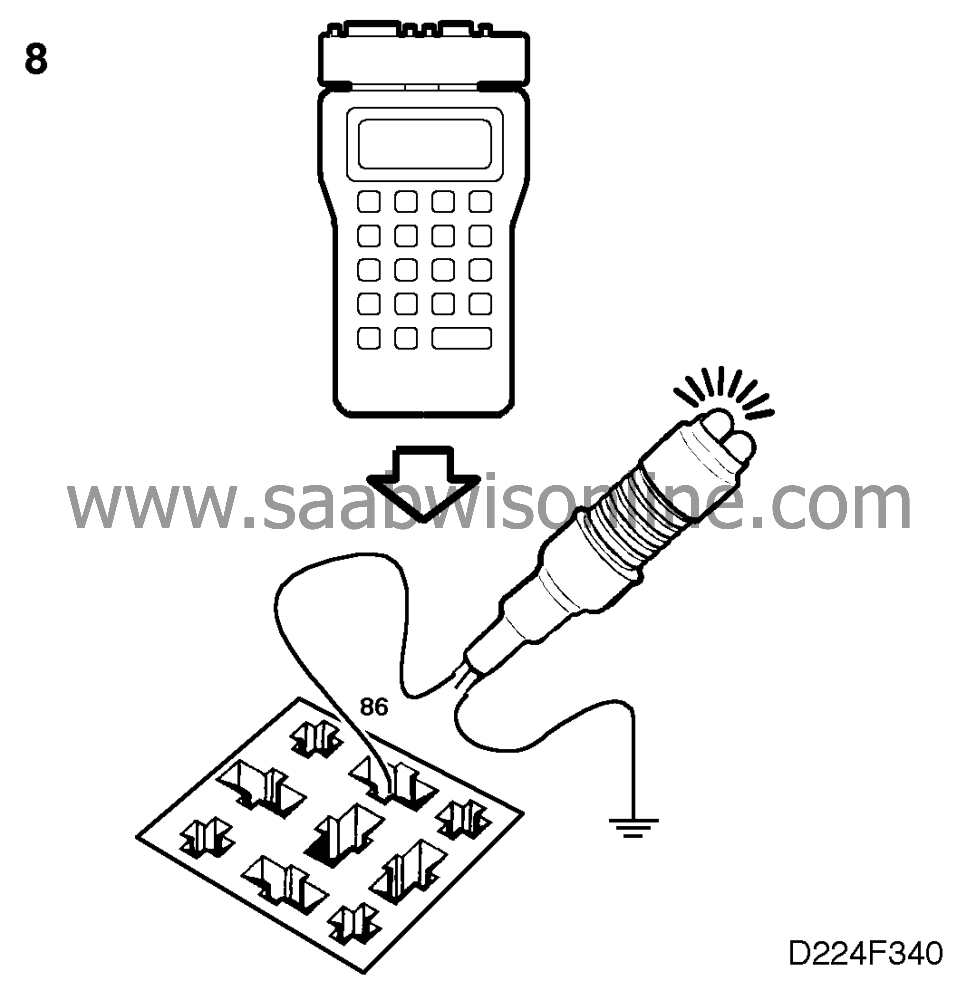
Connect a test lamp to pin 86 of
the relay holder and a good grounding point.
|
The test lamp should light up.
Is the test lamp on?
Continue with point 9.
Check and if necessary repair or replace the lead between pin 86 of the relay
holder and fuse 17.
9. Check the fuel pump relay's connection to ground
|
-
|
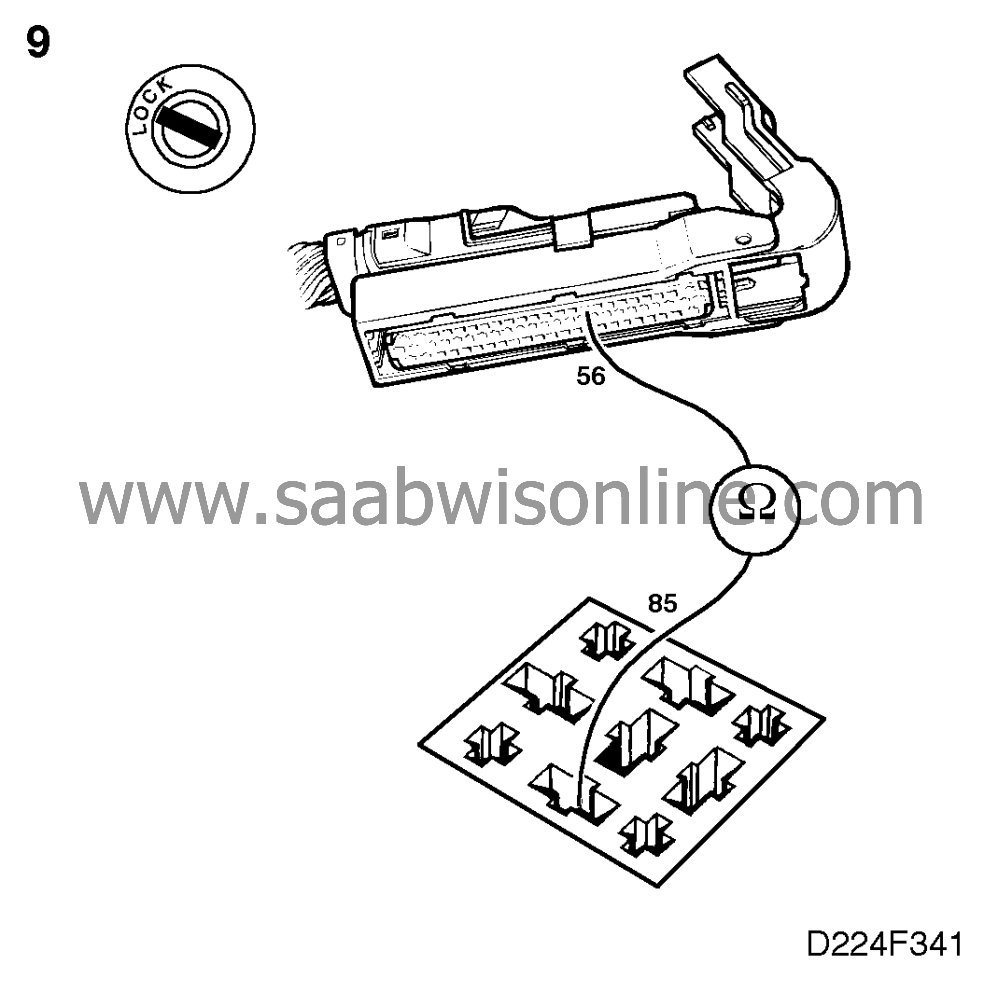
Check the lead between pin 85 of
the relay holder and pin 56 of the control module.
|
Is the lead OK?
Proceed to
 .
.
Rectify the fault.
