PRE-RELEASE
Windshield Replacement
| Windshield Replacement |
Special Tools
| • |
J 24402-A Glass Sealant Cold Knife Remover
|
|
| • |
J 39032 Stationary Glass Removal Tool
|
|
| • |
Use a urethane adhesive systems which meet GM Specification GM 3651G
|
|
| Removal Procedure |
| 1. |
Open the hood. |
|||||||
| 2. |
Remove the windshield wiper arms and blades. Refer to
Windshield Wiper Arm Replacement
.
|
|
| 3. |
Remove the air inlet grille. Refer to
Air Inlet Grille Panel Replacement
.
|
|
| 4. |
Remove the windshield side reveal moldings. Refer to
Windshield Side Reveal Molding Replacement
.
|
|
| 5. |
Remove the interior windshield pillar garnish moldings. Refer to
Windshield Garnish Molding Replacement
.
|
|
| 6. |
Remove the rearview mirror. Refer to
Inside Rearview Mirror Replacement
.
|
|
| 7. |
Refer to
Defroster Outlet Warning
.
Cover the following parts to protect from broken glass: |
|
| • |
Upper dash pad
|
| • |
Defroster outlets and A/C outlets
|
| • |
Seats and carpeting
|
| 8. |
Refer to
Glass and Sheet Metal Handling Warning
.
Using a utility knife, carefully cut the lace (1) from the sides and the top edge of the window to access the urethane adhesive bead, if equipped. 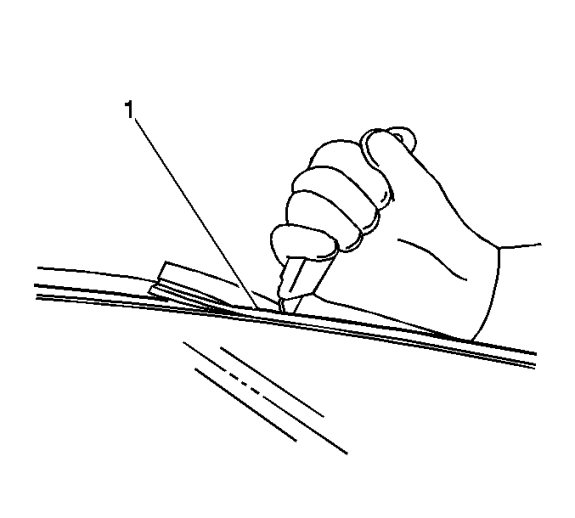
|
|
| 9. |
Remove the window from the urethane adhesive. 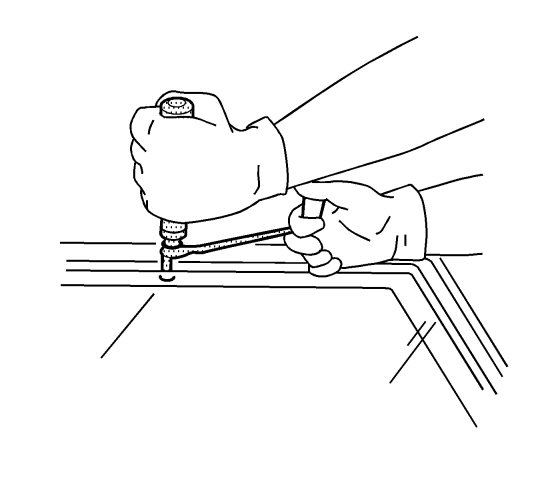
|
|||||||
| • |
Leave a base of urethane approximately 2 mm (0.078 in) on the pinch-weld flange.
|
| • |
The only suitable lubrication is clear water.
|
| • |
Use J 24402-A , J 39032 , or equivalent to remove the window.
|
| 10. |
If necessary, use a long utility knife or similar tool to remove the bottom corners of the windshield from the urethane adhesive. 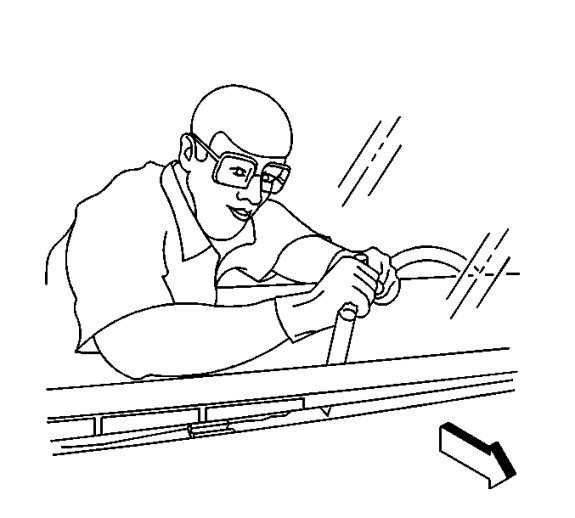
|
|||||||
| 11. |
With the an assistant, remove the windshield (1) from the vehicle. 
|
|||||||
| Installation Procedure |
| 1. |
Install the windshield into the opening. Refer to
Adhesive Installation of Windshields
.
|
|
| 2. |
Install the rearview mirror. Refer to
Inside Rearview Mirror Replacement
.
|
|
| 3. |
Install the interior windshield pillar garnish moldings. Refer to
Windshield Garnish Molding Replacement
.
|
|
| 4. |
Install the windshield side reveal moldings. Refer to
Windshield Side Reveal Molding Replacement
.
|
|
| 5. |
Install the air inlet grille. Refer to
Air Inlet Grille Panel Replacement
.
|
|
| 6. |
Install the windshield wipers arms and blades. Refer to
Windshield Wiper Arm Replacement
.
|
|
| 7. |
Remove the double layer of masking tape around the perimeter of the painted surfaces and the interior trim.
|
|
| 8. |
Close the hood.
|
|
